Yes, The center of the label, if is possible
I looks very good and very use full for me. Thanks a lot.
I will do the thorough testing with the jacket pattern in the coming days.
The only wish I have is to have the ability to add a pin point in side the seam allowance tool. Many time I know the name of the point and I use the same point in many pieces. For me it would be easy to add the point from a list. Now I have to quit the Seam Allowance tools and go back Draw mode to and the missing pin point.
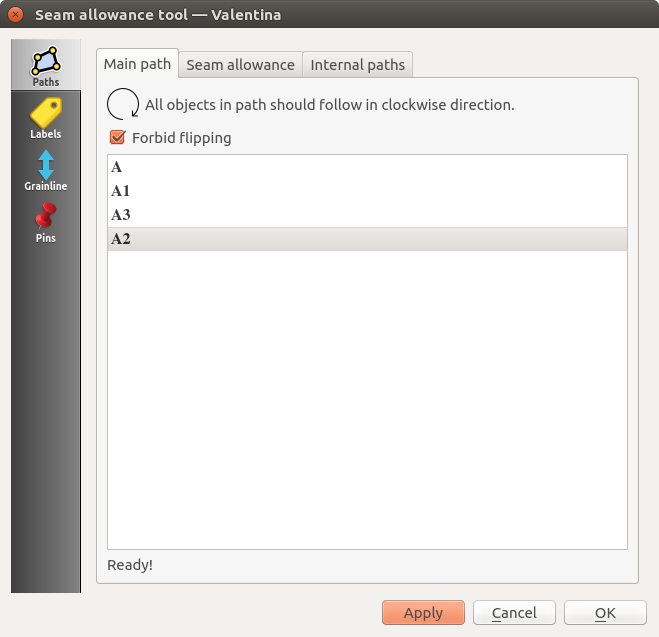
In side the seam allowance tool the tab headings are not visible because the name is so long. Also the name is not shown in the current tab. For me is no problem, but for a new comer it may crate problems.
Unfortunately i can’t do this. This is by design.
But just think if you had to generate this pattern for 5 clients. You have to manually adjust 43x5 labels, or 215 labels. I don’t have time for all that, so I like the new method.
I think math will be even worst if you need it to do the same pattern several times for each client.
I agree. I have done it. However the latest with size control and center pin point is great.
1 Like
If i understood you correct i predicted such a need. And Valentina shows pin points not only when Pins tab active.
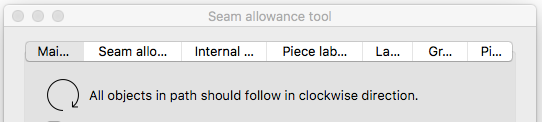
The tool looks like this in MAC. All text are truncated.
Please open a ticket about the tab widths. Maybe I can find someone to fix this. Roman is working on some big issues to wrap up v0.5.0, but this is worth getting someone to code a solution.
I just will left it here. ![]()
3 Likes
The new outlook of the Seam Allowance is great and very usable. Thanks
2 Likes

Can you explain how to use it? I tried to figure it out without success.
If you have a detail and you want add missed node (point or curve) to main path you can now use this tool. Previously you should recreate a detail.
Example of using:
- Select the tool.
- Select the node.
- Select a detail to include into.
- Switch to Detail mode.
- Go to the detail options.
- Find included node in the Main Path tab. It will be excluded (strikeout font).
- Drag the node to correct place it should be.
- Toggle the excluded option. As usual through context menu.
- Click Apply or Ok. Now your node is not ignored and became visible in a detail.
2 Likes
I needed the explanation. The exclude feature was totally new and the strike through is not very visible.
It is a very cool tool. I helps a lot with complicated pattern pieces details. With this I can edit the details. I can delete and add points and curves.
Thanks. 
1 Like
Maybe you or somebody else could propose better solution? ![]()
![]()
Happy to hear.![]() I planed to add this feature latter, maybe in 0.6.0, but this is necessary step toward passmark tool.
I planed to add this feature latter, maybe in 0.6.0, but this is necessary step toward passmark tool.
Once I know it, I don’t have any problems. I think this falls in to the same category with all complicated tools, which requires help or explanation.
I’m falling a bit behind with my tutorials, pressures of work, etc. etc. (I hope to catch up a bit in the next week or 2) but you guys are amazing and forging ahead way faster than I can go 