While scanning the Github issues, I noted one regarding the fact that “lines” do not appear in the operations tools. I’m going to see if I can get the visualization to apply to the copied destination points OR the better solution might be to make lines actual selectable objects like points and curves… which would simplify some other aspects of the app.
2 Likes
Oh, that would be amazing ![]()
What would also be really, really nice is if one can change the colour of the lines and nodes at the same time as choosing the label extension name. Either that, or to be able to edit the line types & colours later.
At the moment, it copies the line types and colours over from the originals.
That will take a bit more work.
This I’ve anticipated… where the copies could have their own properties, separate from the source objects.
1 Like
Ah this was the bit I was missing! Thank you.
I’ve saved a few copies of the back, haven’t yet done the front, I’ll hopefully get a bit more done this week.
2 Likes
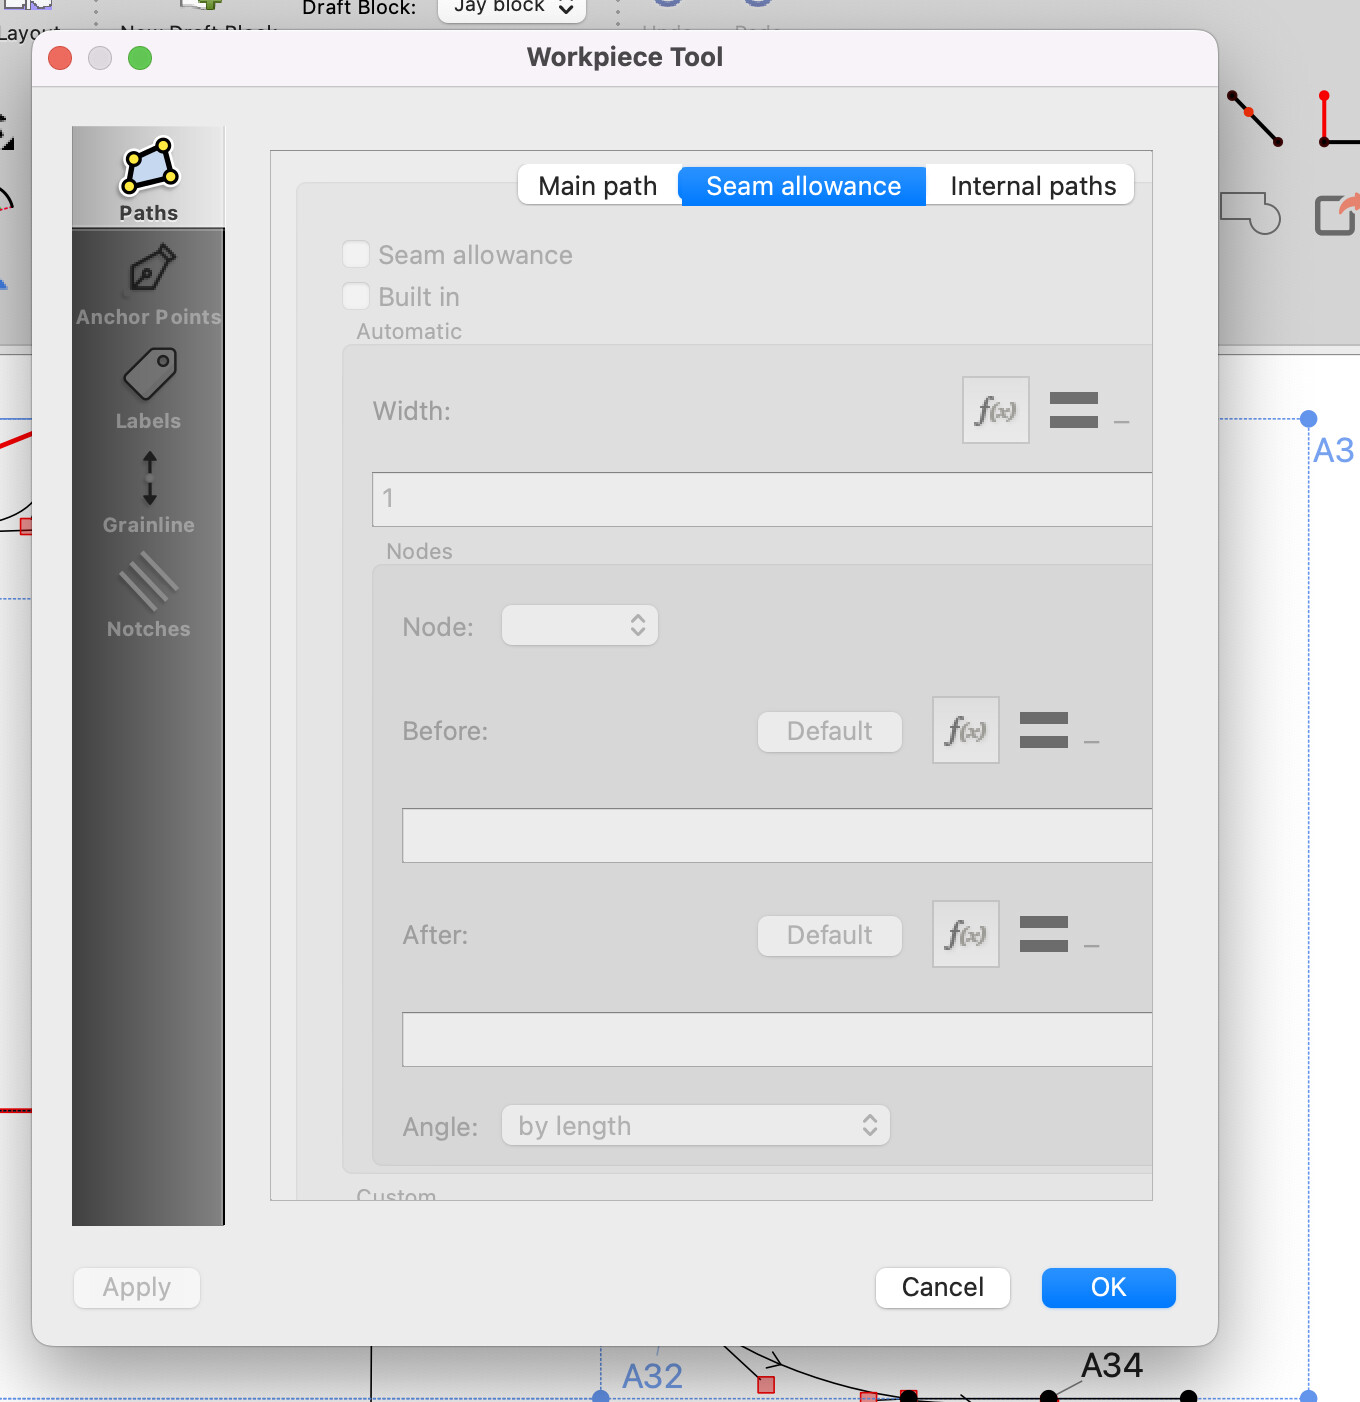
I can rotate now! But when i go to do seam allowances - the option is greyed out and i can’t find what I need to do differently to be able to have this active. Apologies for all my questions.
2 Likes
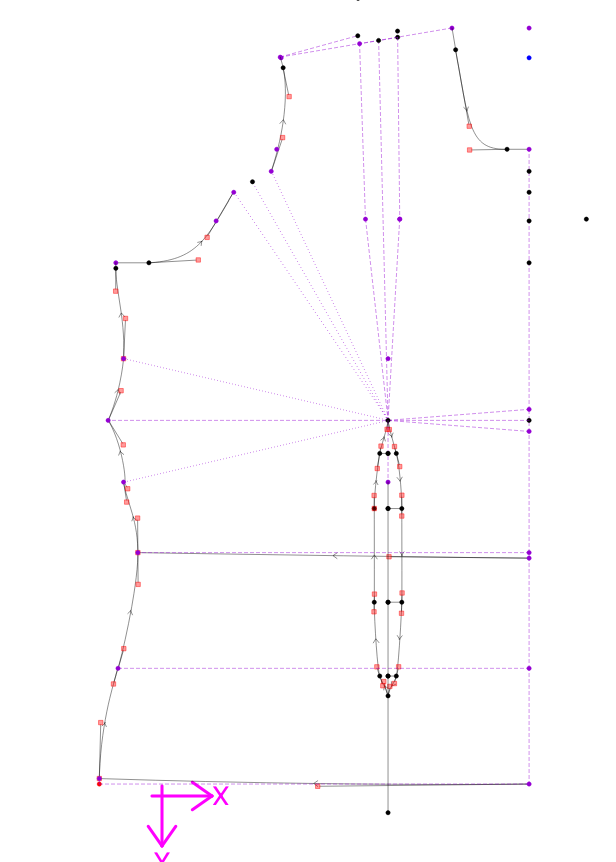
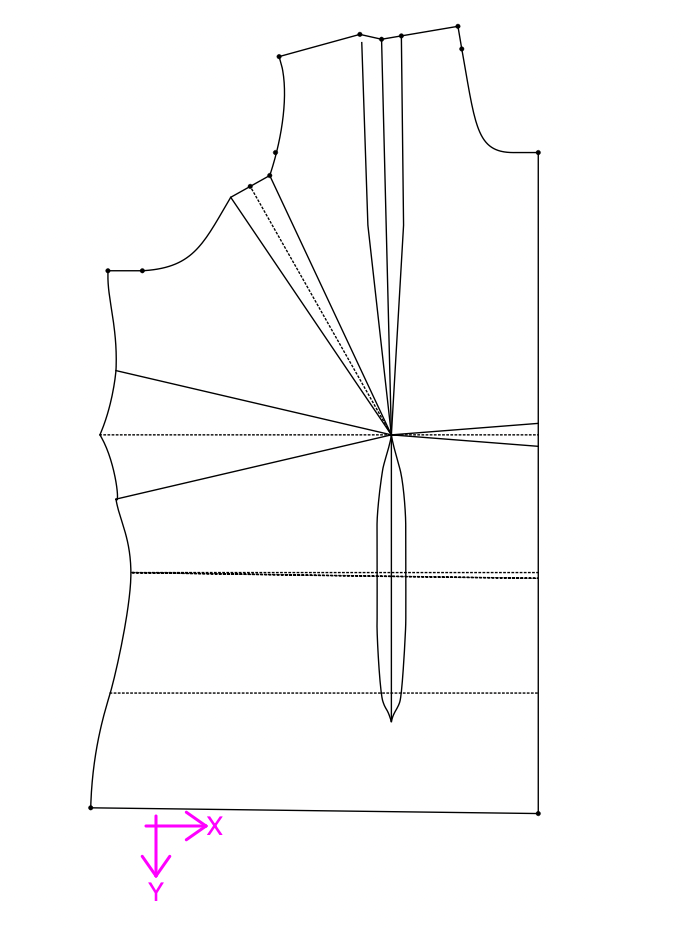
this evening was about inputting the front bodice! Much easier and got entirely through to pattern. I’ve used the dart tool for the shoulder dart (it might not be perfect, but i get the concept)
Question: what’s an easy way (or any way) to true the dart cutting lines to get the little opposite curves? (I’ve just eyeballed the bust dart) (I’m going to think on how to true the armhole curve overnight …  )
)
2 Likes
This is when you first trace it, yes? In order to use all the juicy Workpiece Tool options you must be in the Piece mode, not the Draft mode, (find it on the icon set Draft, Piece, Layout.)
Right click the piece you want to edit the properties of, & choose Properties from the dropdown for a fully active Workpiece Tool.
Best Luck!
![]()
2 Likes
You can mirror just the curve on the one side of the line to the other side of the line.
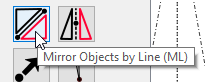
![]() I’d use this tool.
I’d use this tool.
Firstly, the 2 dart legs need to be exactly the same length. Then do a rotation to close the armhole dart only rotating the bottom curve so that the 2 edges meet, then you can adjust the 2nd handle of the original curve until the rotated one flows neatly into the upper curve - Normally, the 2nd handle on the lower curve can use the upper curve’s 1st handle direction +180 degrees (see formulas).
Further, you will need to figure out according to your patternmaking system. I’m not so very neat in this area ![]()
2 Likes
FWIW, the Wiki tutorial is much more complete than my original post and that is what should be linked to. (I can’t edit my post, or I would add in the link directly.)
3 Likes
Thanks! I have taken the liberty of editing that link in at the top of your original post. If the way I did it doesn’t appeal, just say the word & I’ll be happy to fit it to your vision.

3 Likes
Ahhh! Ok! Thank you. I am sure I’d figure that out but it seems to be a limit to my daily learning capacity ![]()
2 Likes
Thanks! That’s what I was guessing would be the way. I look forward to trying my next iteration
2 Likes