Hola necesito información sobre la parte de diseño, para poder entender que quieren decir las indicaciones del cuadro correspondiente:
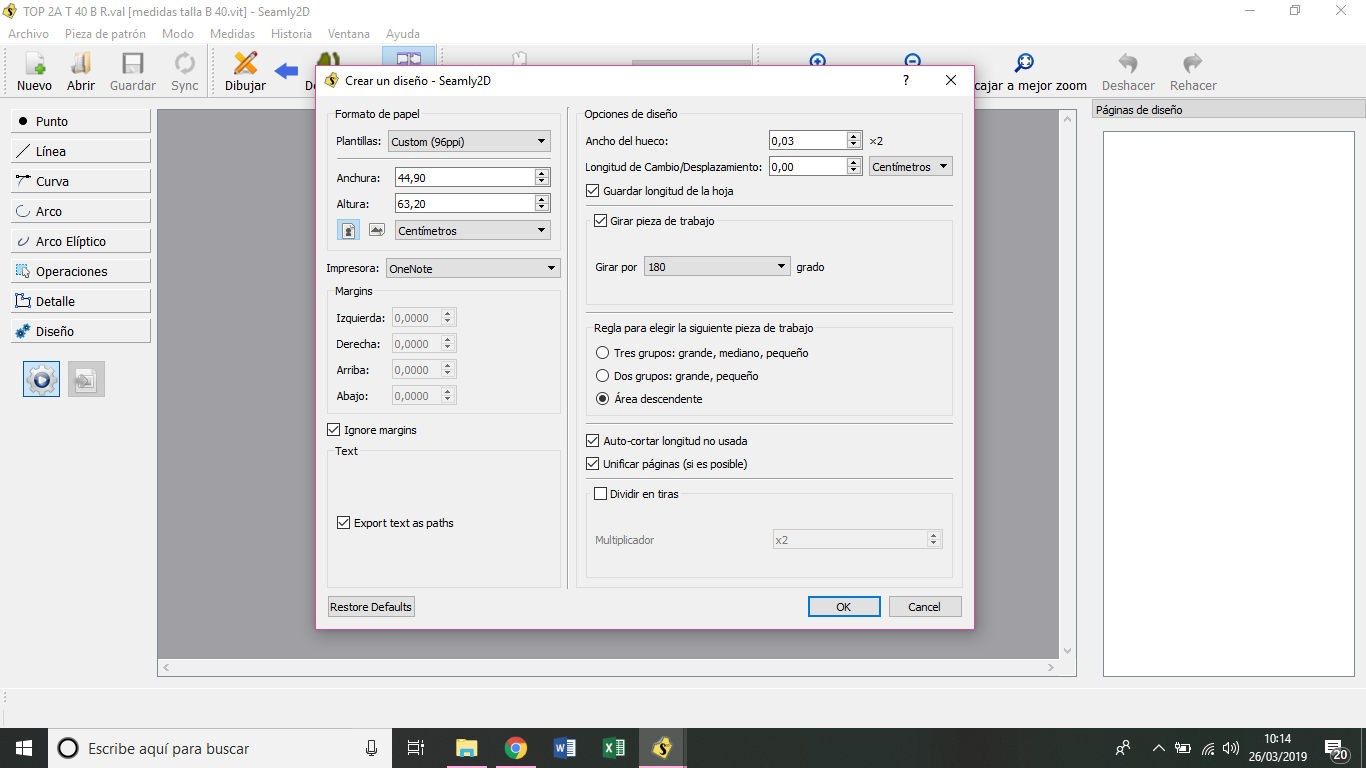
Formato papel
Opciones diseño
Si lo puedo encontrar en algún manual, por favor decirme cual es…
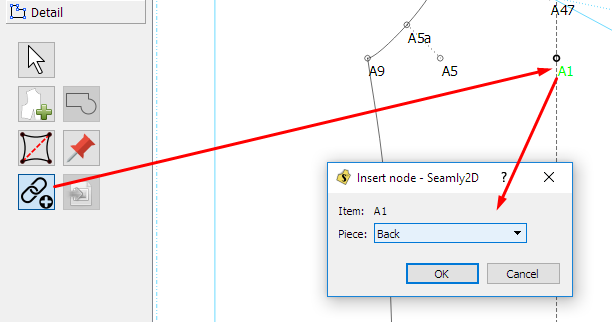
También me ocurre un problema cuando inserto un nodo, que el patrón se modifica erróneamente y cambia su forma, hasta que borras el nodo.
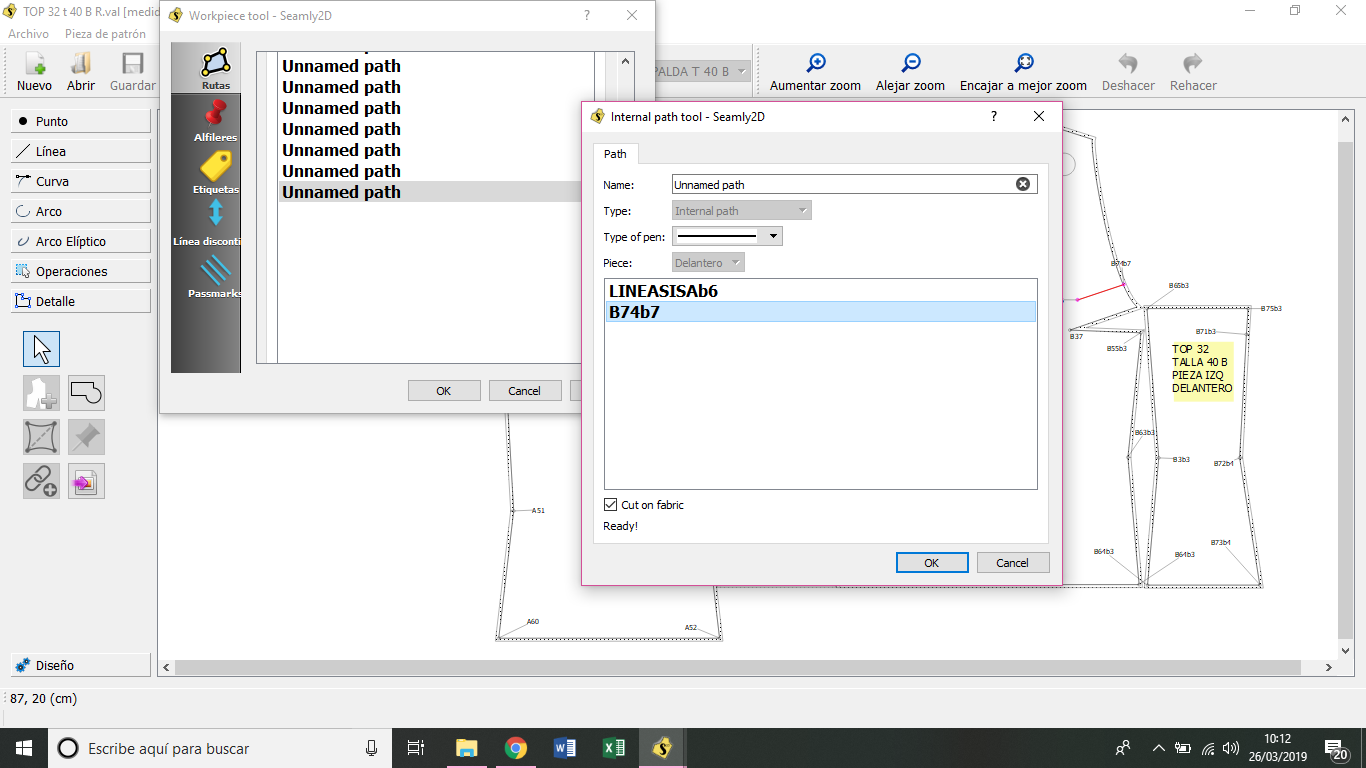
Por último cuando añades internal paths, que pasa cuando eliges “cut fabric”.
En este ejemplo he querido insertar el nodo b67 en mi patrón. Si borro el nodo se vuelve a poner bien el patrón y algunas veces queda insertado y otras no. En otros casos el patrón se deforma más que este.
When you insert a node, you also have to go into the Detail > Options, remove the Exclude checkmark and move it into the correct position in the list by dragging it to where it needs to go.
Cuando inserte un nodo, también tiene que ir a ** Detalle **> ** Opciones **, quitar la marca de verificación Excluir y moverla a la posición correcta en la lista arrastrándola a donde debe ir.
If you use the Cut on Fabric option, it will cut when you are printing directly to a cutting device. If you you leave this option unchecked, it will print it onto the pattern.
Si usa la opción ** Cortar en tela **, se cortará cuando imprima directamente en un dispositivo de corte. Si deja esta opción sin marcar, se imprimirá en el patrón.
The best to do here is to play with the different paper sizes, margins and other settings until the basic layout looks ok to you in the preview. Always try to use the smallest paper size that will fit your pattern. Once you’ve done that, print it. The program will split the pattern up into pages for you to glue together if you are using a small printer.
Lo mejor que puede hacer aquí es jugar con los diferentes tamaños de papel, márgenes y otras configuraciones hasta que el diseño básico le parezca correcto en la vista previa. Siempre trate de usar el tamaño de papel más pequeño que se ajuste a su patrón. Una vez que hayas hecho eso, imprímelo. El programa dividirá el patrón en páginas para que se peguen si está utilizando una impresora pequeña.
Hola gracias por tus explicaciones, lo del corte ya lo he entendido. En cuanto a lo de las opciones de diseño ya investigare. Lo que si necesito que me ayudes es con la respuesta de los nodos, la traducción en español de lo que me quieres explicar no acabo de entenderla. Podrías ser tan amable de enviarme unas pantallas, para a ver si visualmente me queda más claro.
Gracias:guiño:
Ok, I’m going to type in English. If you are using Google Chrome, right-click on the text and you will receive a menu that will allow you to translate it into the language of your choice.
Ok, voy a escribir en inglés. Si está utilizando Google Chrome, haga clic con el botón derecho en el texto y recibirá un menú que le permitirá traducirlo al idioma de su elección.
If you have missed inserting a node into a pattern part and would like to add it, go back to the **Draw ** board, under Detail select the Insert Node tool, click on the node, select the pattern part that you want it inserted on and click on Ok:
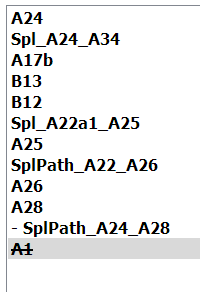
Then switch over to the Detail board, right-click on the pattern part and select Options. You will see that the node you have inserted is listed at the end with a line through it.
This means that this node is currently excluded from the pattern.
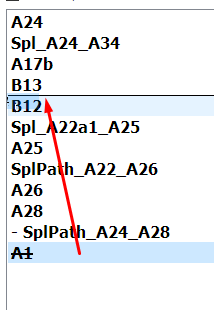
What you need to do is to drag that node into the position, in the list, that it needs to go in:
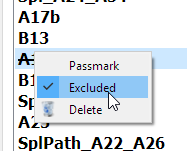
Then you need to right-click on the node and click on “Excluded” to removed the checkmark:
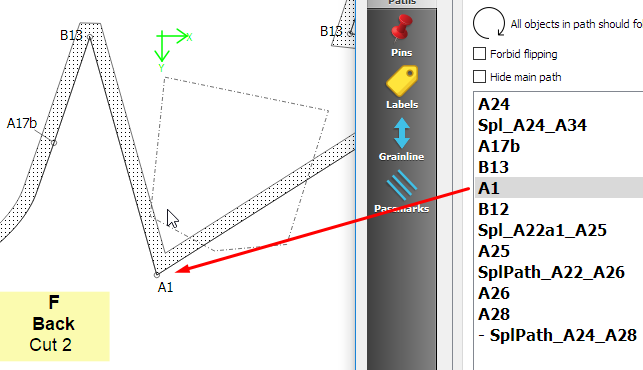
Click on Apply and check that this is correct. Now your pattern will include that node at that position:
As you can see, this is totally ridiculous for this pattern but it is now included.
Ya lo he entendido, yo no sabia que debía arrastrar el nodo y colocarlo por orden en el patrón. Debe ser por eso que a veces me deformaba el patrón.
Mil gracias por tu paciencia.
Pilar:aliviado:
 Pilar
Pilar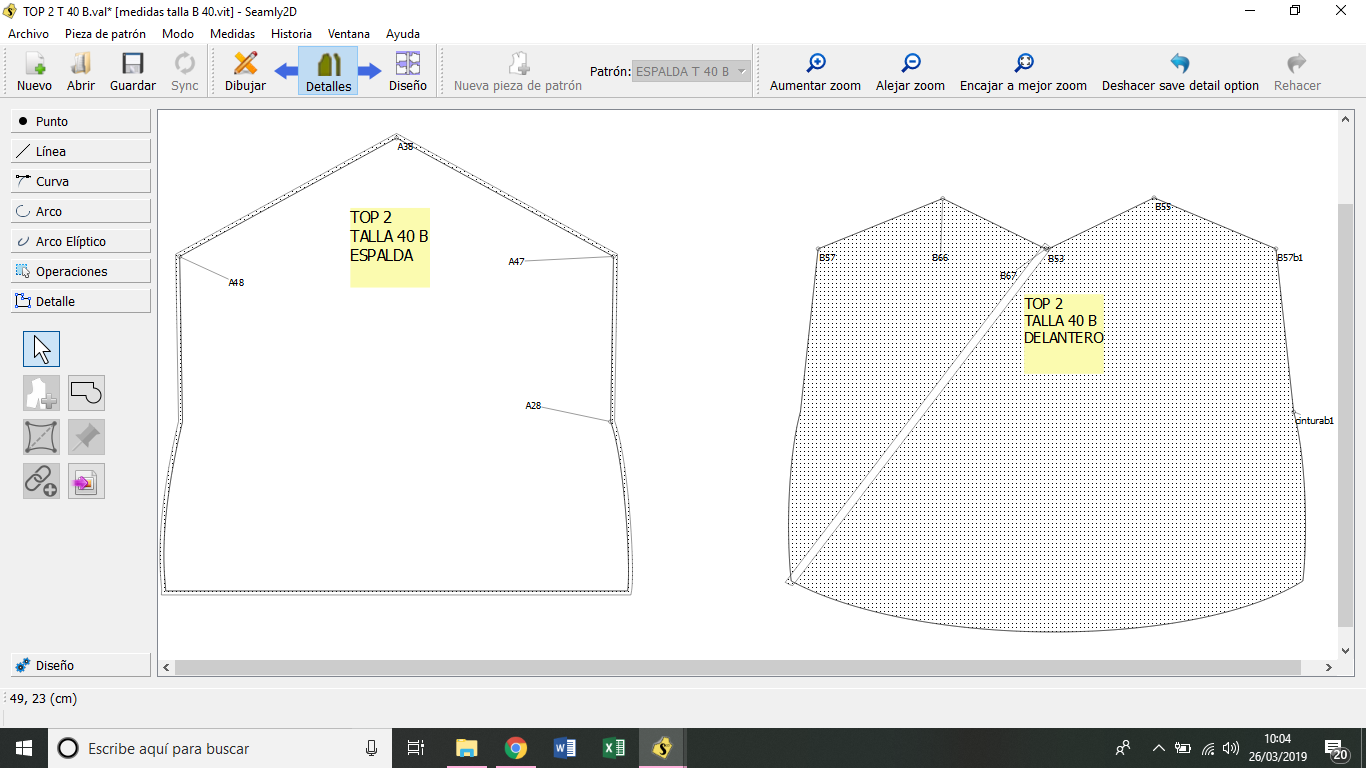
 As you can see, this is totally ridiculous for this pattern