Hey there! New to Seamly2D but familiar with drafting patterns on Illustrator.
I have drafted out skirt block (front and back with darts) but when I click “create new pattern piece” I cannot trace my work? The draft is all greyed out.
It seems like something simple but I can’t figure out what I am doing wrong!
I have applied formulas and rules to the points using f(x) and would like to keep those rules.
Yeah, somewhere on the wiki we have a list of all the odd terms that need fixed, (it is overtly labeled that they need fixed.) “create new pattern piece” lets you draft a new piece apart from what you’ve already drafted, (for instance, a sleeve to your bodice, or pants that go with your bodice, etc.)
What you want to do is go to the “Detail” toolbox on the left side of the screen & select the “Workpiece tool” (right under the picture of a cursor.) Remember to select your path in a clockwise direction! When selecting a curve going in a counter-clockwise direction, hold [Shift]. I understand that it’s also possible to fix later, but remembering to [Shift] click on counter-clockwise curves is easier, at least for me.
Awesome! That seemed to work for me. Now to understand the way it addresses seam allowances, etc. I also will be trying to do slash/spread in here.
The big thing I like about Seamly 2D is easy re-sizing. Illustrator could potentially do this if you create the correct commands/grade rules but it’s a lot of work. Haha.
One of my favorite things also is the ease of resizing. I love to demonstrate that a very few mouse clicks (to load a new measurement file) will cause your properly made pattern to morph to fit someone very different
I would love to know how to do that without manually adjusting things. Currently I have created the pattern and a measurement file. I know how to load the file, but that doesn’t seem to do anything to the pattern sizing. I manually click each line I need changed, click options, then look for that measurement and change it. If there are more than one line /curve that is affected, then I have to do each of those as well manually.
Please if you can, show me how to do this with less effort!!
@Sewing4Fun please look at this example which is a pattern for a simple sleeve. phyllis-sleeve.val (9.8 KB) and use this measurement file phyllis.vit (3.3 KB) . Then look at the same pattern file (the .val) with a different set of measurement, such as those in this file McCunn_sample.vit.vit (3.3 KB)
the easiest way to see the dramatic effect is to copy the two measurement files to your seamly2d.measurements.individual directory and to copy the pattern file to your seamly2d.patterns directory before you start. Then, open seamly2d, open the phyllis-sleeve.val file in that program. Once it has loaded, use the top menu (Measurements) to click “load individual” from the sub menu. If this is not easy for you without additional explanation, please say so and I will provide more detailed instructions and screenshots. I am out of time at this moment.
Once you are able to do that and see the difference in the size and shape of the sleeve with the two measurement files, it should be more clear to you why it is important to build the pattern file and use measurements and formulas containing measurements when you specify the length of lines and curves.
Please let me know as soon as you can open the three files and see what I am talking about and I will be happy to help further. If @Grace beats me to it, she is an excellent helper.
There is also a lot of tutorial material out there much of it developed by Grace, which will help you learn to create your patterns to use the “resizing magic”
The main trick to this is to use the formula button to reference each line to measurement/increment or to a length of line/curve so that everything interconnects and relies on something else for its length and shape.
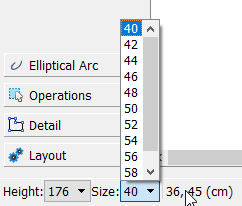
By using a multisize (.vst) file, you can check your work as you go by changing the values in the bottom left of your screen as you work:
I have created a basic “standard” multisize table that I normally use while I’m drafting a design. It’s not really standard because I just took a large range of measurements and divided by the number of sizes, but it serves the purpose of making sure that my pattern is resizing nicely while I work. Once I am happy with my design and I’ve created the layouts, then I load an individual persons measurements, double check that everything is in proportion and the curves are all really nice and then I print the pattern.
That is my work flow
Here is a pattern with a multisize set of measurements that I made, according to the Aldrich system, a few years ago to teach people how it’s done:
@Sewing4Fun, what I hope you will understand from my response and from @Grace’s is that there are two different approaches to making a pattern work for multiple sizes.
Grace has learned and written some tutorials on how to use the multisize file (.vst). Using that approach, you create a set of “standard” sizes and use the same pattern file to generate patterns for any of those sizes.
I use a different approach, which is to use a single size (.vit) file. Using that approach, you create a pattern that works for the individual whose measurements are in the file. You can use the “Measurements” and “Load Individual” functions to regenerate the same pattern using the measurements of a different individual.
In both cases, the important thing is to construct the pattern using formulae based on the measurements. To see how that is done in both Grace’s pattern and in mine, you will need to look at some of the individual lines and curves inside the pattern and see how they were made.
If you need more help on how to do that, PLEASE ask
@Sewing4Fun Please excuse the disarry on the wiki as it is under renovation. I want to point you to this page, which is the beginning of a tutorial I started on how to use the tools to create a sleeve block:
Thank you both @kmf & @kmf. I have been a bit busy with other things since my post, so haven’t really had much time to look at the links you shared or to experiment with the concepts on my own patterns.
I will hopefully get that later this week or early next week. If I have additional questions, believe me, I will not hesitate to reach out again.
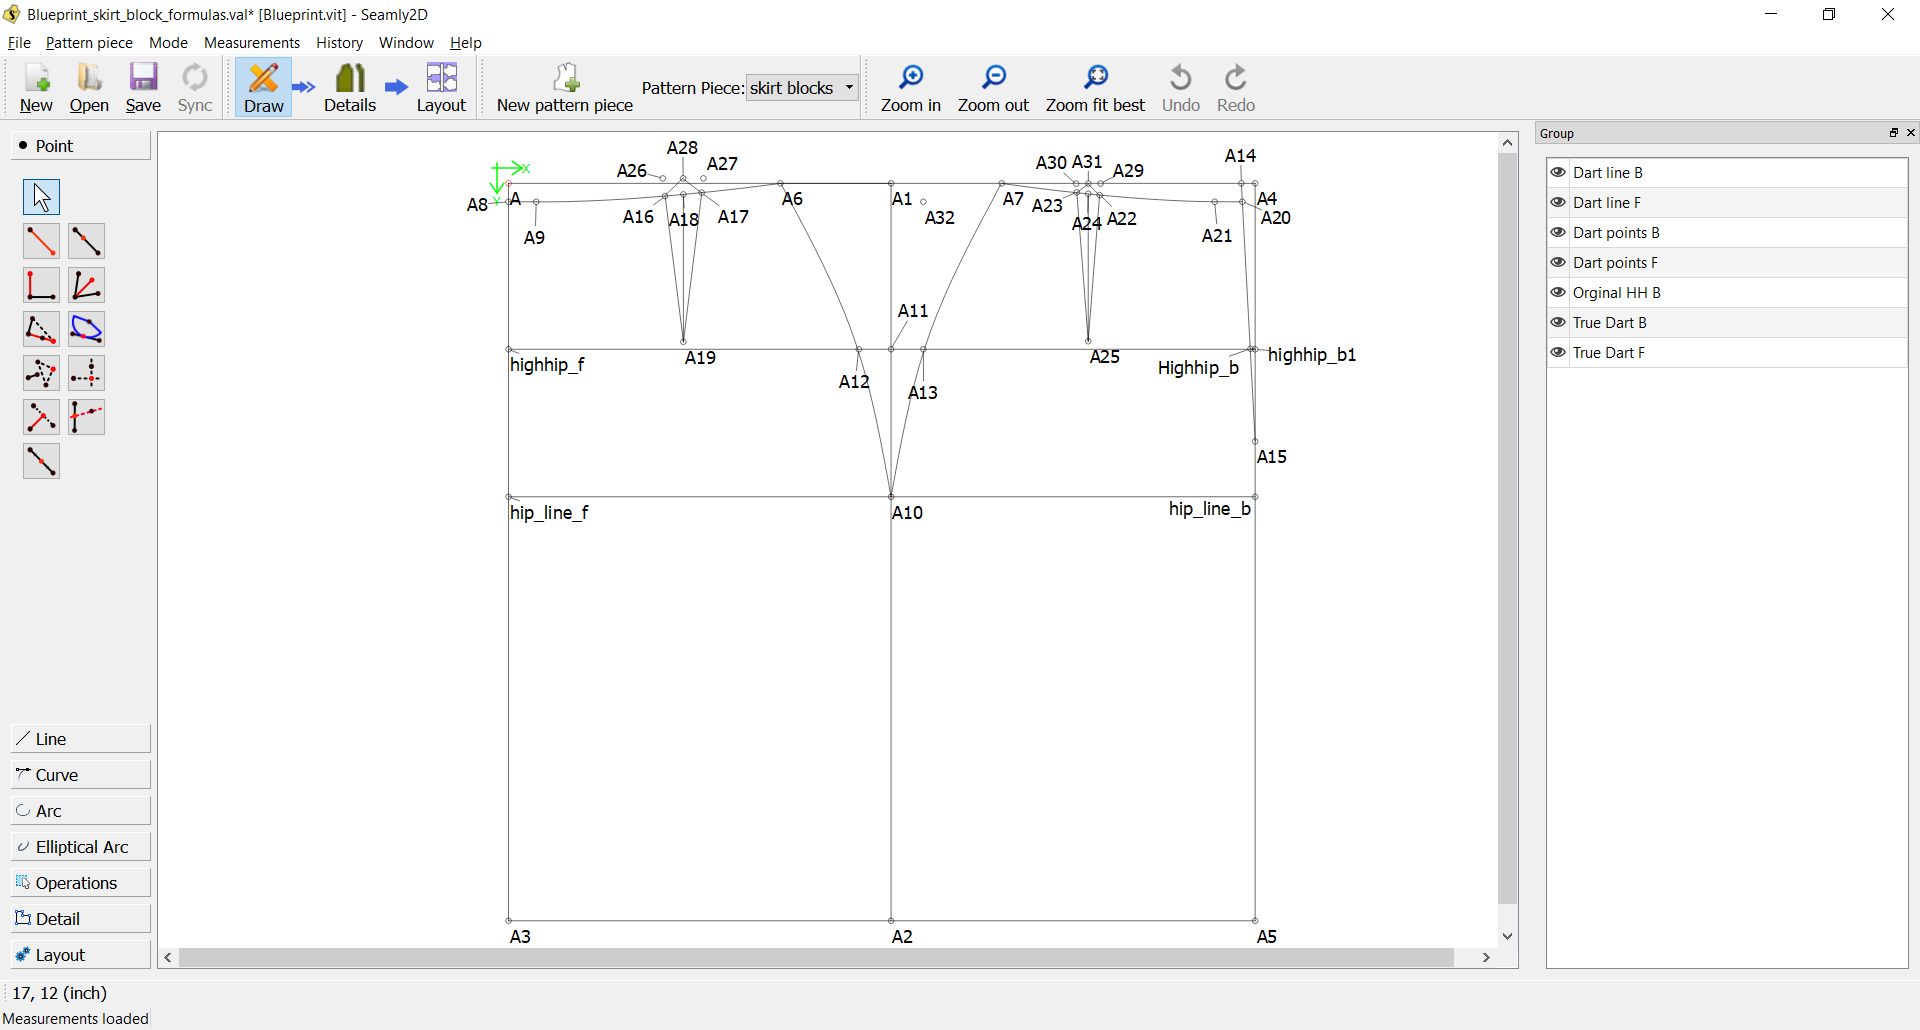
I redid my patterns using formulas and now see that the pattern does change sizes when I load the different files. However, there was still one area that didn’t work out well. Which was the curve on my side seam. The first image is my base pattern, the second one is using my own body measurements.
As you can see the side seam looks a bit wonky, not sure why that happened. I could manually adjust this, but I am wondering if there is something else I can do to make this happen automatically like with the other lines. Hope this makes sense. Any feed back would be great
the only thing that I can see is that the curve does NOT pass through points A12 and A13 on the second rendering as it did in the first. This tells me that you probably did not use those points in the construction of the curve or that you did so in a way that i don’t understand.
Could you clarify what exactly you mean by “wonky”
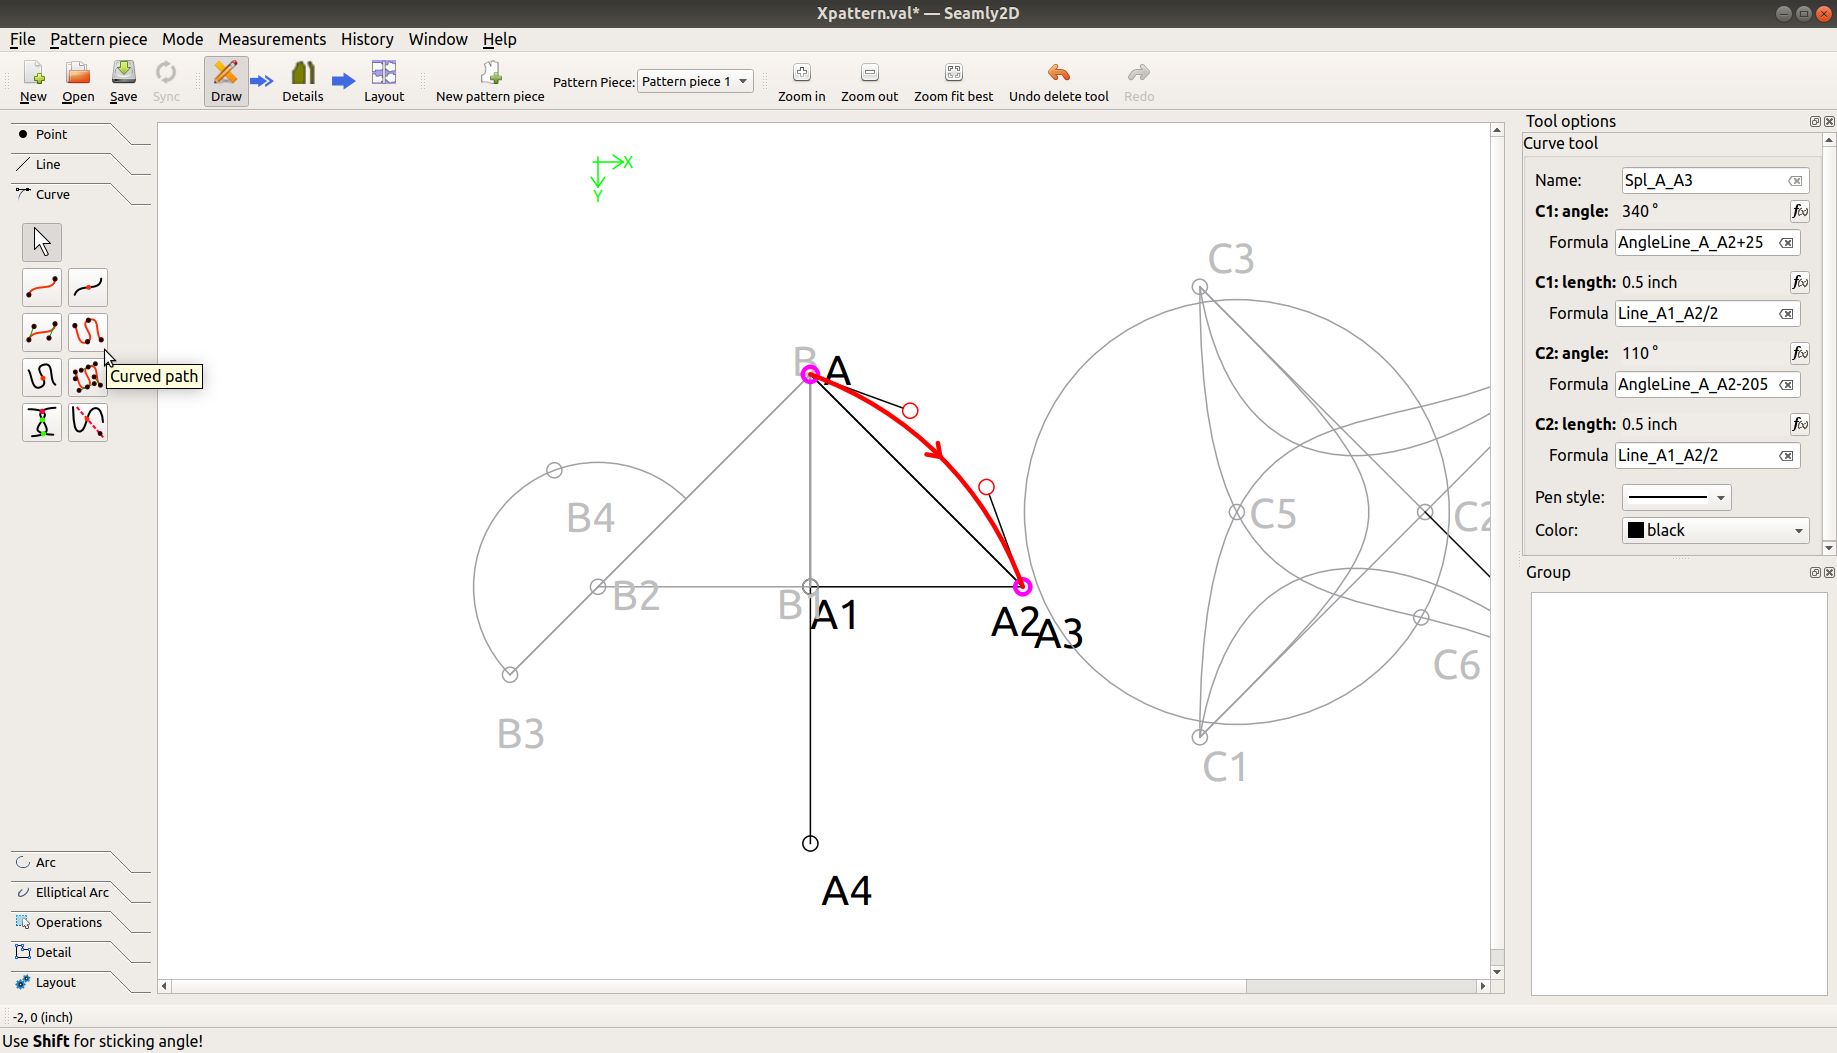
Assuming that the dart curves are supposed to go through A12 & A13, you’ll want to use the “Curved path” tool; it’s the squiggle with four (4) black dots.
However, it looks like A12 & A13 are farther apart in the picture using your measurements, & they’d need to be a lot closer together not to reverse the curves’ directions.
It might also help to make the curves’ angles in relation to the angle of another line, such as I did in this experiment:
It should be noted that I used a “Simple curve” to make that curve, but am pointing to “Curved path”. If you can’t see the entire picture, with the curve qualities filled in, just click on it & it should open as an overlay.
You’re right. It appears that my curve went from A6 to A10, even though it passed through A12. Thanks for pointing that out. Is there a better way to make that connection so that it includes all three points?
Never mind, I think @Pneumarian had a suggestion using the curved path tool. I am going to try that and see if it works better when I scale it up to my size.