Tiled preview doesn't match printed pages?

Hello!

I am a newbie, forgive me if this is a really stupid question. I’ve tried searching previous forum posts but can’t find anything about it (maybe searching wrong terms…)

When setting up my multi pattern piece (underwear), using A0 layout size, and using the tiled pdf preview I see it laid out nicely and in this case it displays 5 pages.

When I print, the pages turn to 10, and the pieces are not aligned the same on the pages as was displayed in the preview. (Small sides being cut off going onto another page instead of the full piece being on 1 page as previewed)

I have checked to have at least 10mm margins and did not click ignore margins in layout settings - however am I using the margin fields incorrectly? Is the default .4230 in cm?

Help is greatly appreciated, I’m really loving drafting in Seamly just need to figure out this final part! :frowning:

2 Likes

Yes, it is a bit confusing until one gets it right.

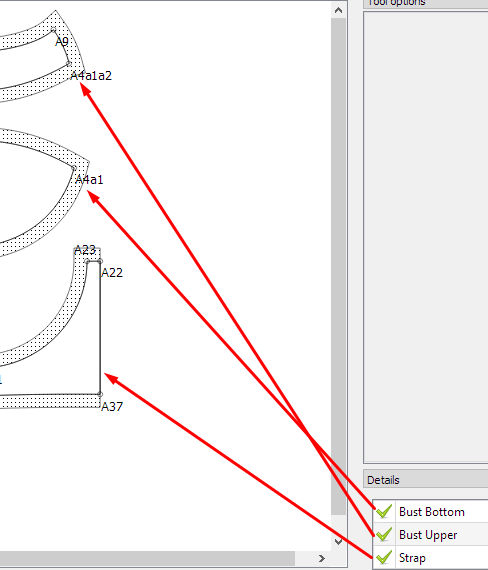
Here, I’ve selected the smallest size of paper that will fit the largest pattern piece and played with the settings to get the pattern pieces to fit close together. It’s a bit fiddly, because you need to do this over and over until you’re happy with the layout:

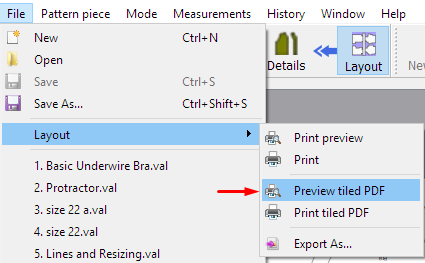
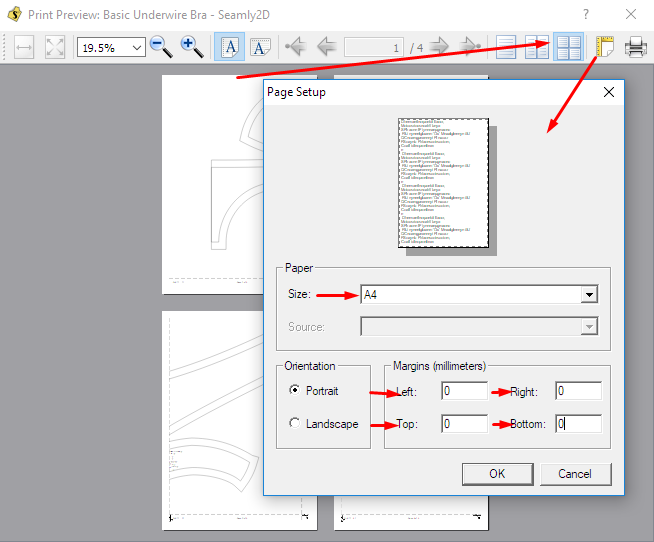
Once you have these then you can go to your tiled preview:

image

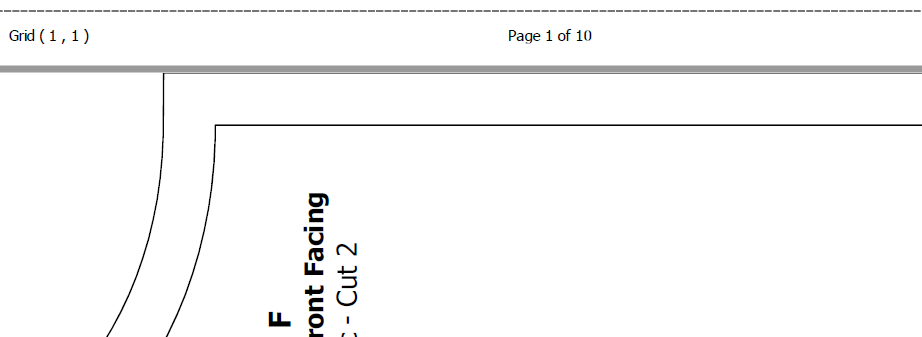
I set the pages to view in tiled and then set the margins of the paper for the printer. My printer prints to the very edge of the paper, so I set these as 0.

image

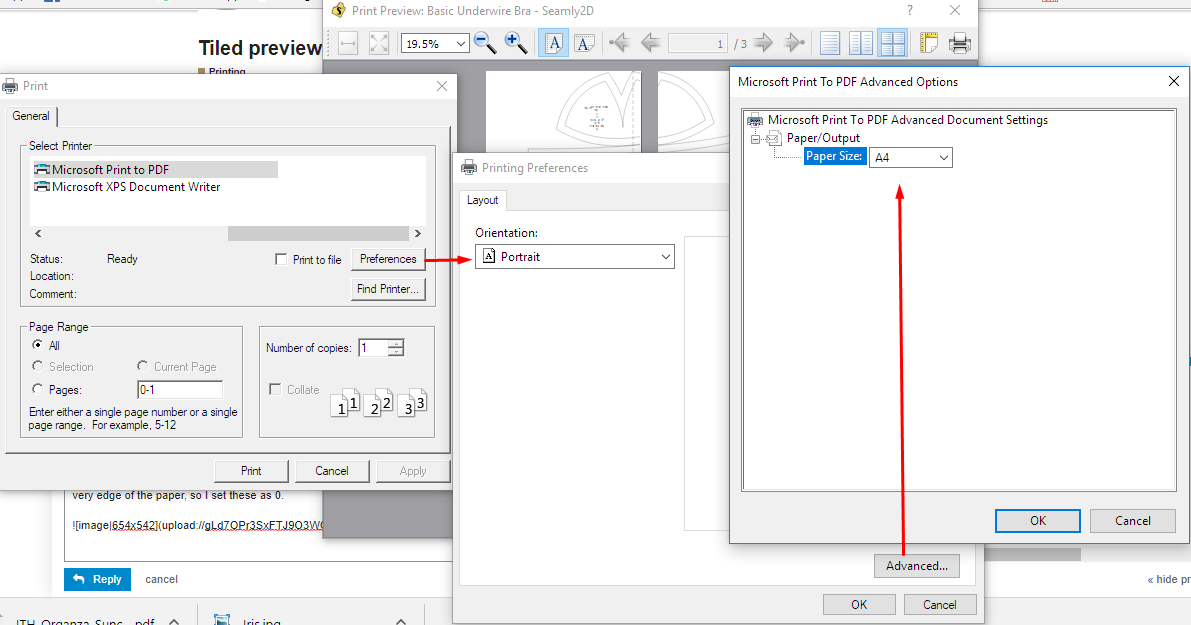
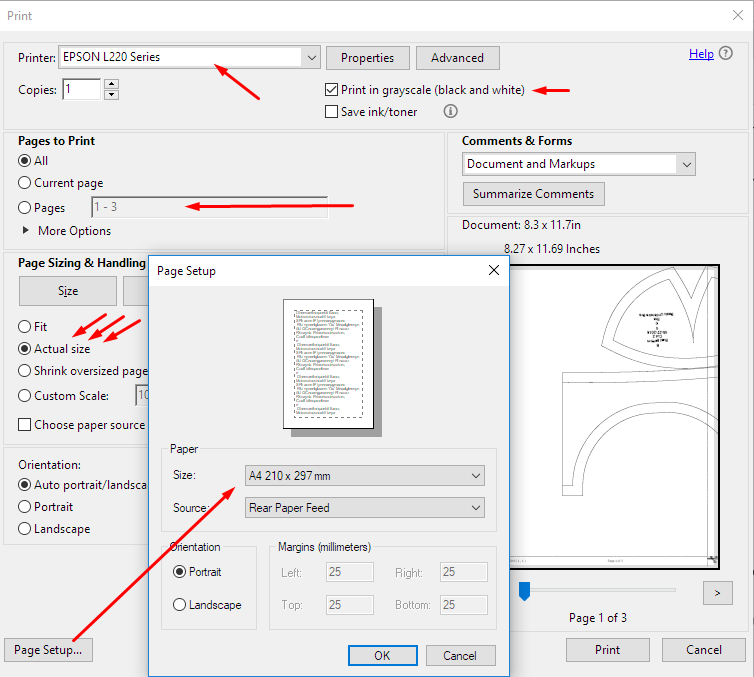
Next, I click the Print and check that my printer settings are set correctly:

Once I’ve saved the pdf, I open it to print it. I check if I can save a few pages that have nothing on them at the end of the document (I guess I’m a bit miserly with paper and ink :wink:), in this case, no, I can’t it only takes 3 pages of A4.

In the print screen, you may select the printer you wish to print to, the number of pages you wish to print, BE VERY SURE TO SELECT “ACTUAL SIZE”, you may double check that your printer is set to print on A4 paper and then you may print the pattern to paper.

image

Using this way of printing will leave a very small blank area around the edges of the paper. I line up the edge of the paper with the dotted line printed on the page using the area of margin after the dotted line for the glue. I check the the lines and curves match up through the paper because my printer does tend to pull the paper through slightly unevenly (no matter how many times I pinch in the paper guides), since it’s just a little desk jet and not some fancy, heavy-duty :slight_smile:.

The print layout will create multiple rows of pages over 5 page columns. This creates a grid that guides you on how to layout the pages for gluing. The page numbers are only to give you an order that the pages were printed in. If you blotch a page, you can go back and only print that 1 page. In the margin area at the bottom left, there is a grid reference that tells you which row and column that page belongs to:

So when gluing a large pattern together, I normally glue the 5 pages for each row together and then glue the rows together. I find that it makes it easier for me.

I hope this helps you to get past this last hurdle. :smile:

Here’s my pdf file that I created doing this: Basic Underwire Bra.pdf (229.2 KB)

2 Likes

There is something else that I’d like to add here…

Sometimes, when I have lots of bits and pieces of pattern, I split them in the Details screen into sections of large pieces and small pieces. Then I turn off the small pieces and create a pdf of only the large pieces. Then I turn off the large pieces and turn on the small pieces and create a pdf of only the small pieces.

image

You can turn pieces on and off by clicking the checkmark next to the pattern piece at the bottom right of the screen in Layout mode.

2 Likes

this is awesome, thank you Grace!

Do you ever find your seam allowance gets cut off at the top of the page in the tiled preview? Do you have any recommendations for avoiding that or other ways to change the layout it provides?

2 Likes

You’re very welcome.

The seam allowance line is there, it’s just at the very edge of the page so it’s in the 0.25mm space that Acrobat Reader demands as a margin:

Perhaps give a 0.5mm margin at the top of the page to cover this, but that will mean that you have to trim all the pages (with the exception of the 1st row) before gluing them all together.

The best is to play around with different margin settings in various places until you get the pattern exactly as you’d like it.

2 Likes

I realize this is an old conversation, but on Linux I’ve found that sometimes “printing” as a PDF, & then printing off the PDF works better. It at least saves paper if I got a setting wrong.

:unicorn:

1 Like

LOL, yes, this is really digging in the archives :slight_smile:

Yes, I always put it into a pdf first. I like to save the pdf’s so I can print the pattern again at a later date, if it works well.

1 Like