Hi guys, I am wondering if some of you might be willing to share your workflow/creative process with Seamly 2d.
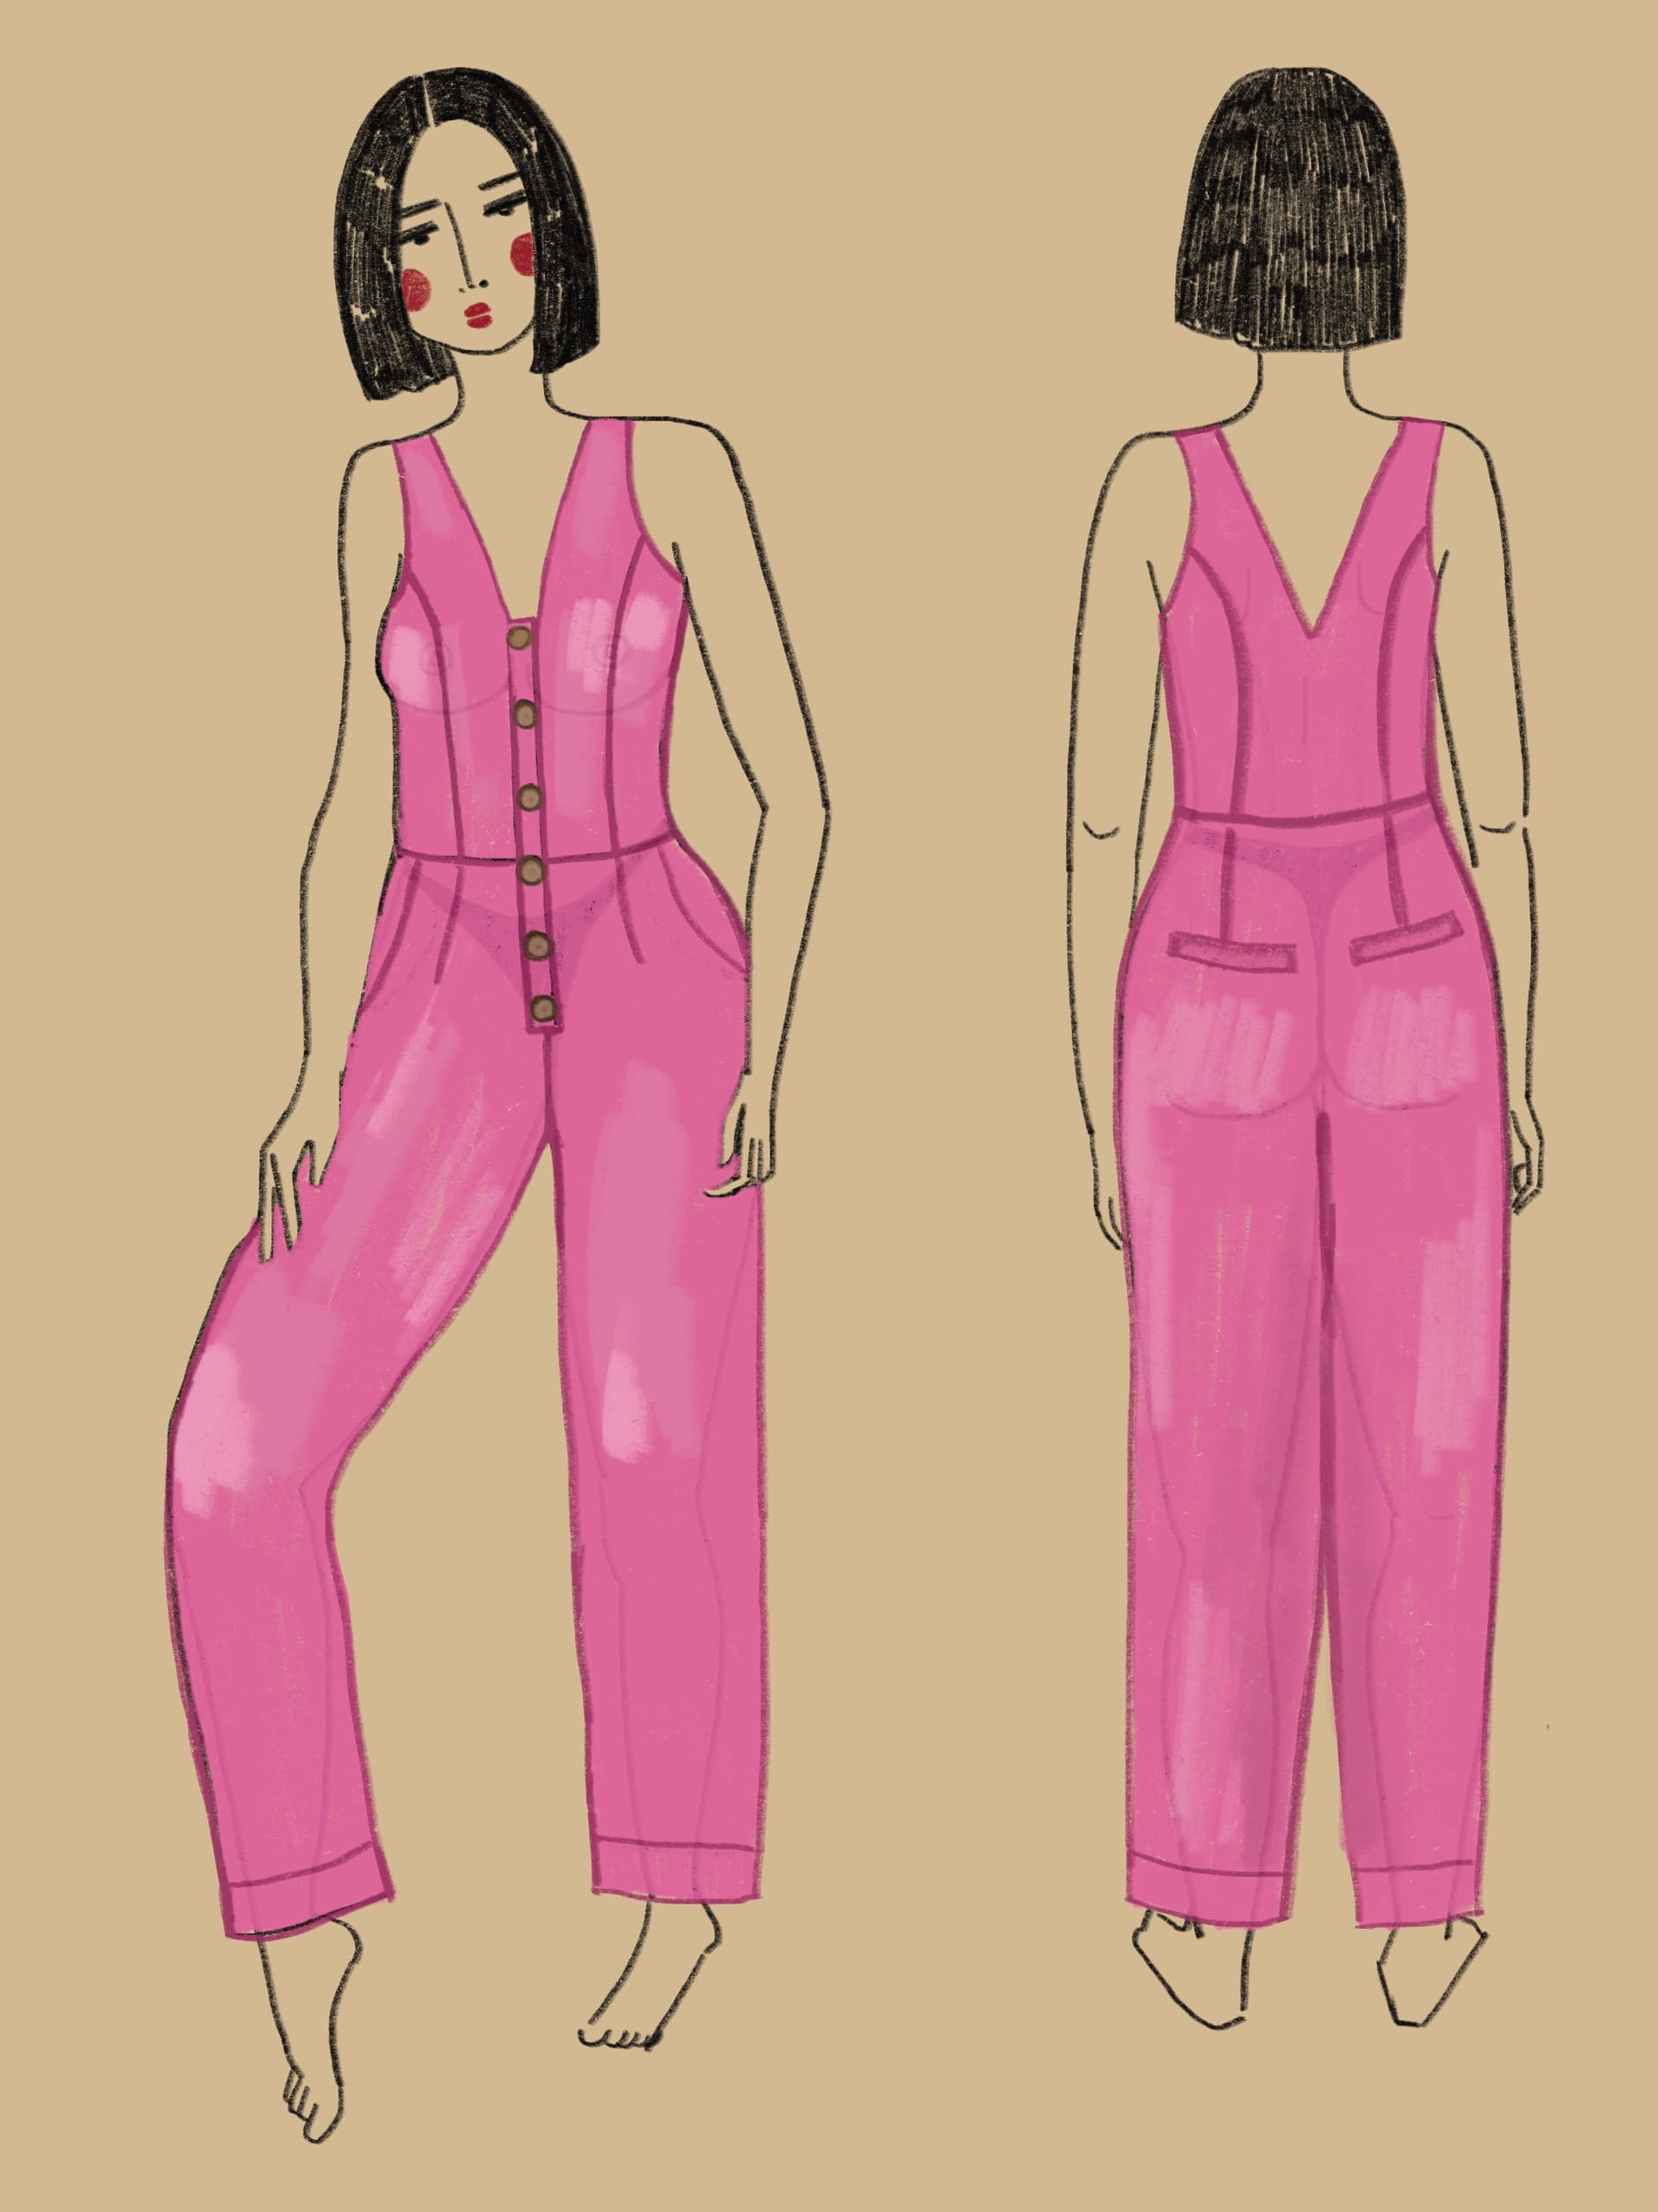
I am an artist/painter who fell in love with garment design and sewing. I am working toward selling my own digital patterns online.
I have been sewing and designing my own clothes for the last few years, self teaching pattern-making from books and honestly learning mostly through trial and error.
I started with draping on a dress form, which made the most immediate sense creatively, because it’s visual and tactile. I think I still have the most fun and can execute a design most accurately when I start here after illustration.
I picked up flat pattern-making next, and drafted blocks and started to execute designs that way. I can still put the working pattern paper onto the dress form or on myself to get a sense of what I am doing, and make changes and corrections in the moment.
Now enter Seamly 2d. To be honest, I feel way out of my comfort zone working in a software. I am used to sitting in a giant mess and having paper/rulers/tape everywhere when I am working out a design.
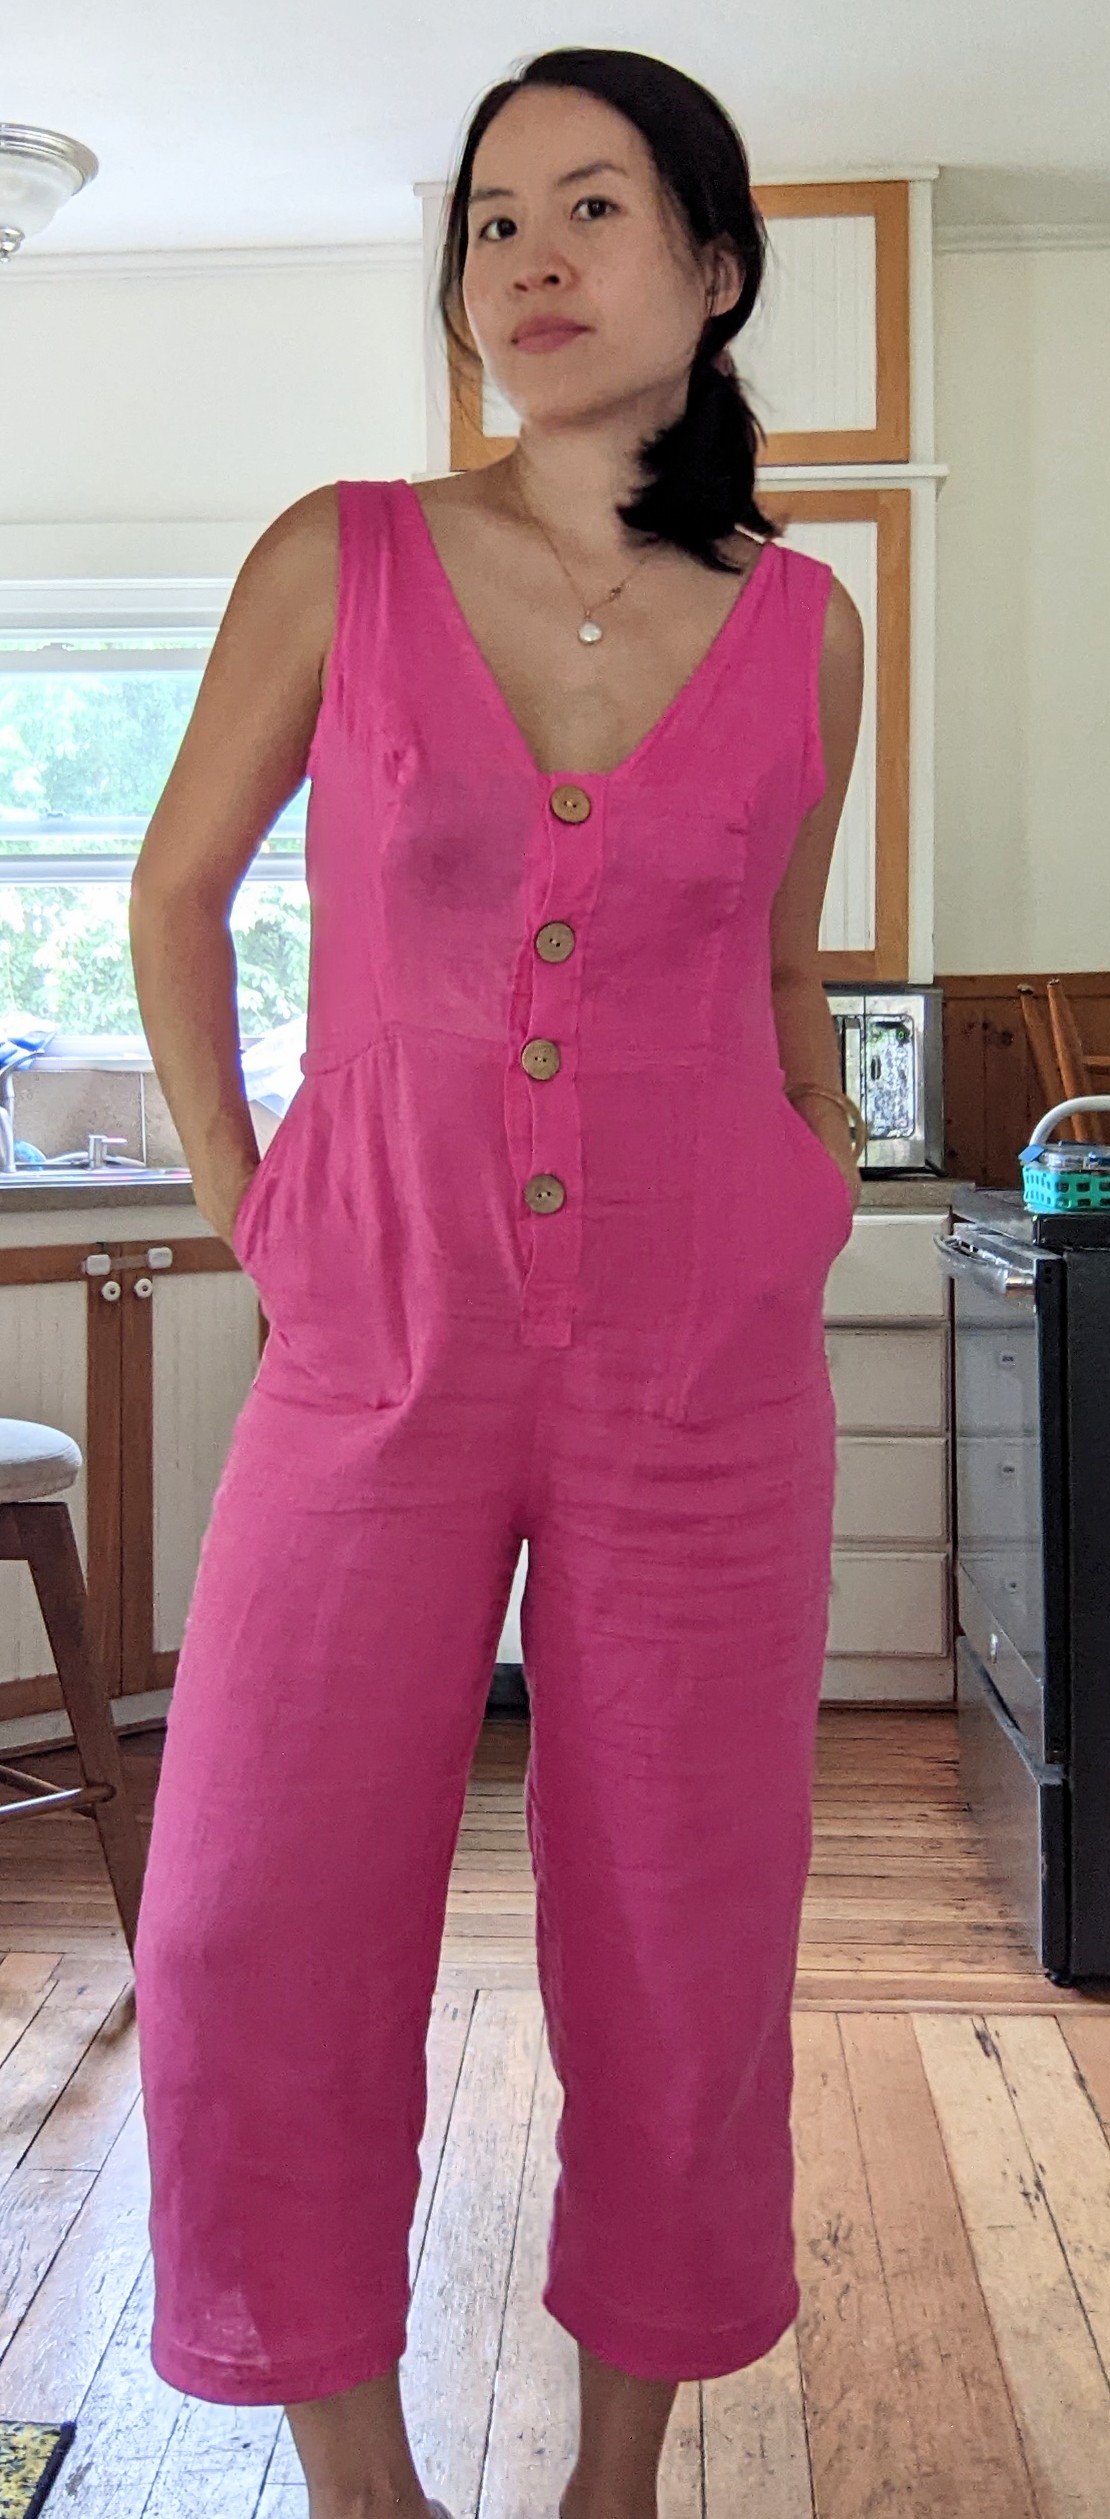
For my first project, I illustrated my design, and then drafted my pattern in Seamly. It took a really long time because I am new to the software. I made a mock up, and adjusted the print out pattern in the studio on the fly because it’s just so much faster.
I am onto my next project, and I am reflecting on my workflow. I think I need to incorporate draping and/or a physical working pattern while I draft in Seamly to help me see in real life what I am doing on a computer.
Does anyone else work this way?? What does your workflow look like? I would love to hear some ideas and examples so help streamline my own workflow! Thank you!!
I have spent a very, very long time creating my basic set of patterns on Seamly - bodice, sleeve, skirt, trousers. I’ve included things like ease in the Variables (where I can edit them inside the program rather than in SeamlyMe) so that I can use the basic patterns for jackets and coats, as well. I keep this set in tact.
Each time I make a new pattern, I open my basic pattern, save it under a new name and get to adding and adjusting bits (like facings, neck, length) according to my design illustration. This saves a huge amount of time in recreating the basic pattern from scratch each time.
I make use of groups a lot and I keep all my patterns on one drawing board seperated with lines that I can lengthen or shortenn so that I can easily attach the skirt or trouser to the bodice to make a dress or jumpsuit.
Once I have my pattern designed, I print it & create my test garment, do any corrections needed in Seamly and test again until it’s perfect.
I also spent a huge amount of time researching different measurements to create my own measurement file over a range of sizes that I use to draft patterns with and also to nest sizes which I do in Inkscape.
I already incorporated your idea of keeping all my basic blocks in one file and then “saving as” a new file when I start a new project! That’s super helpful.
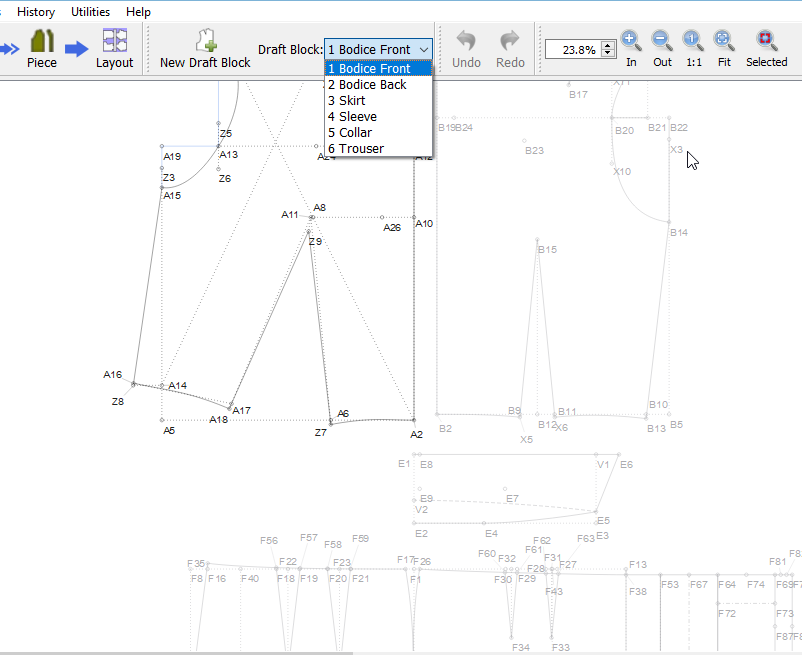
When you say you keep on your patterns on one drawing board separated with lines, do you mean you keep all your blocks as one “draft block” in Seamly? I have them as separate draft blocks right now, but wonder how I can work with them more effectively.
Are you creating patterns for sale online? I have wondered about creating a multi-size measurement file for different sizes. Is there a lot of complexity involved in finding the appropriate measurements for different sizes?
Take a look at this topic. It’s a shift dress one of my employees draped on a dress form, from which I used as a proof of concept to see if I could enter the pattern in Seamly2D, and apply standard grading rules to adjust the pattern per someone’s measurements. In other words, it’s a way to enter (digitize) an existing pattern of a known size, and have it size to measure.
We do mockups all the time in my shop, and sometimes - like a recent job that was just not working after 2-3 drafts and mockups - it’s just easier to drape it.
I’m of the school of keeping everything in 1, maybe 2 blocks. We mainly do period mens wear, and most drafting systems will draft the jacket back, front and collar together, and then the 2 part sleeve with the upper and under sleeve on top of one another in another block. One could draft the sleeves on top of the front and back - which I might do with my current job, but usually a mens 2 part sleeve can be used for any number of styles, so I don’t need to keep drafting the sleeves. Pants (trousers) are also done in 1 block, as are vests (waist coats). By keeping things in 1 block it can help to avoid the issues of a tool length not being available to another tool without resorting to creating it again. Also, doing like I did this afternoon - an outline sketch of some layout lines, point names, and formulas, can help avoid issues once you get deep into a pattern.
This is an example of all the different parts on seperate drafting boards:
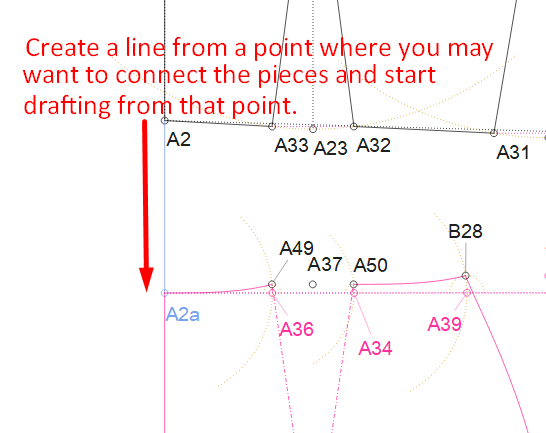
Here is an example of placing all on one board:
This is a line created with the Point at Distance and Angle tool. You can shorten or lengthen this line as you wish and also change its angle to suit your design. You will also find it easier to match the darts and seams.
No, but I do the nesting, etc. for a few clients who do sell online.
Hi Douglas, thank you for pointing me to this. I will go through it carefully and learn. I think I definitely need to learn techniques for incorporating draping with Seamly!
This was what I could think of to digitize pattern into Seamly2D. Basically I locate all the grade points on the X-Y axis from an origin - usually the center front & horizontal across the bottom of the armscye. I draw out a copy on a piece on paper, and then measure the XY distances from the origin. It’s a bit tedious, though I might try locating the points using the radial projection method - which may be quicker just using the point at distance & angle tool from the origin to all the grade points. Would need a good protractor for this. That’s why I’ve been working on being able to load a background image that could be traced around. Would eliminate having to draw out a copy and do all the measuring. I have lots & lots of patterns, many of which have been taken off of vintage garments, and others that have been draped that I would like to have in Seamly2D.