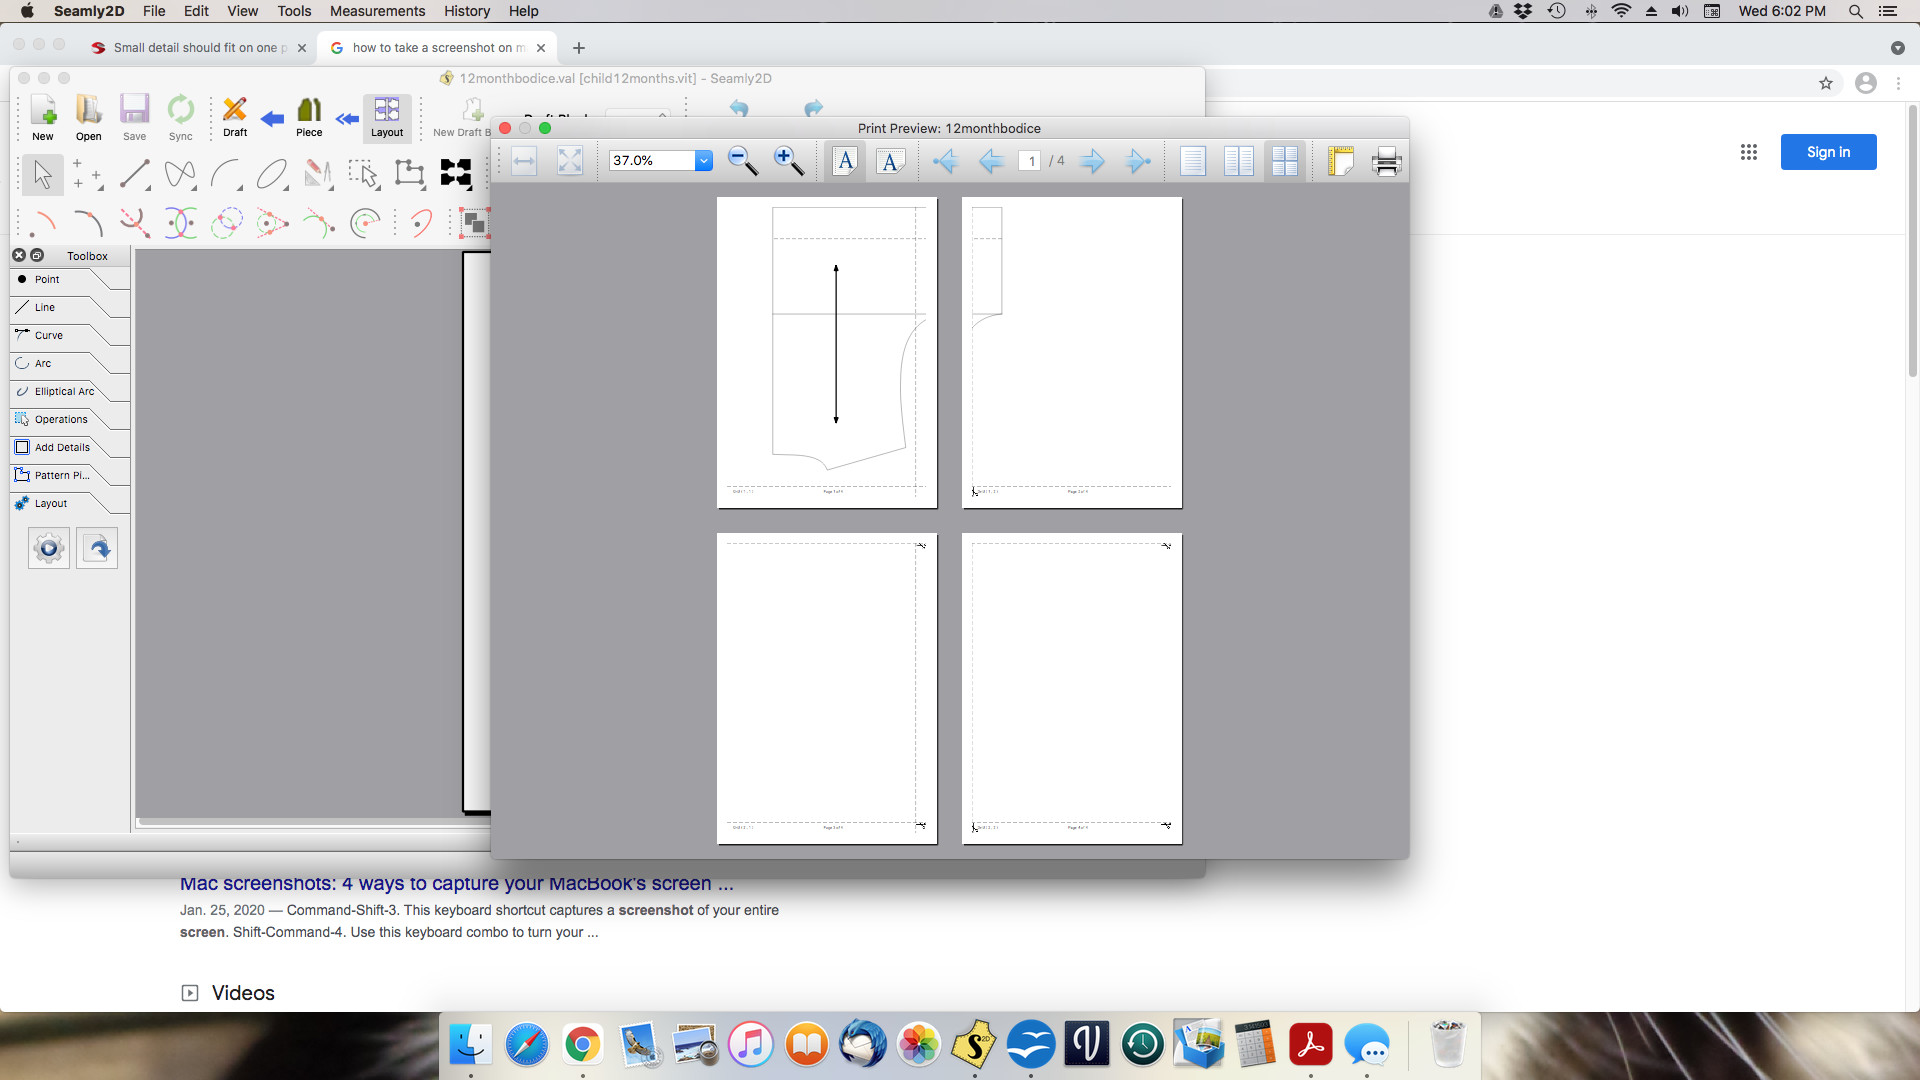
I have a question about why a small detail that will physically fit on one page of A4 paper gets split over two pages when I preview as a tiled pdf? Is it a margin adjustment that I should make?
If I could shift the piece over a small amount it would not need two pieces of paper.
I have tried all the paper sizes in layout and I can’t figure it out why.
In the larger paper sizes it tends to place the piece horizontally and still takes up two to three pages of paper. I have tried unchecking the rotate work piece but nothing seems to work.
It of course doesn’t need to be tiled, but I cannot seem to get it to just print directly to a page of A4 either.
time to walk away for a bit I guess.
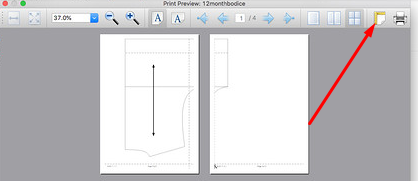
If you click on this icon, you can change the PDF settings. You can change all the margins to 0.25cm (this is the minimum that Adobe Reader needs). You can also check that the paper size is correct to what you are using.
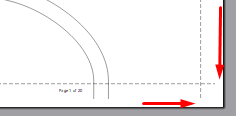
If it still goes over 2 pages, then go back to the Layouts and change the margins to 0.25cm there. I always checkmark the option to Ignore Margins:
Even as computer literate as I am, I sometimes find getting the layout, PDF and printer settings correct. < sigh > I always do a test print of a part of a pattern and check the size to make sure it’s all printing correctly to scale. BTW… not to get off topic, but automagically adding a size reference square piece is on my list of features to add.
Someone correct me if I wrong, but currently the app does not save your PDF / printer settings - where you have set them each time? If this is the case, at least if we can add saving the settings as it would make it easier for future prints / plots once you figure out your best settings.
Normally, in the Layout board, those settings remain the same as your last settings (which is really handy, since I can never remember them), however, in the Preview PDF, it always reverts to the norms set in the program. This part doesn’t bother me, as I always have a bit of a fiddle around to see how I can get this to print the least pages possible, but it would be nice if the margins were set a bit narrower.
Is this something that appears to be hard coded for a minimum value?.. like the .25 cm you mentioned? If so that seems like an easy fix… or even make it a pref.
I know the thing that annoys me, is that I have to try and remember what printer settings to set… such as type of paper, which can determine the paper margins. I normally select a borderless setting and am able to get tiled prints where the top and left edge have no margin. And the bottom and right edge have the margin that overlaps… so basically I can tape the pages together without having to cut (squared up) edges on 2 sides. I’d like it if the app could store the printer settings too… like most documents do.
Don’t you have a very narrow margin where there is no printing at the top & left?
I’m not 100% sure if it’s Adobe Reader or is it some printers, but I did read somewhere, many years ago, that Adobe reader has a ‘no print’ area of 2.5mm or it could be 0.25mm around the edge of the page. I have an Epson Inktank printer & I see it when I print tiled images and have to chop off that narrow piece around the pages & it doesn’t matter which program I used to create the PDF, so for images like this, I use 0 margins and ‘Fit to Page’, otherwise the narrow ‘no print’ area causes that area of the image to be lost, since it just doesn’t print in that area.
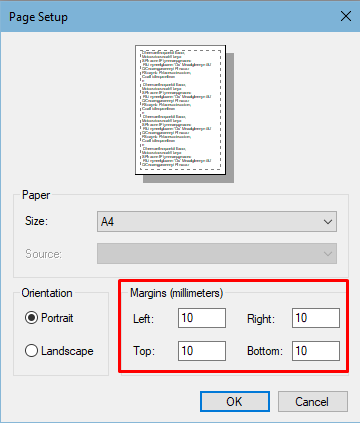
That said… In the Tiled Preview Page Setup…
The paper size is taken from your OS printer settings. I have no idea where the 10mm margin settings comes from, but I do think that it’s hard-coded into the Seamly2D program, because I don’t get it in other programs.
Unless I’m missing something… no. Somehow I seem to be able to get it to print without having to cut those edges and the pattern seems to print scaled correctly.
The PDF spec allows for full bleed print - ie No margins - so it should be possible to do so from Seamly2d. Whether the export is handling the PDF’s correctly I can’t say.
Yes… When I got home I checked, and the paper size is taken from the printer default paper size. And yes… the 10mm is hardcoded - I researched that awhile ago. What the app doesn’t - (or can’t?) save is printer specific settings - like my Canon’s “borderless” setting - which basically disables the margins.
At any rate… I find all the “margins” to be rather confusing… as there are 3 margin settings… the layout, the PDF, and the printer itself. Not even sure what the layout margins are for, for they don’t seem to apply if you’re going to use a tiled PDF on a printer VS plotting on roll paper… thus the “ignore” margins. Basically the layout margins would only add more margin area to the “outside” tiles of a tiled PDF.