I was about to create a new topic but I just found this one. I am working on bell sleeves and cape sleeves as an example of sleeve variations. I will look at what @slpencer told @Barbara
The Rotate tool can implement the slash and spread technique.
Have you seen this video? This example shows the slash and spread method to rotate upper corner of the bodice, using the Rotate tool.
because that is probably the way to go at least for the bell sleeve. I will give some thought to the cape sleeve because my current approach has been to find a way to “mirror image” the sleeve curve and make it convex before building a new sleeve to hang from it. (yes, I see that mirror image is an instance of pivot and I am not convinced yet that is the way for me to go)
I did the 1st half so you could see the other half. I added a whole lot of points that weren’t necessary.
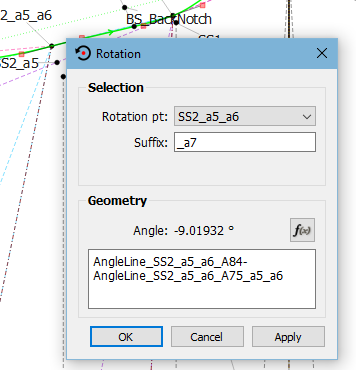
1st I divided up into the required segments to be rotated and then, working from the outer edge to the centre, rotated each section by -10 degrees selecting the sections to be moved.
@grace could you write up the names of the points you used in the first rotation? I am sure I can figure it out from there. I have been gone on a cruise so not thought about this in 2 weeks, but I was having difficulty selecting anything other than a single line or single point and seeing how the automatically generated extra point can be used to draw the rotated section. (I am assuming that the example here is a progression of -10 degree rotations). the use of different color lines is also helpful.
The Cape Sleeve, I did in the same manner, just with more slashes and more degrees between the sections. In my option, it wasn’t very successful but that is perhaps because I have no use for it at this point. I just wanted to see how it works. It uses the same measurement file above.
Hi @Grace
Would you make a new thread in the ‘Patterns’ category for the Bell Sleeve pattern, and another thread for the Cape Sleeve pattern? Sorry to make you copy/paste to a new thread, but it would help forum readers to find these patterns. Right now they’re buried in this general topic thread.
Yes, the Bell Sleeve pdf is the only one that I made and the technique that I used is the same, only the degrees are more in the Cape Sleeve. I gave my learning files and measurement files so that anyone interested can open them & see for themselves. Please tell me if I’ve made a mistake and where so I can fix it, because I don’t see where.
hi Grace,
thanks very much for your instructions.
I am having trouble with the rotation tool.
See attached a screenshot. the rotation tool doesn’t select and move all the points.
can you help?
I normally place everything into different groups, so that I can hide the parts that aren’t necessary to the exercise. Later, you can delete the groups and place everything into one group, if you wish.
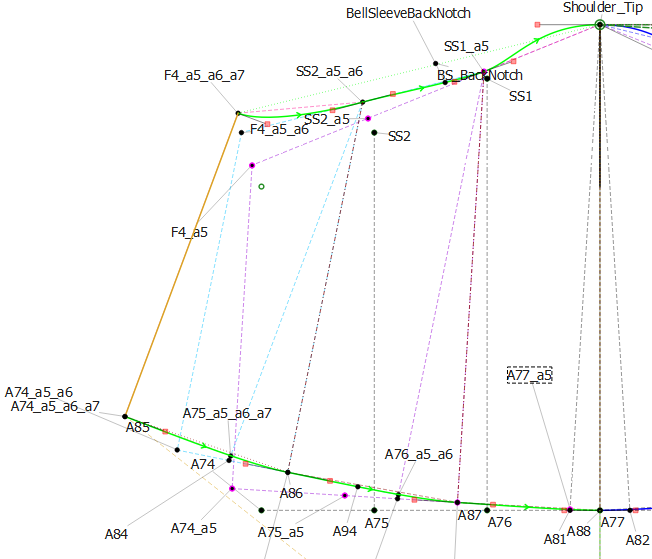
And then, I work from the centre outwards, first on one half and then on the other.
You won’t be able to select the lines between 2 points - you can only select nodes and curves, so you’ll need to add lines for guidance between each rotation.
With these in mind, once you’ve picked up your tool, hold down the Ctrl key as you select the nodes and curves you wish to rotate and, once you’ve selected them all, hit the Enter key. Select the node at the point of rotation, 2 green lines will appear at the 0° and slightly above of below it - just hit Enter again.
Open the Properties for the rotation and add a formula to determine the amount of degrees that you need the rotation to be:
See below, I added a node at each section that I rotated with a line from the rotation point that is a certain distance from the other point to use for the formula:
Once you’ve done your rotations, you can lengthen or shorten some of the lines and draw in new curves according to your design.
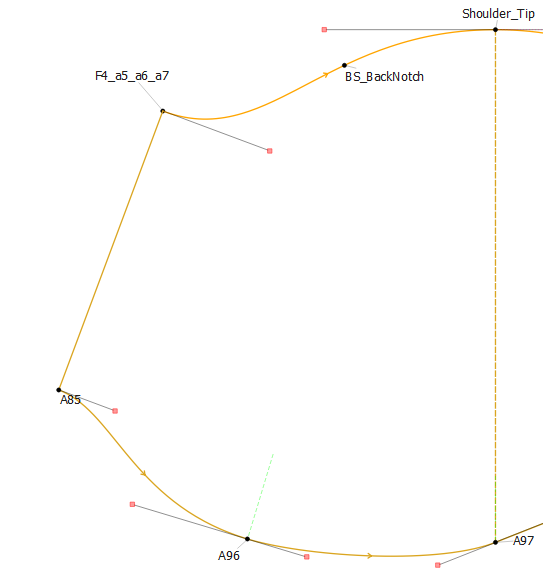
My final group of the basic pattern piece group so that all of the workings don’t confuse me when I get to using the Add New Pattern Piece tool
Hi Grace, thanks so much for your reply. Given this topic was from 7 years ago, I wsan’t sure I would get a reply, but was overjoyed to read your comments.
Thanks so much for hte help. I have managed to complete my first pattern, and have now made it up in fabric. Feeling very satisfied. thanks for your kindness.
I agree. The rotate tool works but is not ideal as you can only rotate curves which then become fixed and single points. The result of many slashes are hundreds of points with increasingly complex names. You end up in a situation where you can’t remember which point refers to which rotation. Allowing for rotation of lines might help or just a rethink bout how copies of curves etc are duplicated.
Yes, it would be nice to have less point baggage. The main way we eliminate the visual baggage is to assign the deprecated points to a blind group. It’s still annoying to put A1_a1_a2_a3_a4_a5… in formulae, but at least one needn’t see it once it’s served its purpose.
While it might seem nice to eliminate the intermediary steps entirely, just think how much trouble realizing that you stepped a2 wrong when you are on a5 would be, if you couldn’t go back to the points a2, & fix their formula!
 It’s really haaaarrrrrddddd.