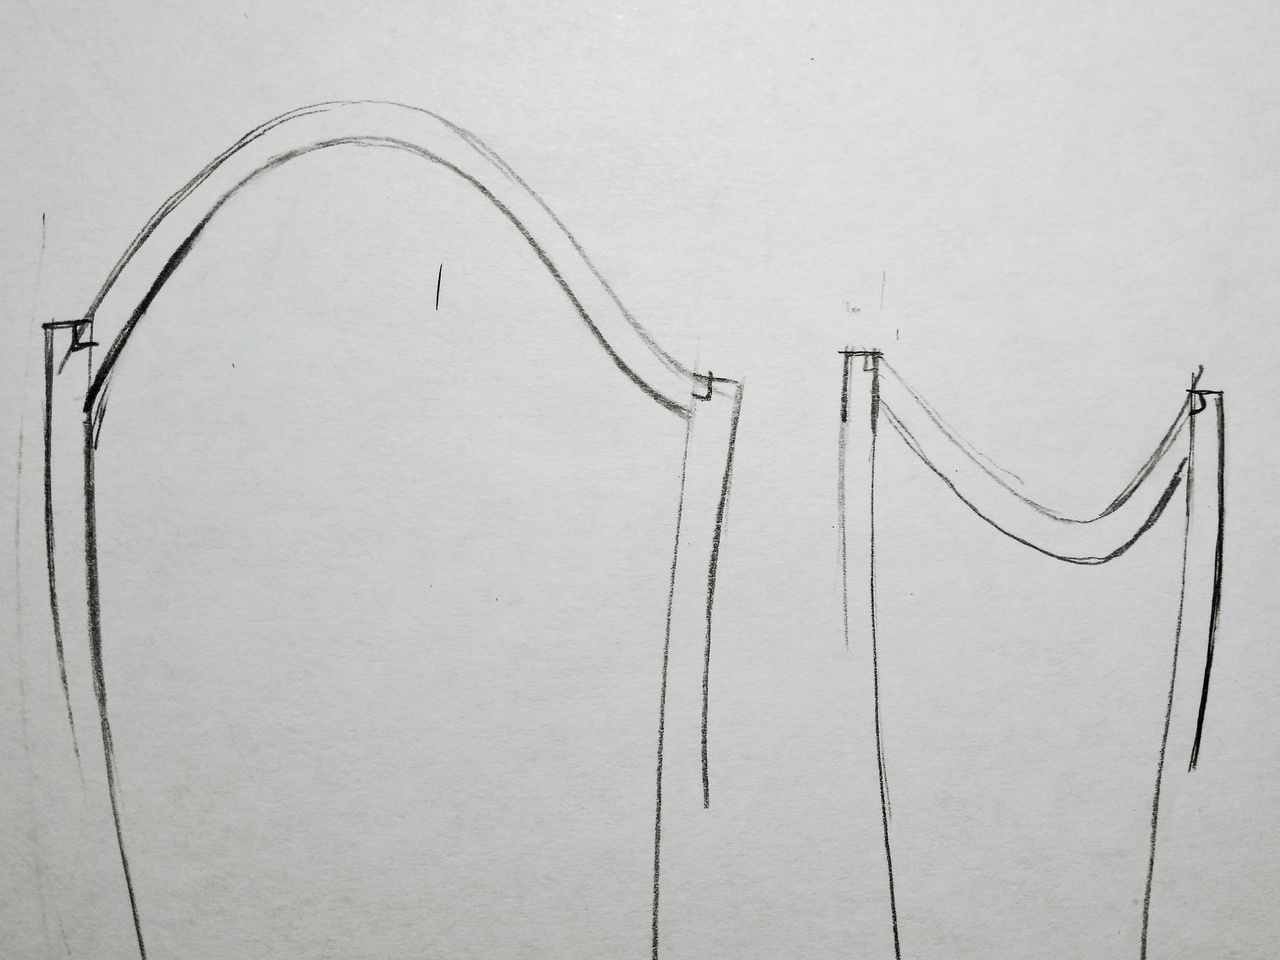
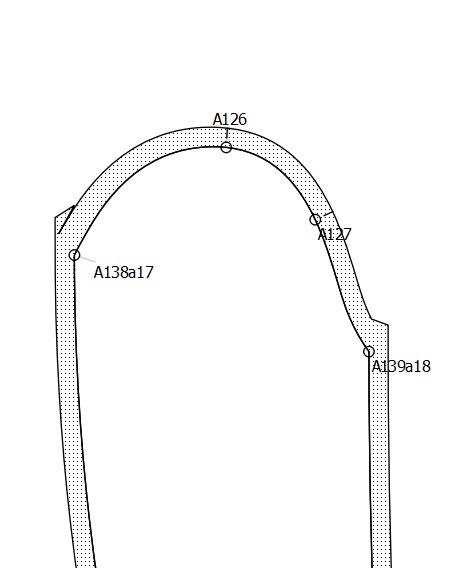
Here I tried to draw what a proper seam allowance of sleeve cap should look like in my opinion. Basically, it should go at 90° angle from where the top “intersection” notch is
Any idea how to make it happen in Seamly? How do you make seam allowance of this part?
I’m considering some “post-production” in Inkscape or maybe other graphics editor but still very little idea about how to make it in the most efficient way
Here is an explanation of using the McCunn method to draft a sleeve. One issue to remember, this is based on individual measurements and is not matched to any specific bodice. You may have to adjust to make it fit a specific bodice.
https://wiki.valentinaproject.org/wiki/Sleeve_Block,_McCunn_System
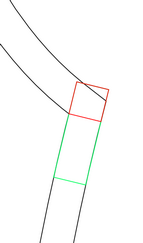
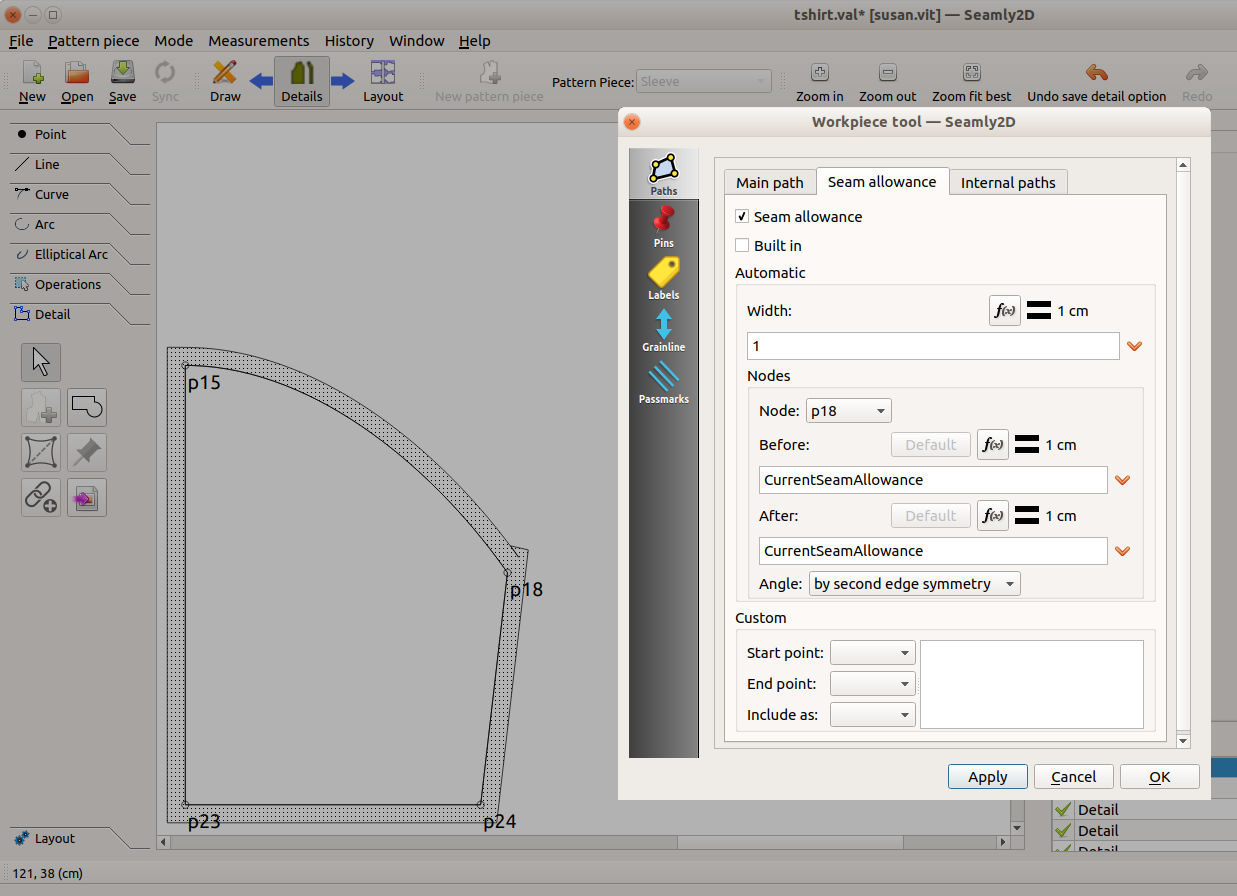
I tried to define what I need in “strictly geometrical” terms and that’s what I came up with. There should be a square with side=CurrentSeamAllowance that touches main outline angle and aligns with one of the sides
sorry. I meant to continue and give information on how to add the seam allowance but the real world interfered. My husband came in and whisked me off to my morning workout. I ab happy that others were able to pick up where I left off
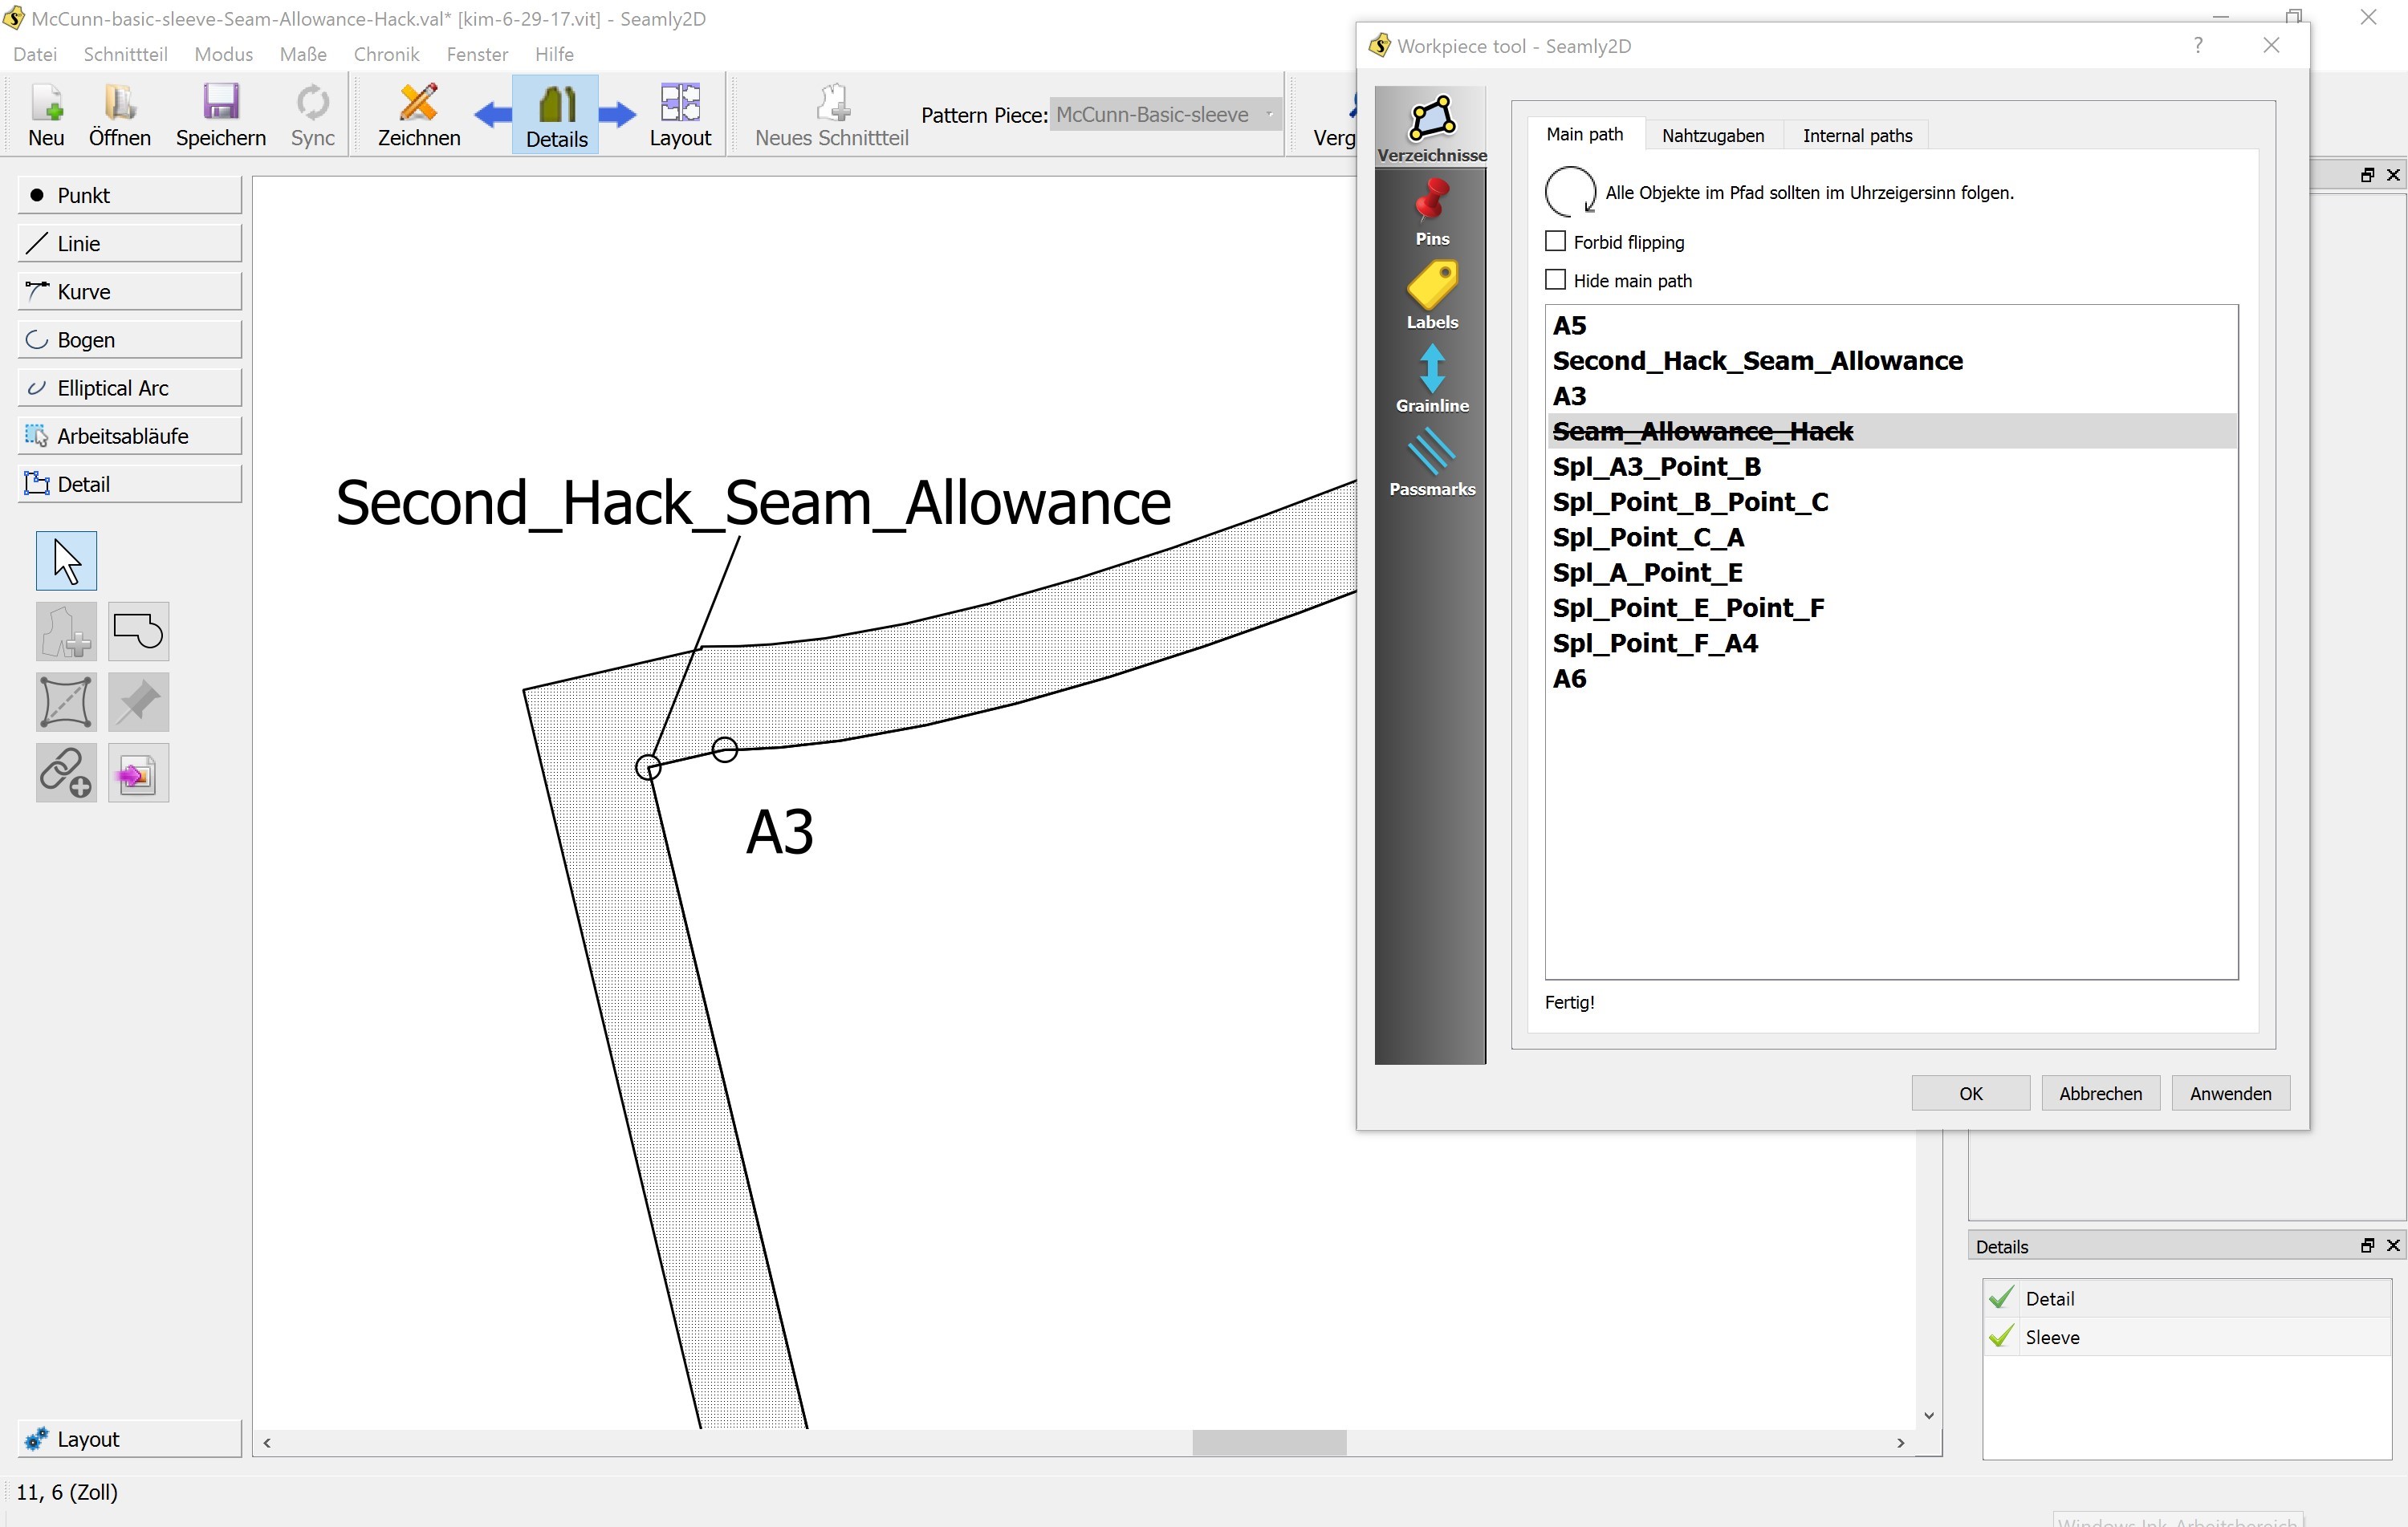
Here is the sleeve I drew with the detail, but also with a second detail containing a seam allowance hack. It may not be exactly what you are looking for, but I believe it shows an approach that may work McCunn-basic-sleeve-Seam-Allowance-Hack.val (15.7 KB)
I played around a little with the given files. And I think this might be interesting even the outcome looks a little odd.
I didn’t checked the measurements on a print out but theoretically it should be fine.
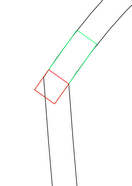
First I played around with the order of the nodes. I found out, that
this order nearly forms a right angle when point “seam_allowance_hack” is excluded. Yay - right angle! So in theory (not tested yet) one point at the right position might be sufficient for the hack.
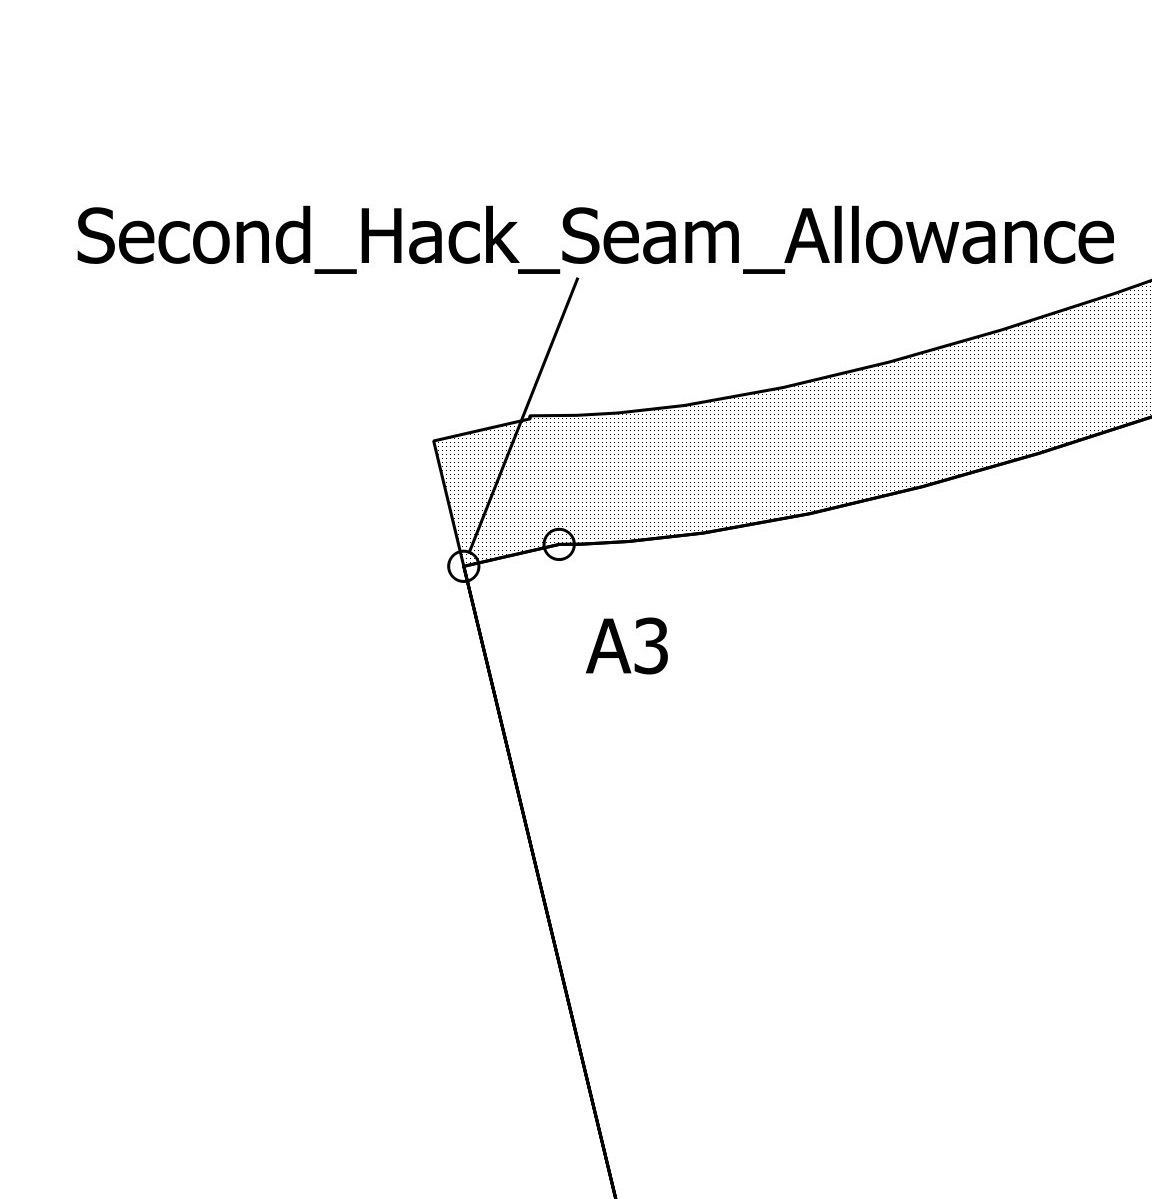
Now we’ve got another problem: the distance between “second_hack_seam_allowance” is added to the pattern - but it should be the allowance… in other words: the allowance is doubled at this section.
Then I nullified the allowance at the line… but that is not necessary.
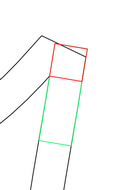
It looked like this:
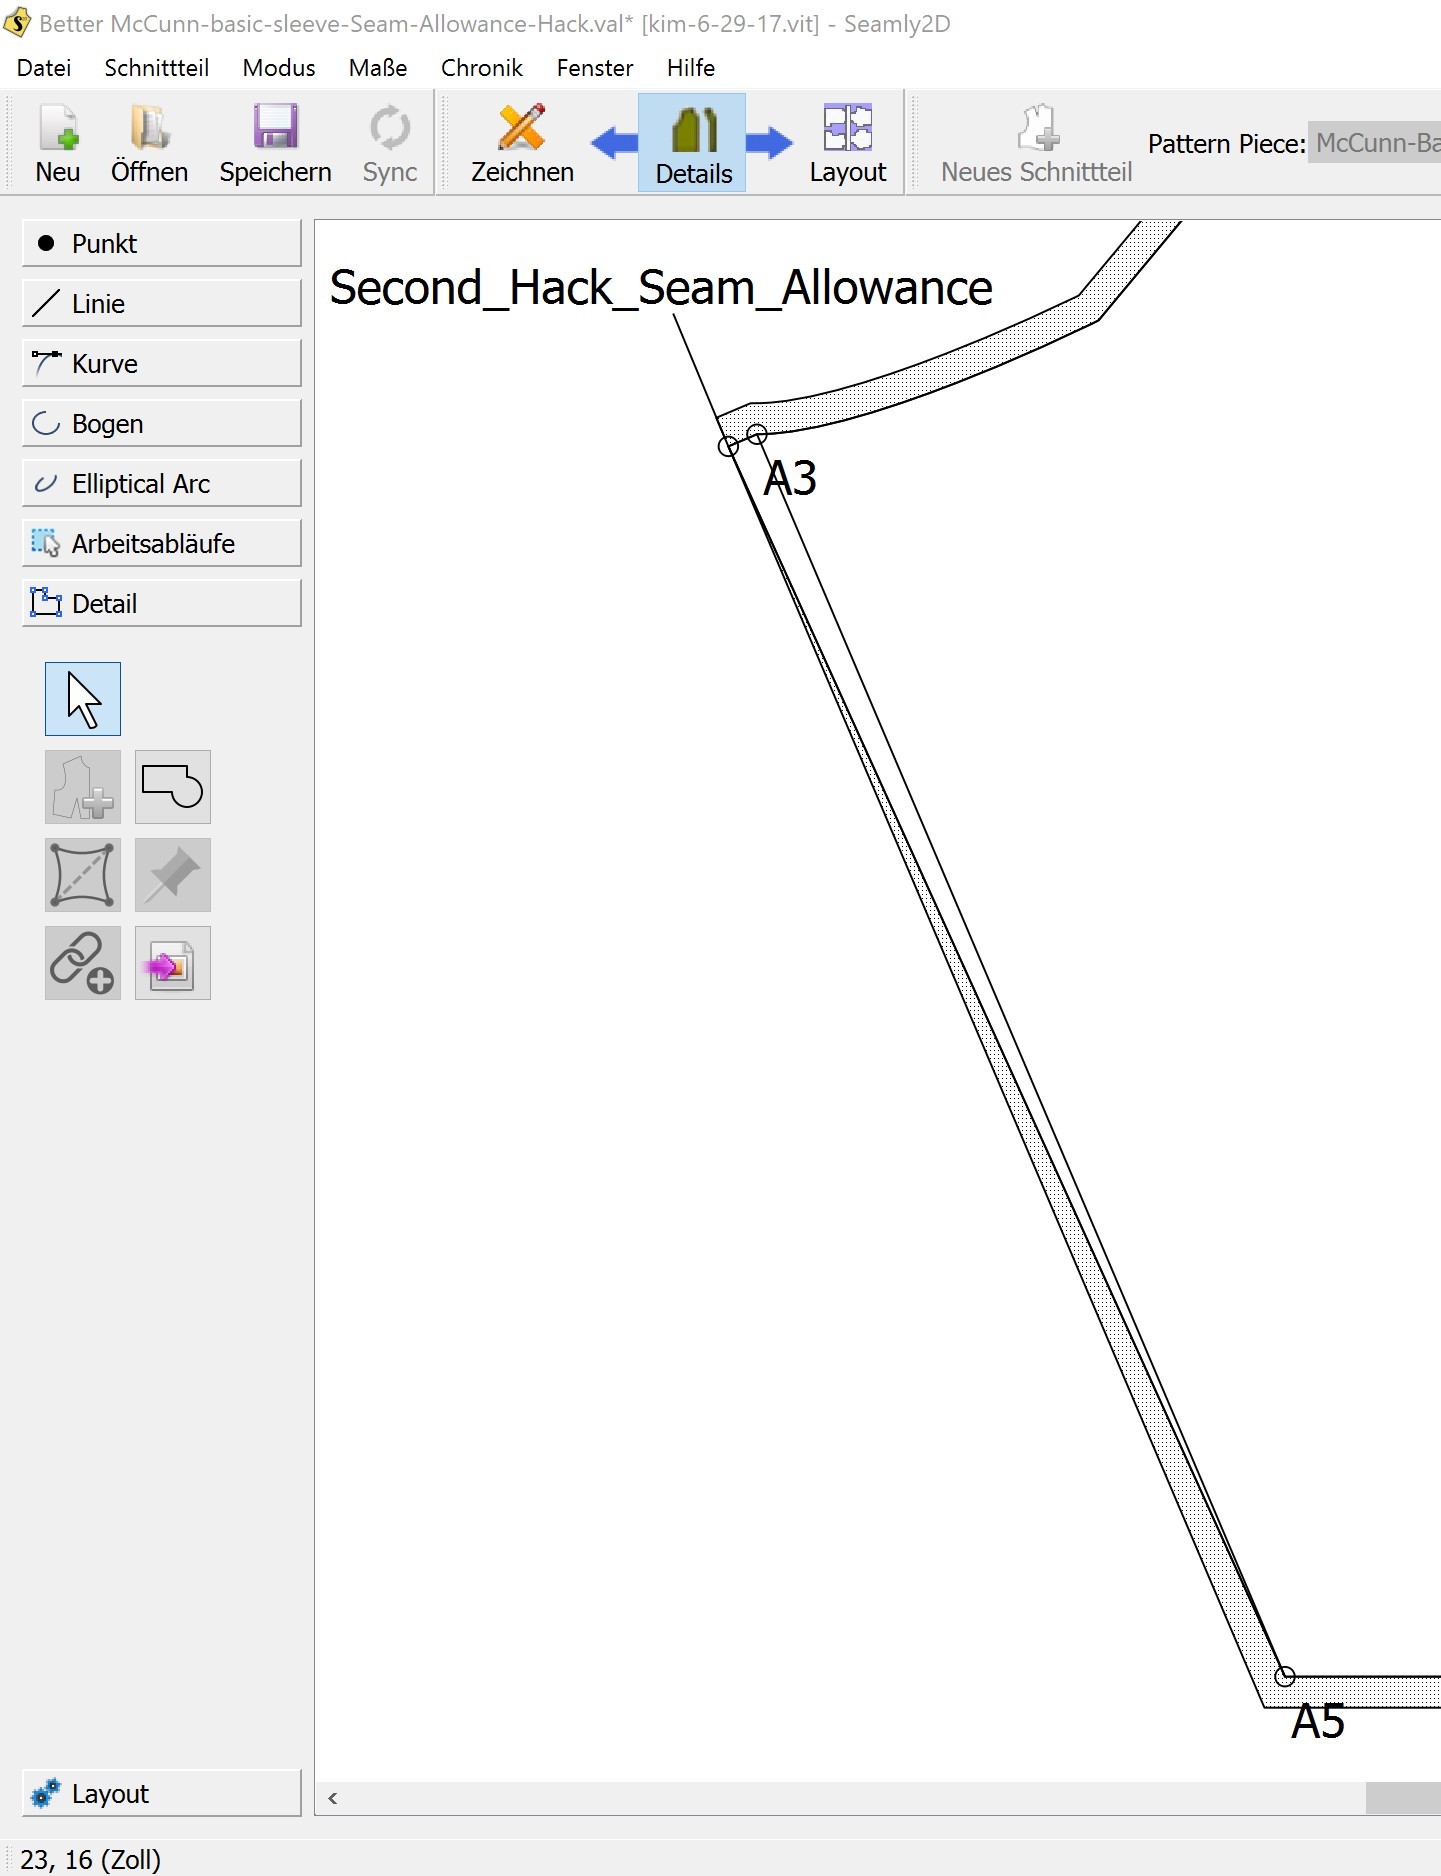
Important: you need an internal path from point A5 to A3.
In the options set the seam allowances
at point “Second_Hack_seam_allowance” to:
before: 0
after: CurrentSeamAllowance
Then you’ll end up with no extra seam allowance at this edge - distance between “second_hack_seam_allowance” and “A3” IS your allowance.
The seam allowance at point “A5” is both “CurrentSeamAllowance”.
So this is the final pattern with seam allowance and a right angle at point “A3”. I just changed the Length of the sleeve so every important point fits in the screen… but there you see the right angle even better.