Greetings,
I am working on a project that has had me scratching about for a solution, and I am confident the answer lies amongst you.
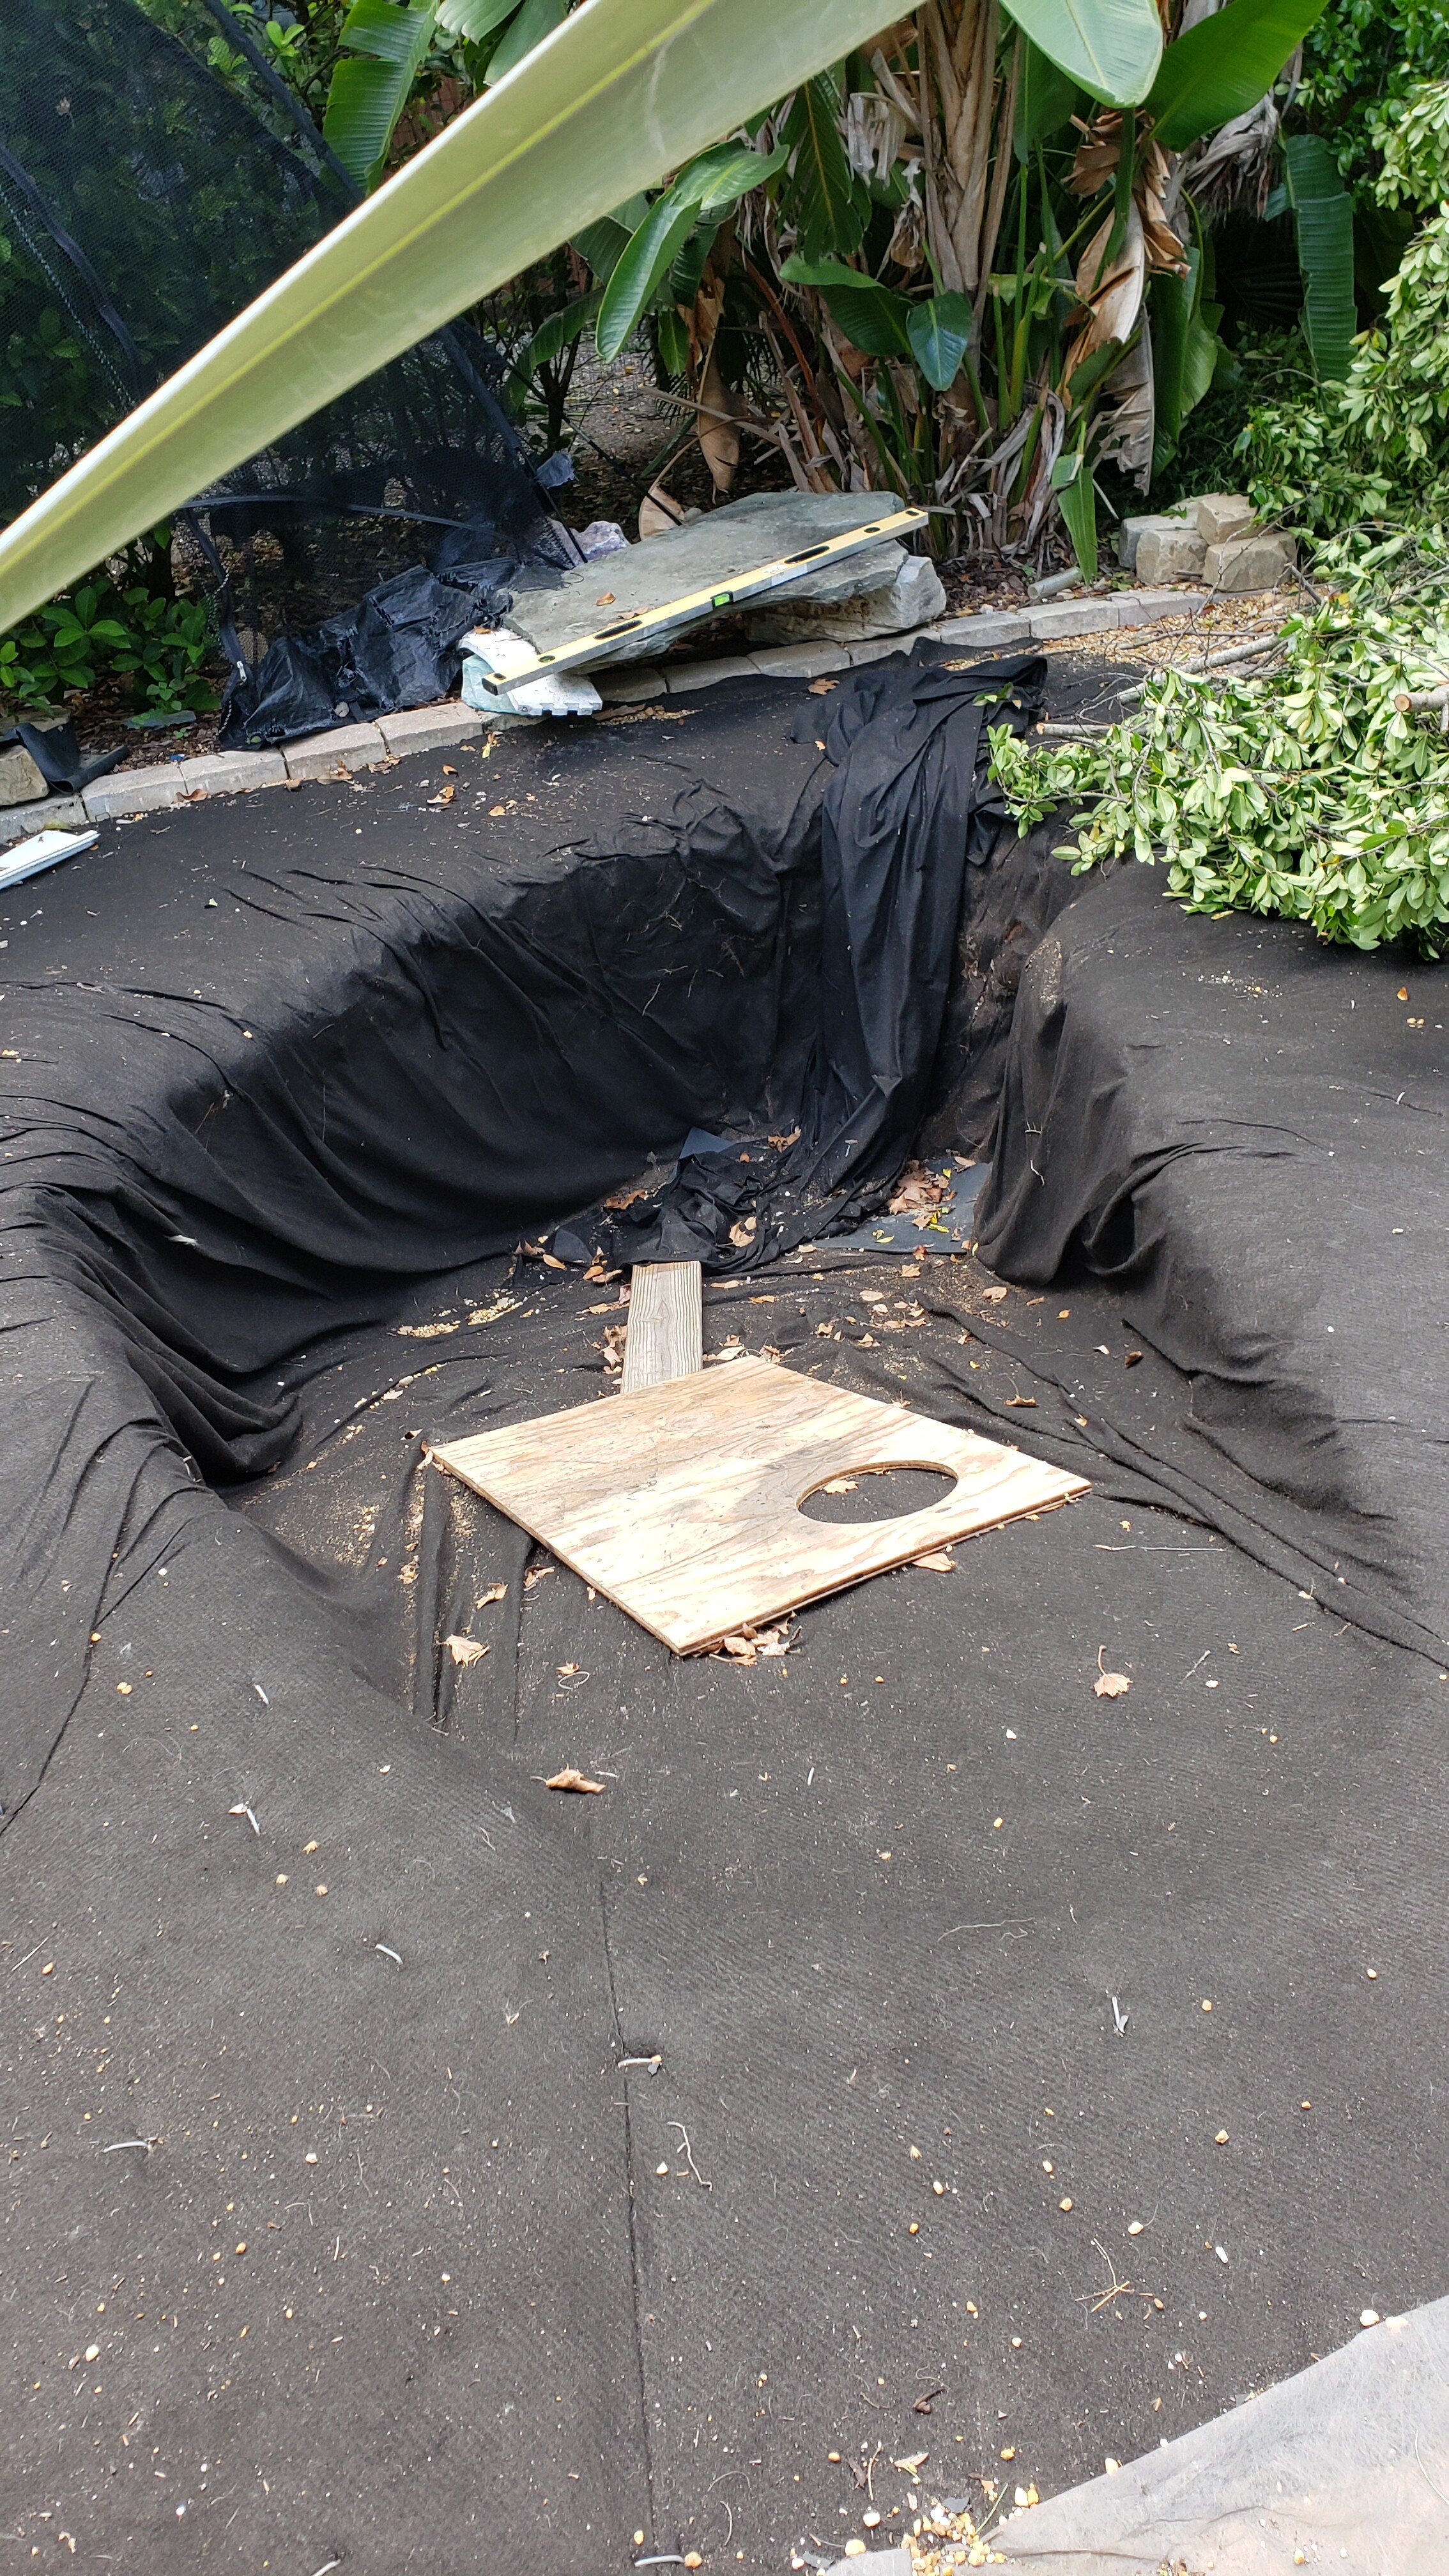
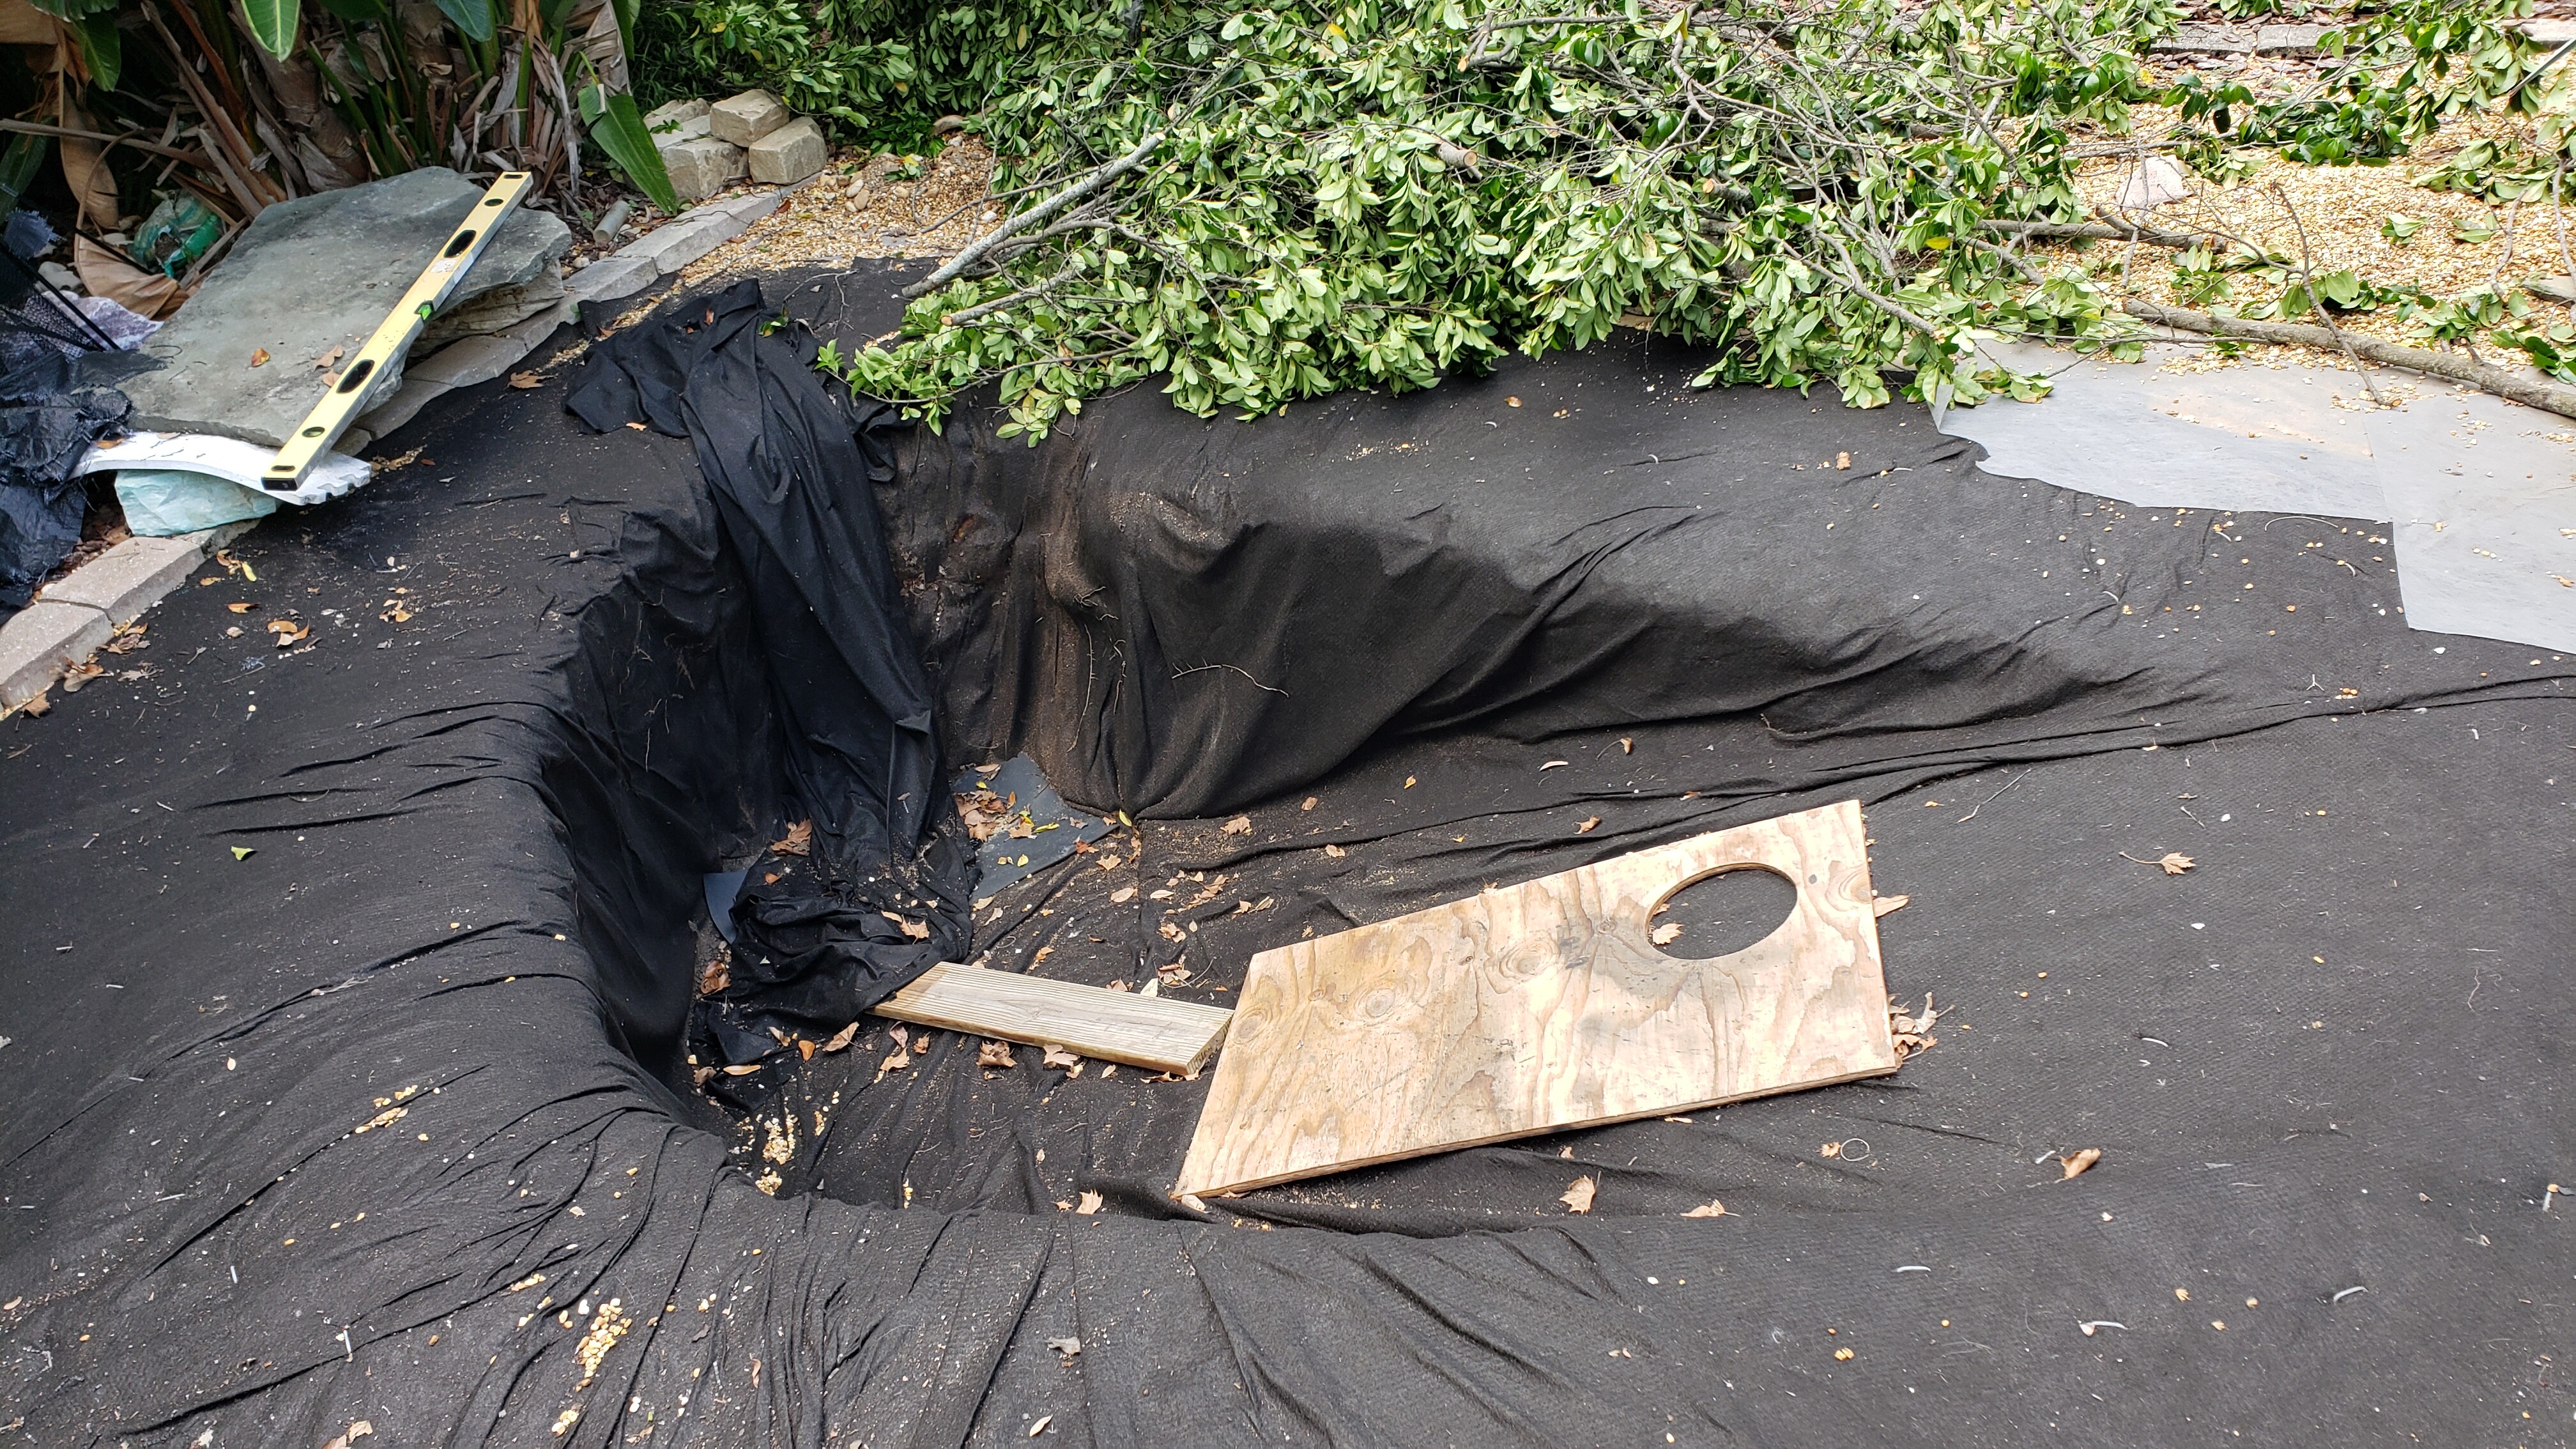
My pond liner was chewed up by nesting voles, and is unrepairable. But, since I now have the expensive primer, and seaming tape, I can seam the new liner in a nice, controlled manner, and thus fit it to the pond cavity much, much better, without all the folds and wrinkles I had before.
But I can’t be Guessing at a dart length and angle, the material is to costly for that.
Since I have nice measurments of the cavity, are there calculators, or tables to take the guesswork out? I will be able to extrapolate up to the scale of the pond.
Thanks so much for giving time to this off topic post !
Of course the nuber of darts, their lengths and angles will depend on the actual size and shape of your pool. I’m thinking that I’d find some nice, cheap plastic sheeting, like one puts down when you paint and create a pattern based on the pool, itself, since it is probably empty at the moment, using cellotape to fix the darts, etc.
Get that to fit the pool and then remove the cellotape & use it as a pattern for the expensive primer, or to create a pattern on Seamly, if you prefer.
IMO Grace probably gave the most reasonable answer… basically a “reverse” draping of the pond. Draping a pattern is something we do all the time at our (costume) shop. We take cheap muslin and drape pattern on a dress form… that pattern is then transfer to paper to use to cut out the good fabric.
Of course if you had the equipment you could create a 3D model of the pond, then using a 3D program flatten the model out to create a 2 dimensional pattern.
Impossible to answer… No idea WHAT the pond looks like.
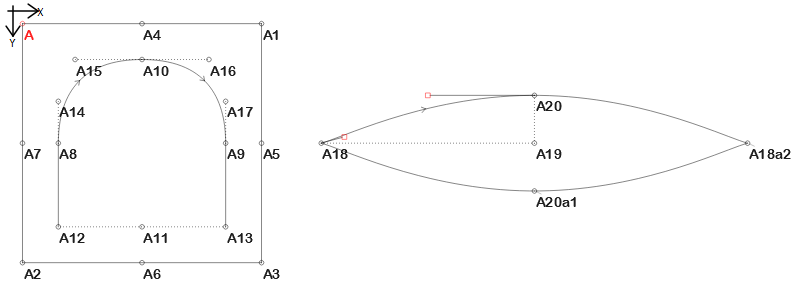
If your pond is a perfect circle. then you will probably need 5 or more darts, evenly spaced around the circumference, all the dart-legs curved to follow the slope & ease into the base of the pond.
If your pond is square or rectangular, then a dart at each corner would be sufficient, once again, the dart-legs curved.
However, if your pond is an irregular shape, then it would be best to follow my previous suggestion.
There is also the problem of the over-reach of the lining that one would normally cover with stones & plants to hold the lining in place that one would need to make allowance for in the dart.
It is a “poly” shape, so yeah, couple thousand words of pics should help.
you can see the wrinkles in the original underlay, a felt-like fabric. I bought another of those for padding and support. other projects have bubbled to the surface, I’m glad this info will spur it back forward. I’m whipping up a 10ft arched bridge outta 2x12 pressure treat, and cedar slats, be nice to have water under it
Ok, I’d do a flat piece that covers the pond & the surrounds with a cut in a U shape to fit the bottom of the pond & then create a guzzard/insert to go around the edges.
That is how I would do a small piece of sheet metal, TIG the edges, minimal bending, yup, I like it.
But this rubber needs a solid 8" of overlap at the seam, and the seam zone needs to be fully flat while being bonded, I’m not sure it would be able to bend in 2 planes. IE side to bottom, and around the radius. I’ve not used a rubber to rubber bond before, be learning on the fly,. so I didn’t pursue it here.
Think of it like having to use only wide iron on seam tape to make the shape.
that arc from A15~A17 in your diagram is the pinch point,
If I could get 2/3 or so of the wrinkles I have currently out of that area, with easy to construct seams, II would be a happy ponder
 :
: