Hmmm… the points are actually in the internal path, but it appears that one can’t add a seam allowance to an internal path… and therefore even though points are set as passmarks, they won’t show up.
I’ll try taking a better look at it tomorrow eve.
Hmmm… the points are actually in the internal path, but it appears that one can’t add a seam allowance to an internal path… and therefore even though points are set as passmarks, they won’t show up.
I’ll try taking a better look at it tomorrow eve.
Internal paths aren’t considered to be holes in the fabric. They are considered to be sewing lines (for pocket placement or contour darts) but not seam lines which require seam allowances.
To find the waistline plus ease, where ease has same proportions 1" ease for a 24" waist?
In the software, how is this represented?
In the software, how could we calculate this for only the front half of the the waistline?
In the software, how could we find the radius for the front half of the waistline?
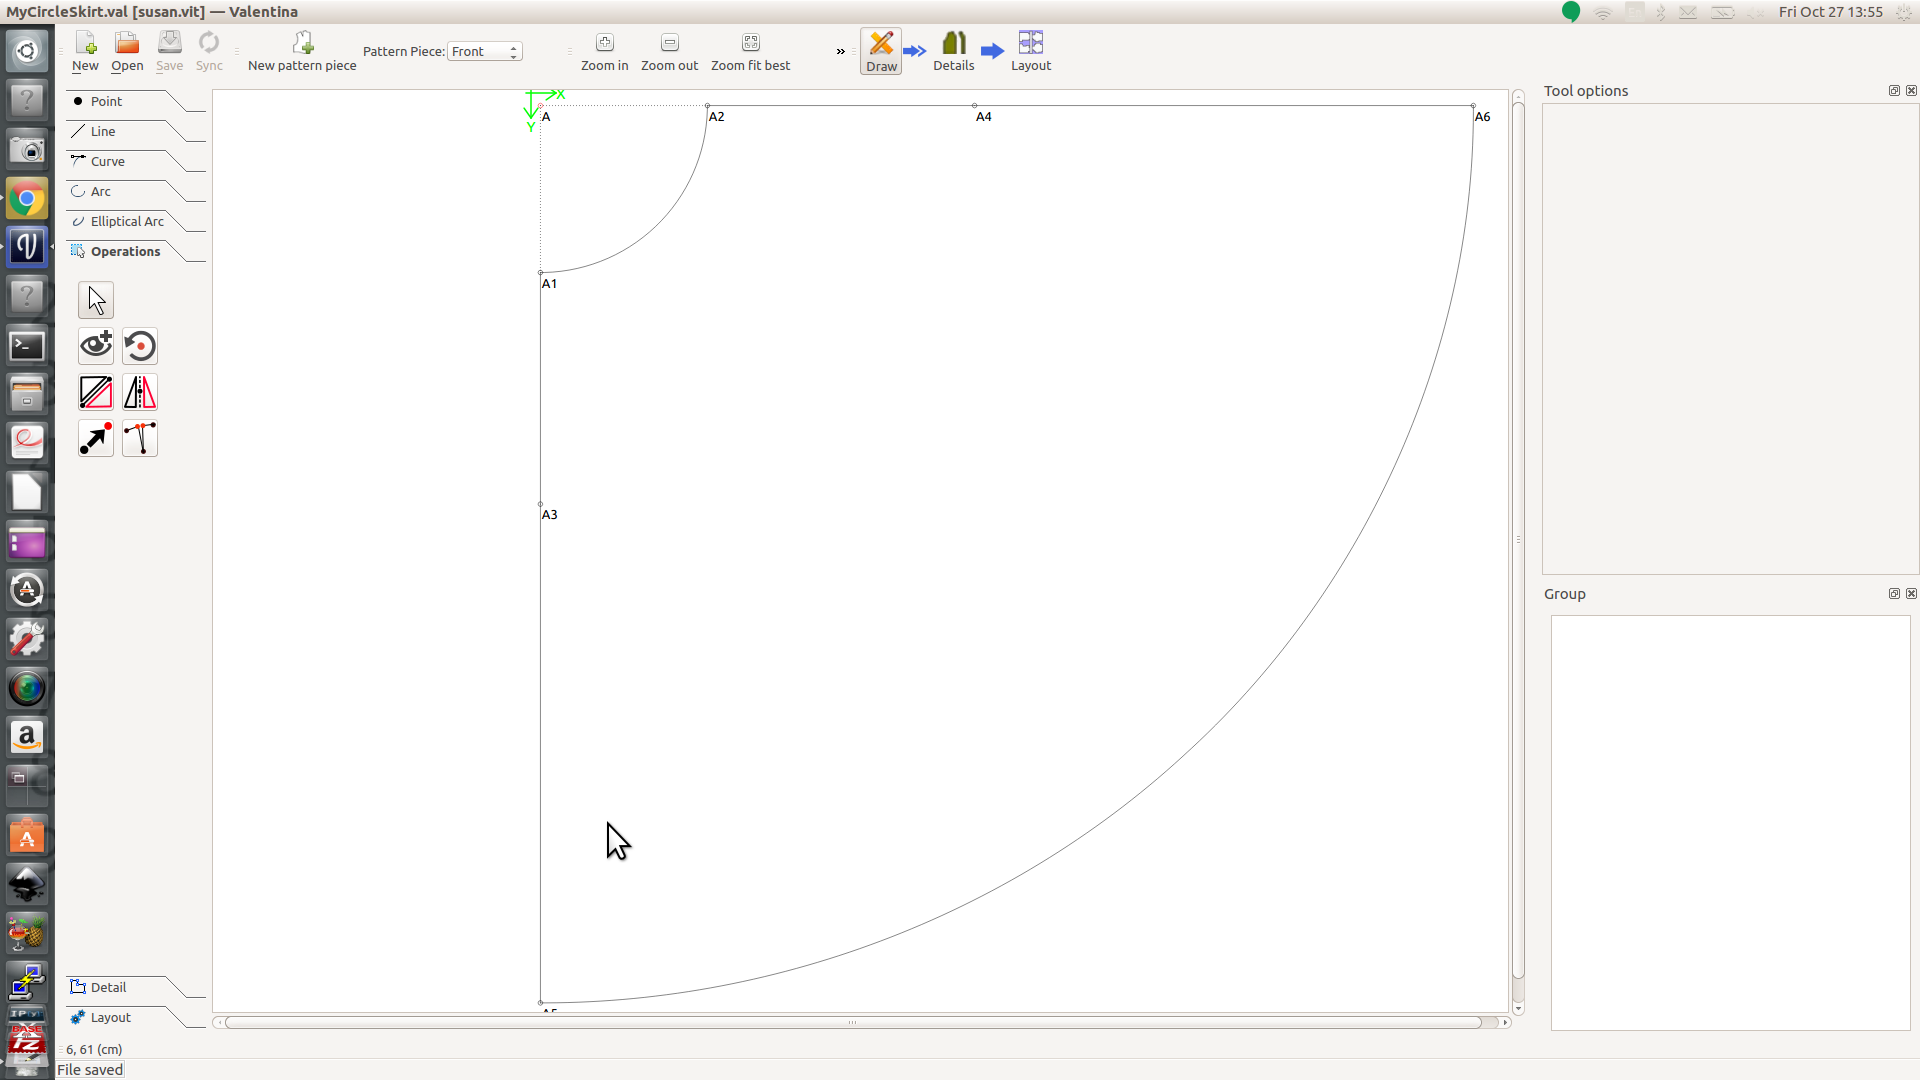
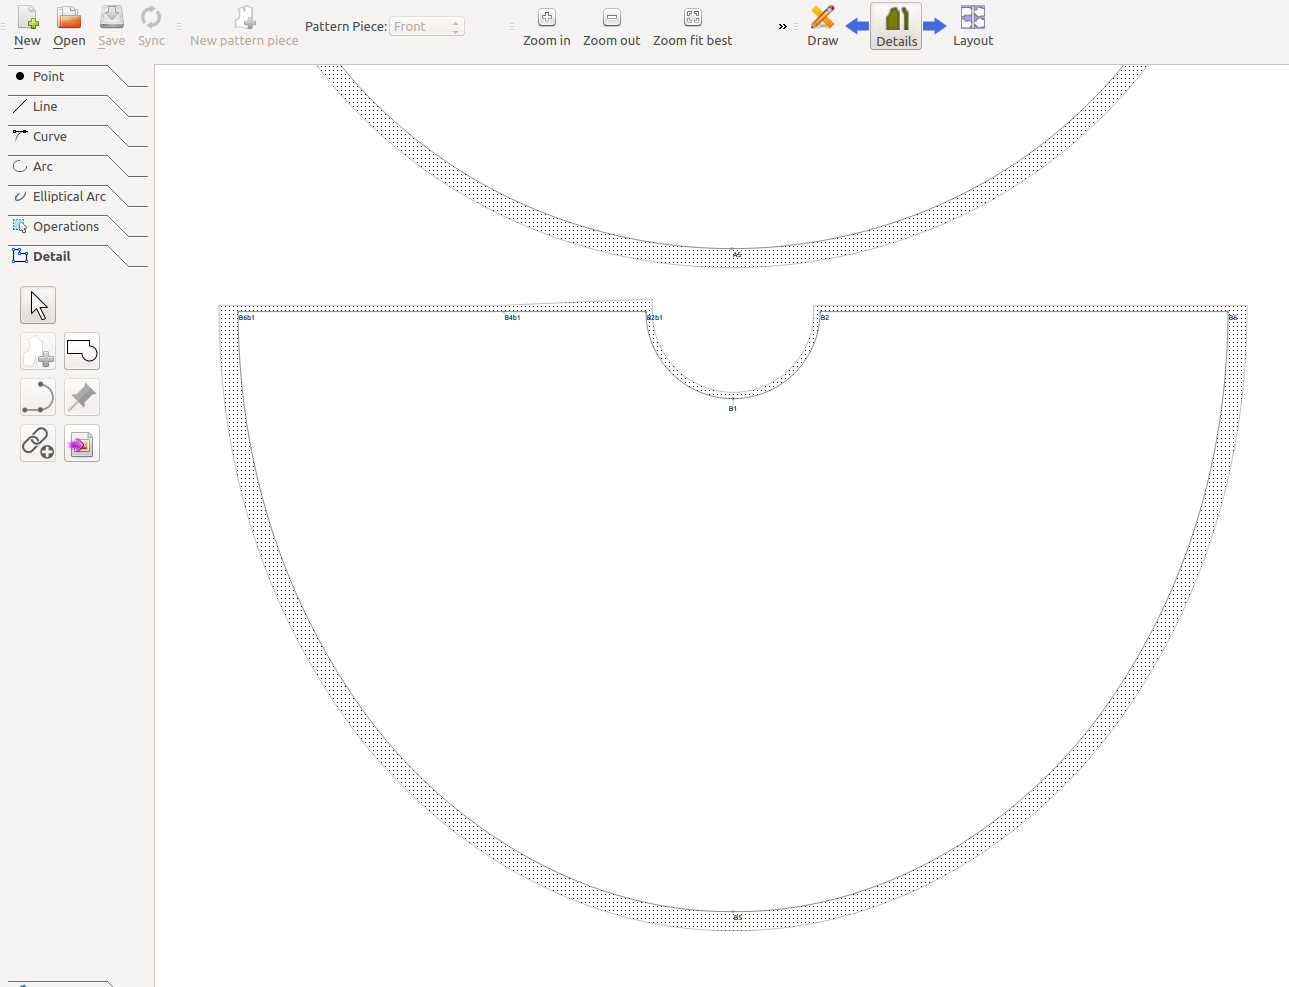
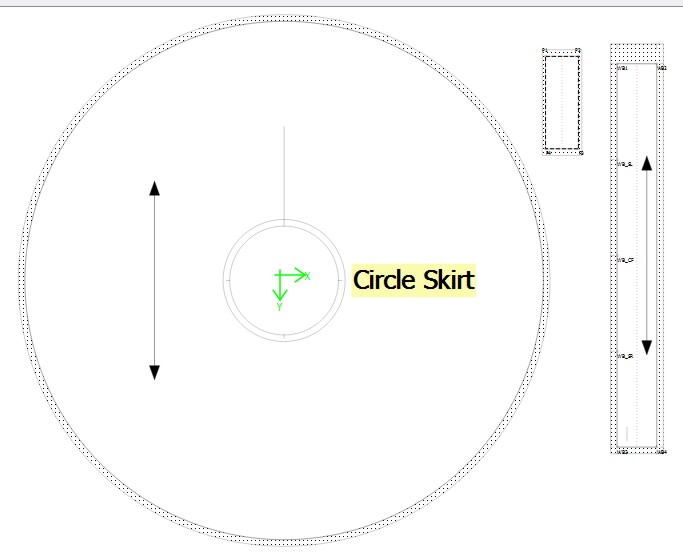
Ok, now we know the numbers to do this circle skirt! Let’s draft it…
To draft the front pattern:
Add a hip point along the center front:
Add a hip point along the side front:
Front hem point, where hem is knee length:
Side hem point:
Hemline arc:
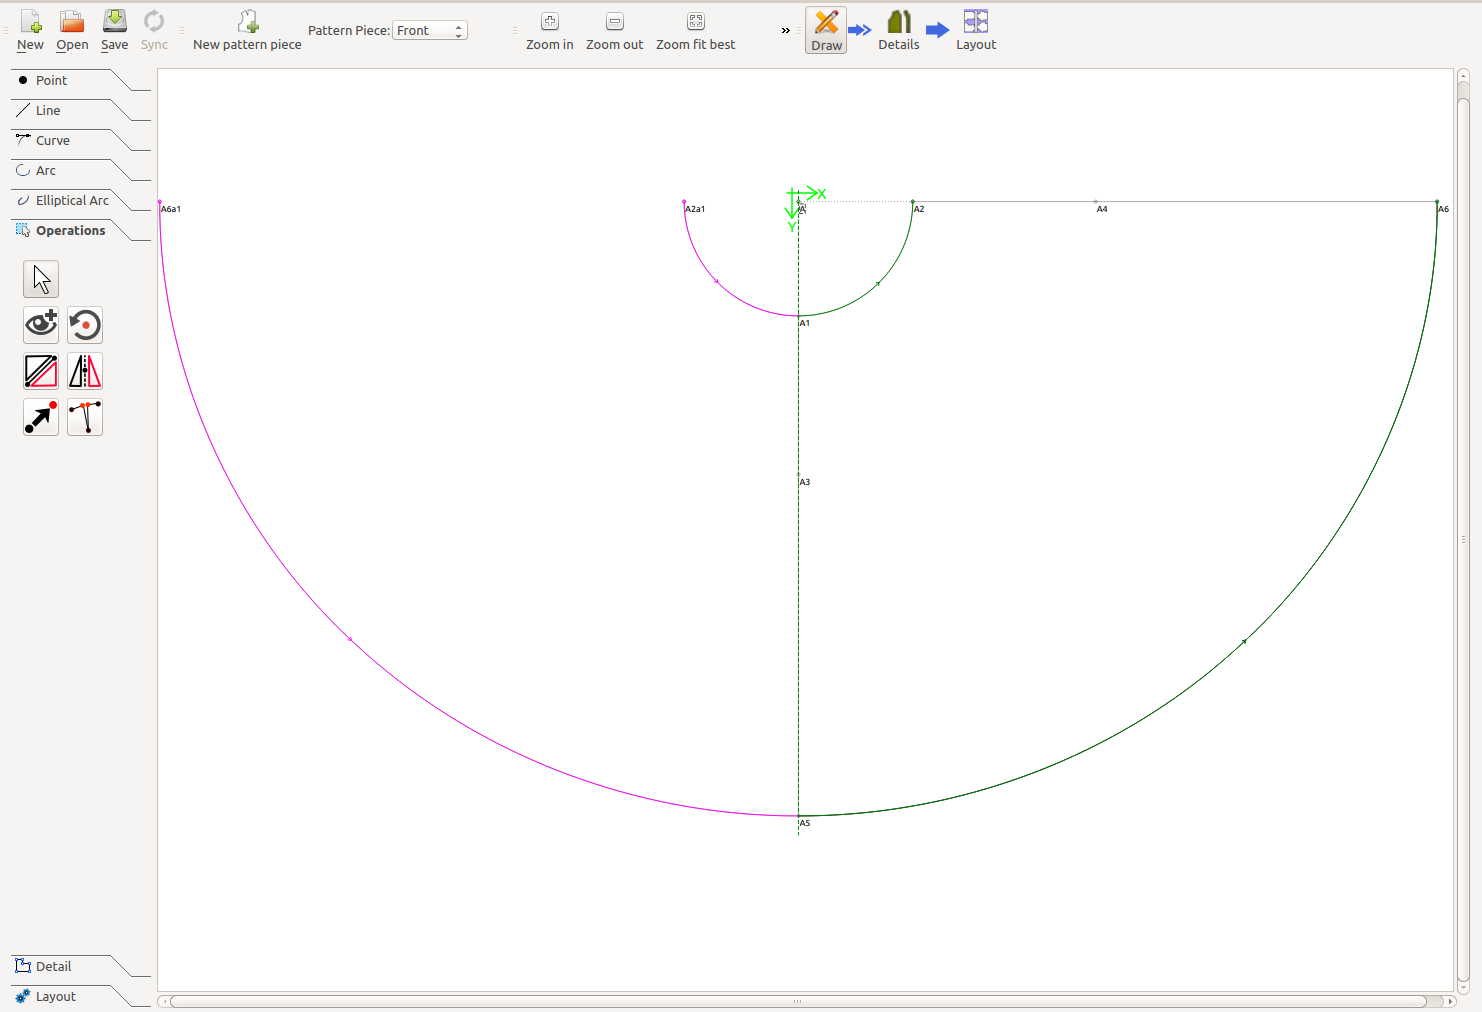
Mirror the front half using the Flip objects by Axis tooll:
Create the seam allowance. SeamAllowance = 1. Hem depth = 3 * CurrentSeamAllowance
Add a wider seam allowance for the zipper, from waist to hip point along left side side. After A2, before A4, seamallowance = (2 * CurrentSeamAllowance)
Note: seam allowance doesn’t allow a distinct change between widths at A4. This should be fixed.
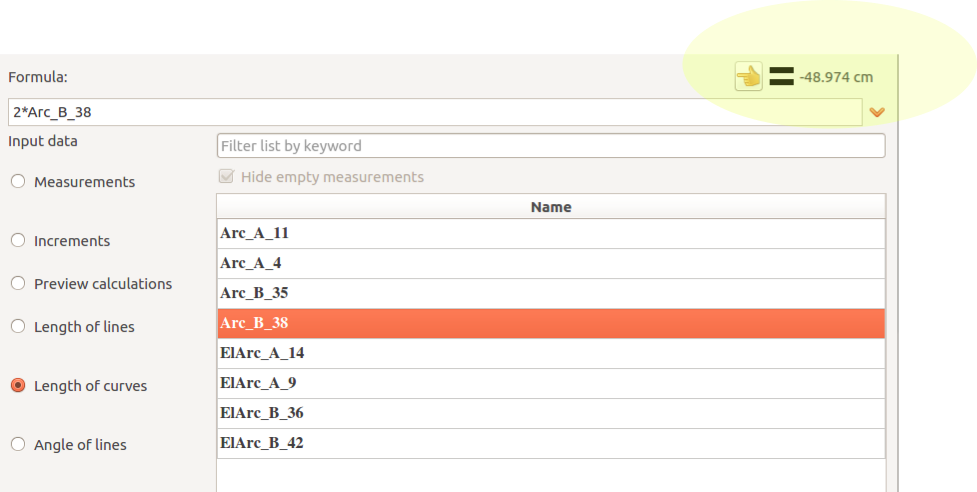
To find the radius for the back half of the waistline:
r = waist_arc_b/pi = waist_arc_b*1.042/_pi
Create back draft similar to front draft, substituting waist_arc_b ad waist_to_hip_b for waist_arc_f and waist_to_hip_f
Create back hem from B3–> 1.3*Line_A3_A5 (30% longer than front)
Create symmetry
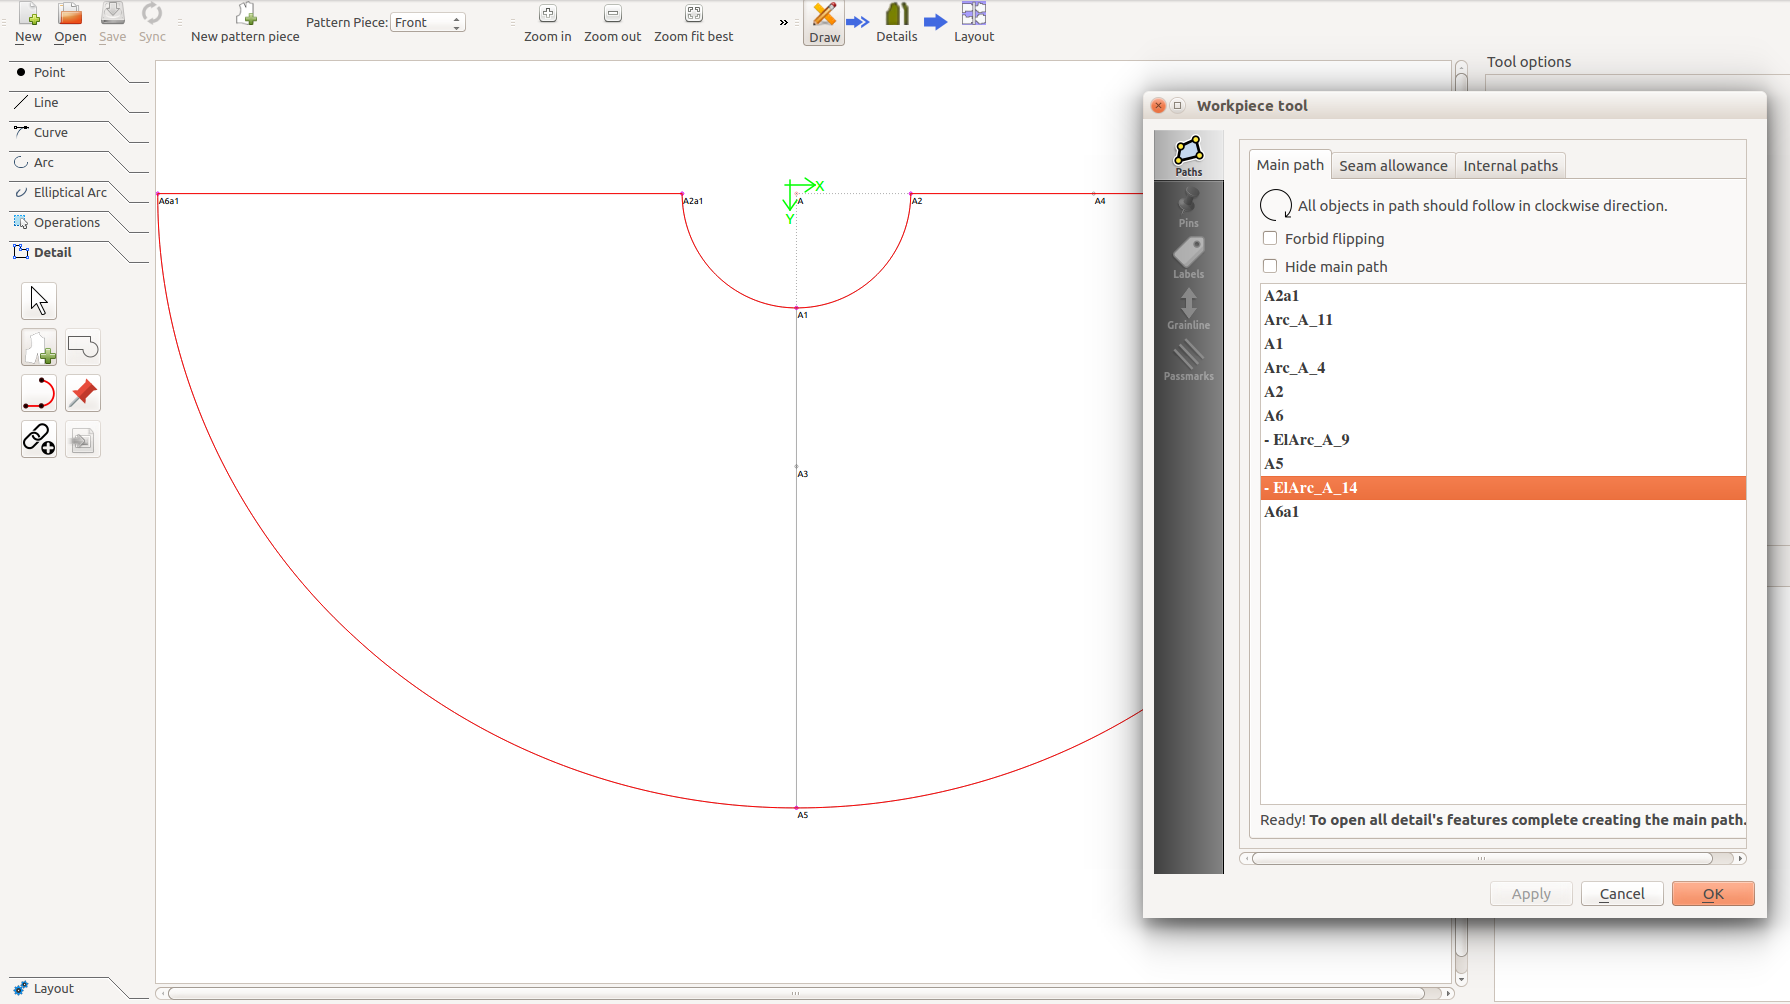
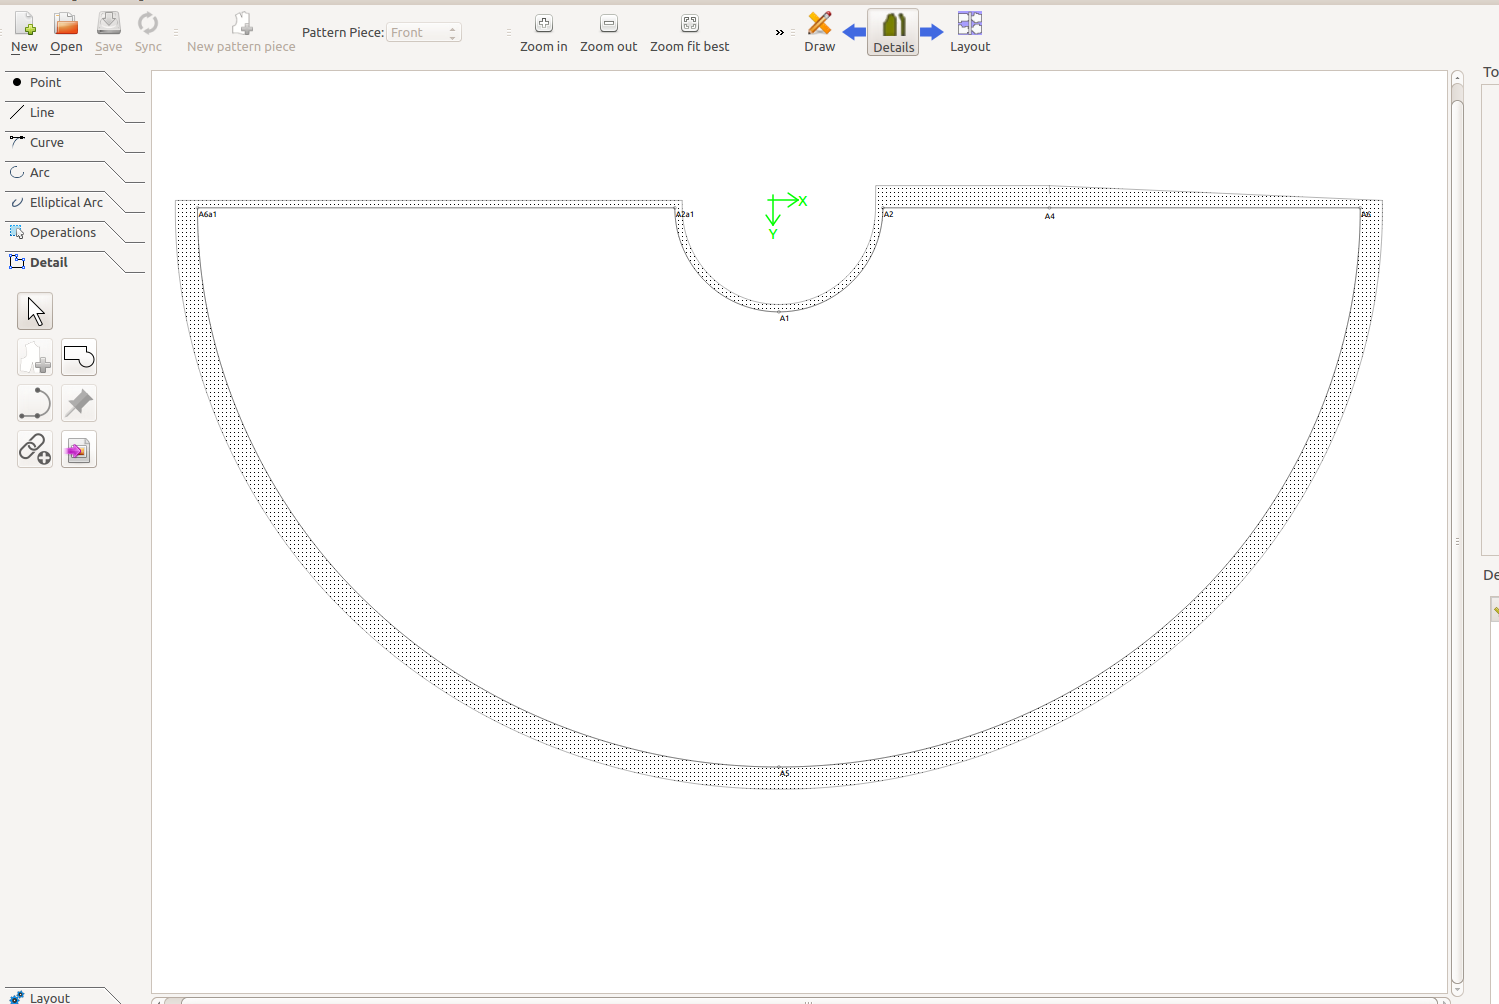
Create detail. Create seam allowance
Note: The change in side seam allowance width at B4b1 has similar problem as the Front at A4. This should be fixed
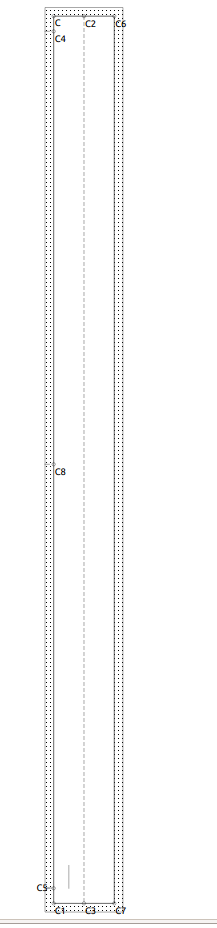
Here is the waistband. It is the length of the front half waistline + the back half waistline + twice the buttonhole width. I defined an “increment” that is 1.75cm and named it buttonwidth
The passmarks are placed one buttonwidth from each end. These passmarks indicate where the waistband ends will overlap over the zipper. They extend past the edges of the left side seam by one buttonwidth each.
The middle passmark shows where the waistband matches the right side seam. From C4, it extends down the line by twice the back waist quarter waistline, in my pattern that is 2*Arc_B_35. Note: The length of mirrored arcs is listed as negatives, so you can’t use them in formulas. This should be fixed
The buttonhole is marked as an internal path. It begins exactly over the left side seam, and extends towards the front for 1.5 * buttonwidth cm.
Mirrored arcs have negative length. this should be fixed.
The only way to draft a full circle skirt without seams or without using an internal path is to draft half and place it on the fold.
That said, here’s a work around solution to use internal paths to show the waist seam & allowance, plus notches (IMO passmarks has to go - it’s just a confusing term). Instead of drafting the waist band to measurements, I used the length of the waist seam curve… then added extra seam allowance on one end for the underlap.
CircleSkirt2.val (16.3 KB)
They should be… There are cases where it’s necessary to cut a hole - of whatever shape - inside a pattern piece and allow for seam allowance. For ex: a square cuff at the end of a sleeve on a colonial dress… or for a waist band on a felt one piece full circle poodle skirt. ![]()
And they are not symmetrical? At the moment I can’t imagine one single pattern that you couldn’t do at fold if you need a hole inside.
@slspencer: Thank you for the tutorial!
@Douglas: I tried to make the skirt by making a quarter circle and then flipped it vertical and horizontal into 3/4 circle. But I couldn’t flip the last quarter, maybe it had to do with me flipping flipped quarter? Did it need to be the original draft for the arcs to be flipped? I mean, it flipped but the arcs were not.
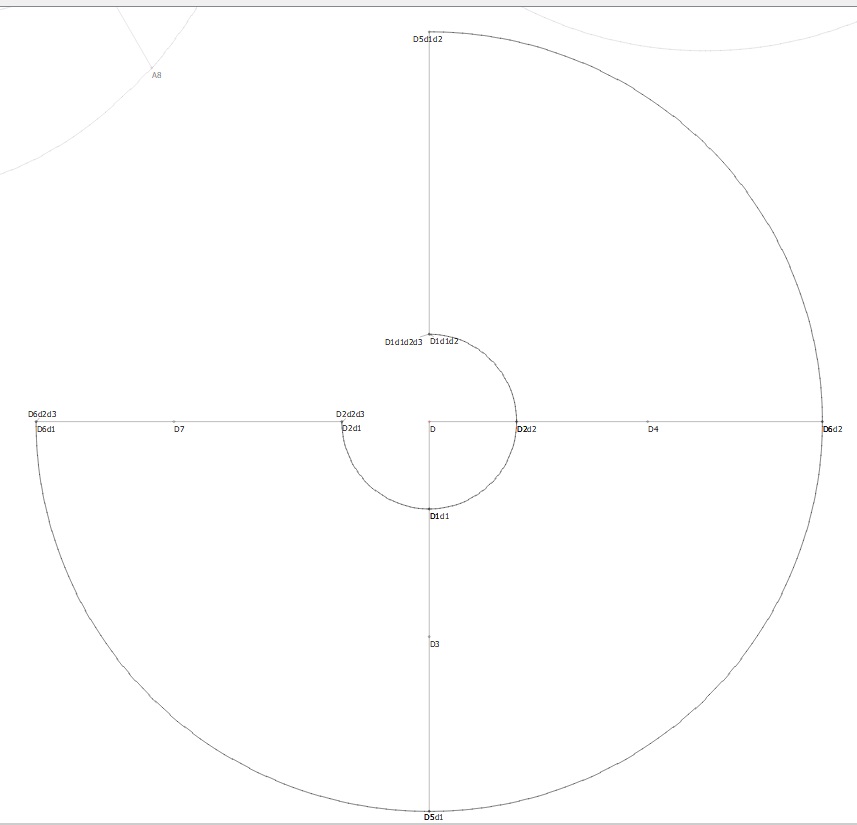
As in the picture, I flipped D1d1d2, D2d2, D6d2 and D5d1d2 into D1d1d2d3, D2d2d3 and D6d2d3. But the arcs are not flipped.
Anyway, because the arcs were not flipped, I make new arcs for the last quarter. Now I have full circle skirt, but how do I trace it? I trace it from waistline to hemline as I did earlier and it still doesn’t work. I couldn’t open the file you posted earlier. It always said that the max version supported was 0.4.8 while my version is 0.5.0.1.
“Max version” refers to the file format, not the software version. This message is confusing, but it indicates the problem. The file format is related to the software version. @Douglas’s file relies on recent tools from software v0.6.0 that you don’t have in software v0.5.0
Suggestion: Flip the 1st quarter on the horizontal axis.Don’t flip the “flipped” 3rd quarter 
I know it’s off topic, but I worked out a way to improve the error reporting as to what triggered an error… just haven’t had a chance to fully test all the various combinations
That also explains the flakey point intersect arc and axis I think you were experiencing… I noticed issues too with that on the ver 5 on my desktop, but not with the 6 test versions on my lap top. It must have been fixed.
I would say download a copy of the last ver 6 test build. Just keep on mind if you use ver 6, patterns from it will not open in 5.
max version is file format version. The file format version is associated with, but not the same as, the software version.
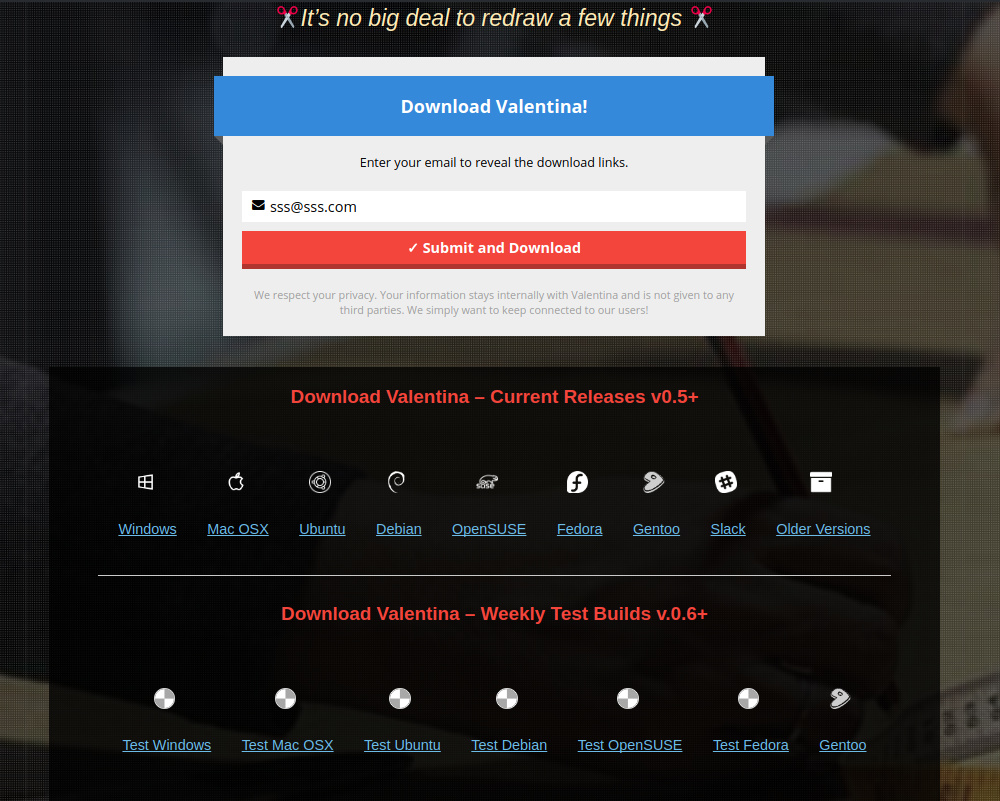
Download software from our website. Click on green download button, then enter email and submit. Then you’ll see the download icons. Select the test build (lower row) for your operating system to get v0.6.0