I’ve searched and searched but not found. I press the detail box and a large pointer comes up with + symbol. Allows me to select first object but still wants to draw. No path box comes up. I press detail or layout at the top and it says I have to create a workpiece. Tried to find the answer. Wiki has no link on the workpiece tab. How do I create one? Cheers FC. Just in case version 5 on windows 7.
Hi @fluffchucker!
Welcome to the forum! Creating workpieces is about selecting the objects in your seamline, in clockwise order. It may help to look for tool hints in the status bar whenever you use a new tool.
Here’s how to select the seamline of a new workpiece, using the the Detail group’s Workpiece tool. HTH! Let us know if we’ve left anything out, or if you have any further questions.
-
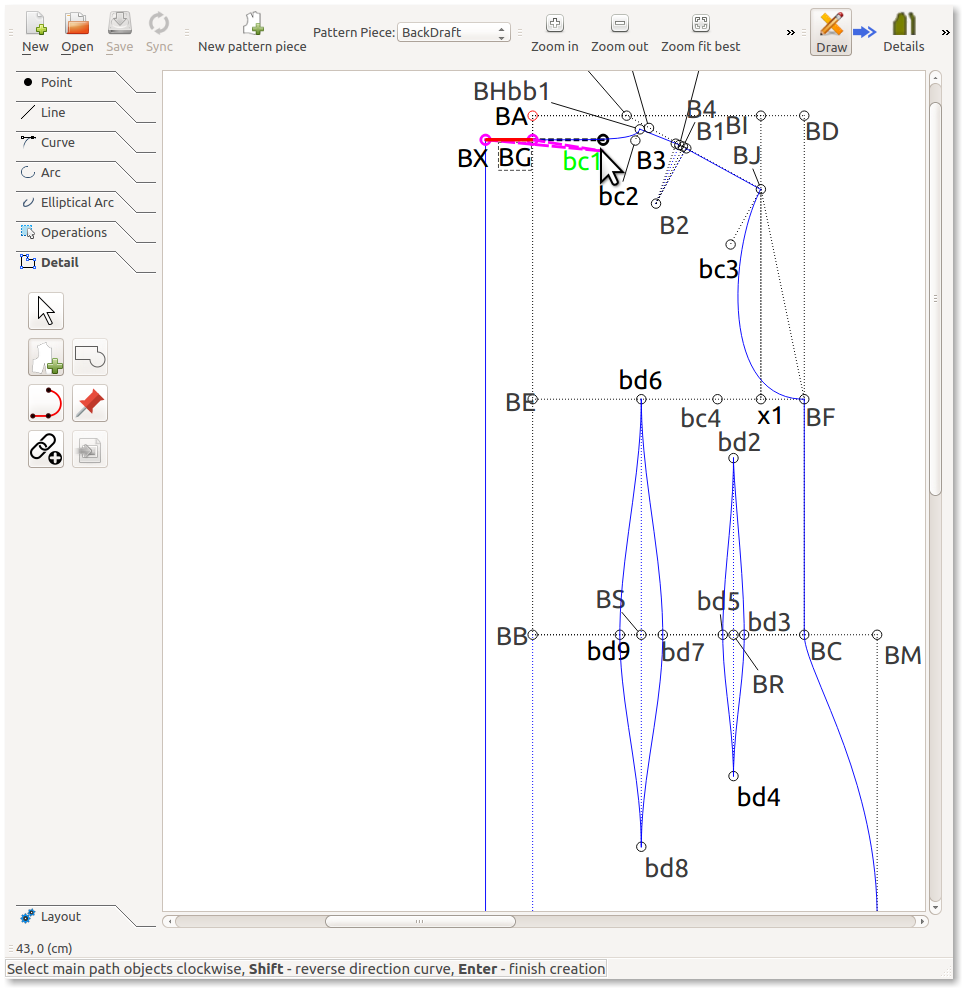
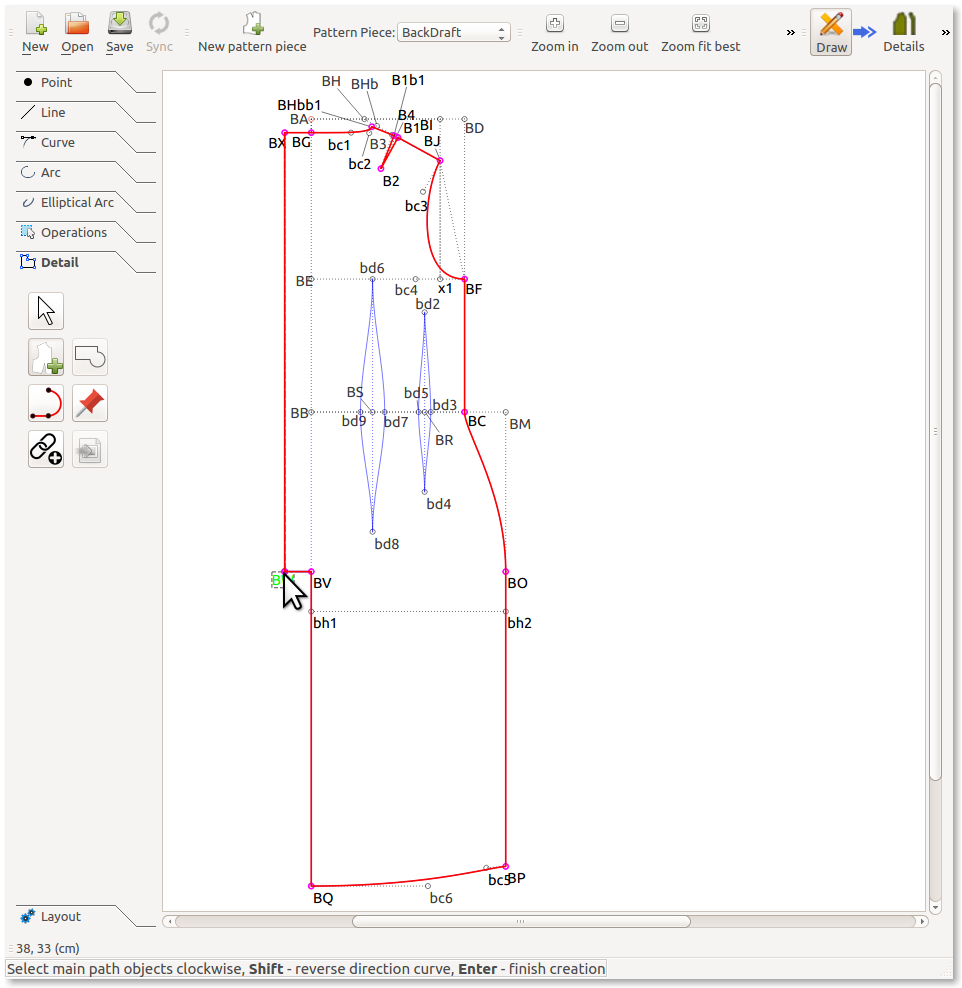
You are in Draw mode
-
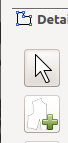
You select Detail group, Workpiece tool (green plus sign)
-
There are hints in the status bar.

-
You start selecting the points, lines, curves, & arcs to include in your workpiece. (Remember to press SHIFT when you select a counter-clockwise curve.) There are hints in the status bar.

-
You press ENTER when you have completed the outline of your workpiece. (Remember, do not select the begin point twice!)
5, Go to Detail mode to view the new workpiece.
Thank you so much. On the tutorial I was watching as soon as the first point was entered the “path” box came up. I see that now it comes up when you have finished. Thanks again.
1 Like
@fluffchecker
Sometimes it isn’t obvious how a tool should be used, since we’re based on parametric design, and not based on unconstrained drawings. So checking the status bar is sometimes helpful.
Let us know if you have any further questions. This was a good question!
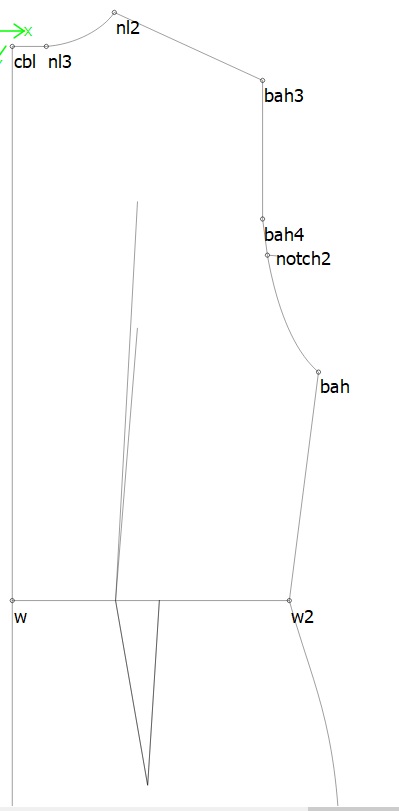
I want to ask how to trace the dart? So far I used internal path, but it didn’t allow same point so the dart didn’t close. I can do with open dart, but maybe there’s another way of doing it?
Here what I mean by open dart:
Can you split your internal dart in half, and create two internal paths, one for bodice dart and one for skirt dart?
I had the same “problem” and two internal paths for a dart worked, I just tried  Now the dart can be seen completely.
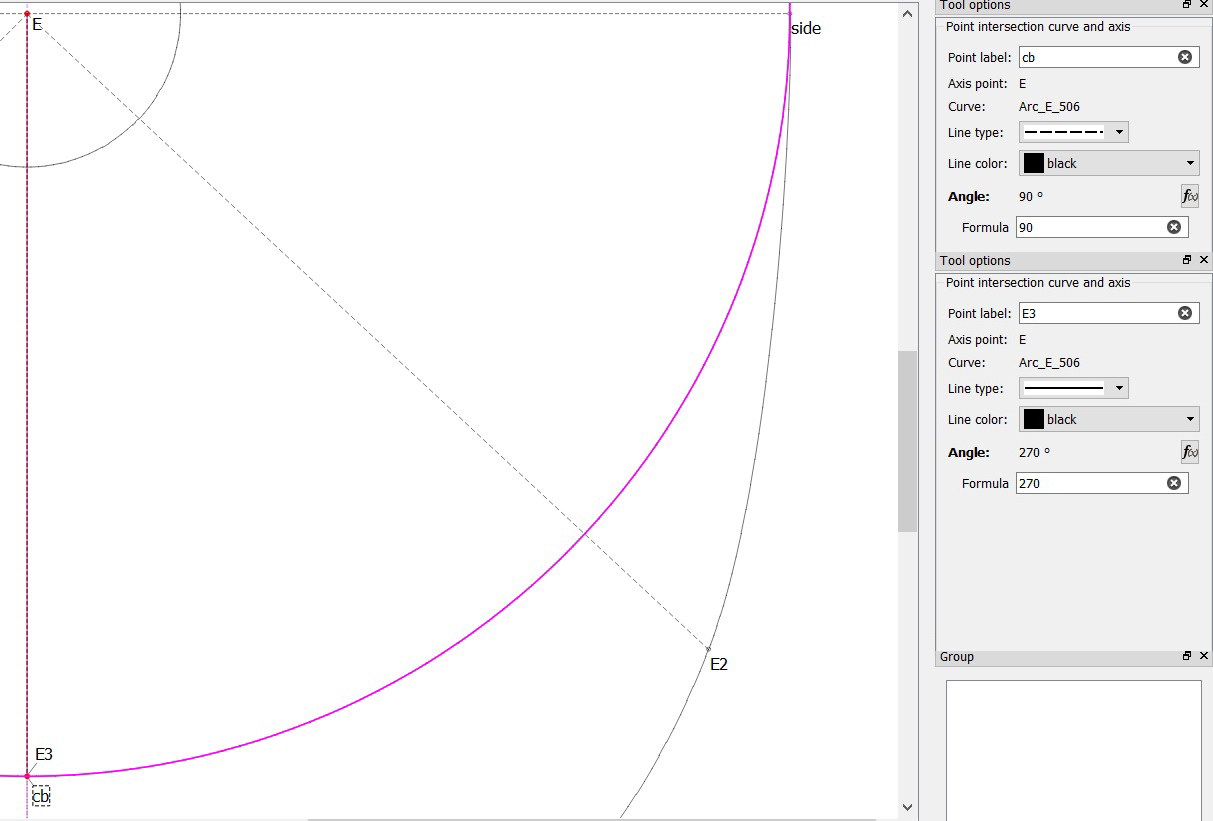
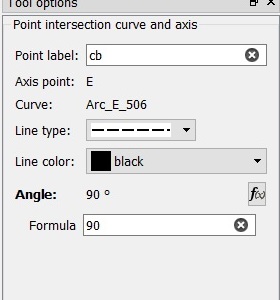
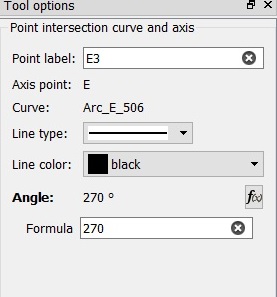
Ahh, yes I can do that. One more thing. I try to make a circle skirt using arc and arc with given length tool. And I make side, CB and E3 line by point intersect arc and axis tool from E point, but E3 and CB turned out to be in the same direction when it should be in the opposite direction. Also, I can’t trace them.
E3 and CB same direction while I entered the opposite angle:
I make another line for Hi-Low skirt by using point at distance and angle tool and curved path tool. Should I make the previous line this way for it to be able to be traced?
Hi-Low skirt:
Please make an issue in our issue tracker GitHub - FashionFreedom/Seamly2D: Open source patternmaking software to democratize fashion. /issues, incude your screen shots of the pattern and dialog boxes.
Can you restate your question? ![]()
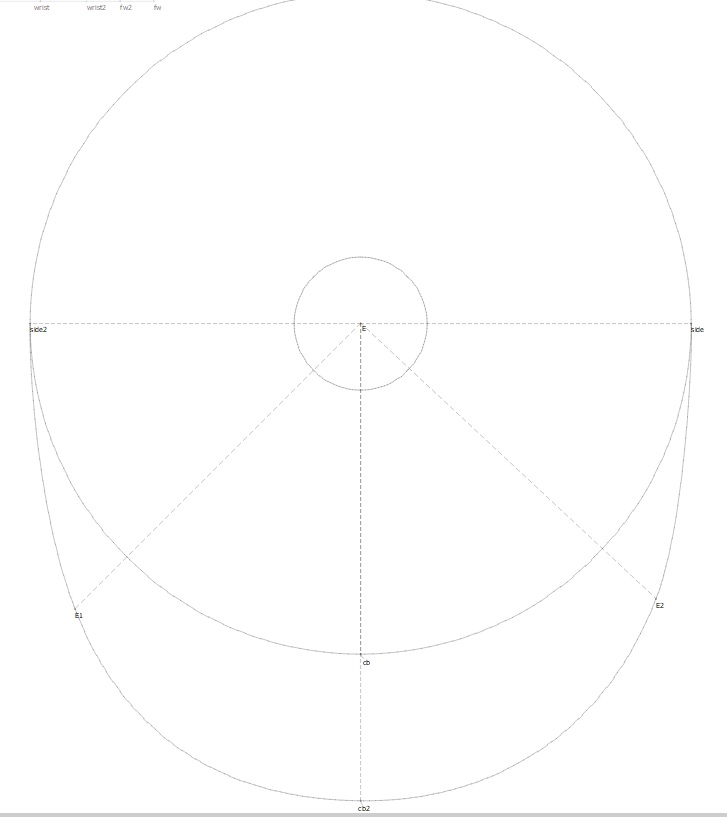
The full circle I made using arc tool, but I can’t seem to trace it. So, I tried to make another skirt, Hi-Low skirt, which is high on the front and low on the back using point at distance tool to determine the skirt length as seen on E1, E2 and cb2. And then I join them using curved path tool. This way, I can trace it just fine (the back pattern anyway). My question is, how can I trace the full skirt pattern made by arc tool instead of making it manually by point at distance and curved path tool?
Can you post your files, so we can help you with the details?
Here is the pattern:
full circle skirt pattern.val (7.8 KB)
Btw, in the issue I made I also included how I made another pattern piece and the direction worked fine but when I edit my previous pattern piece, the direction is still wrong. Maybe I made a mistake? Here is the post I made in issue tracker:
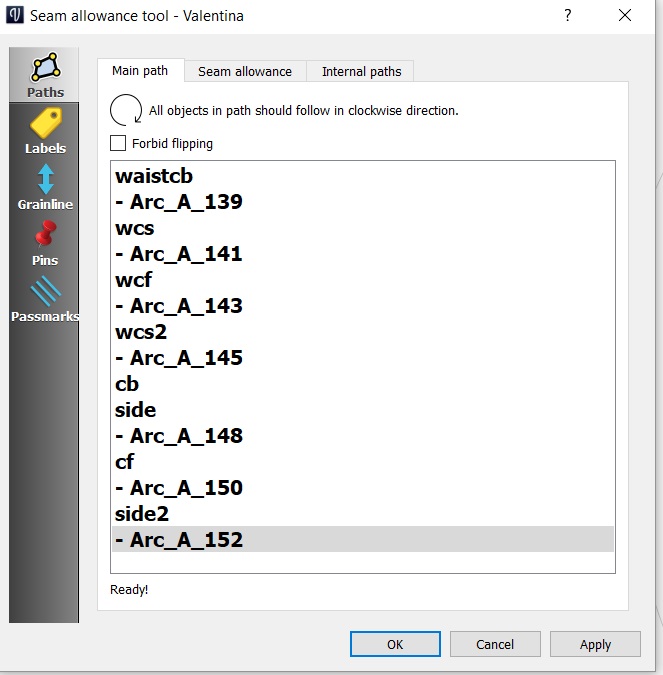
Edit: I figured out how to trace the circle skirt. I need to hold the shift button when I select the arc because it is in counter-clockwise direction. But it seemed only allowed me to select 1 arc at a time? I need to trace 2 arcs, the waistline and skirt length, and when I tried to trace both simultaneously, it only showed 1 arc (whatever I selected first) and only the point on the second arc.
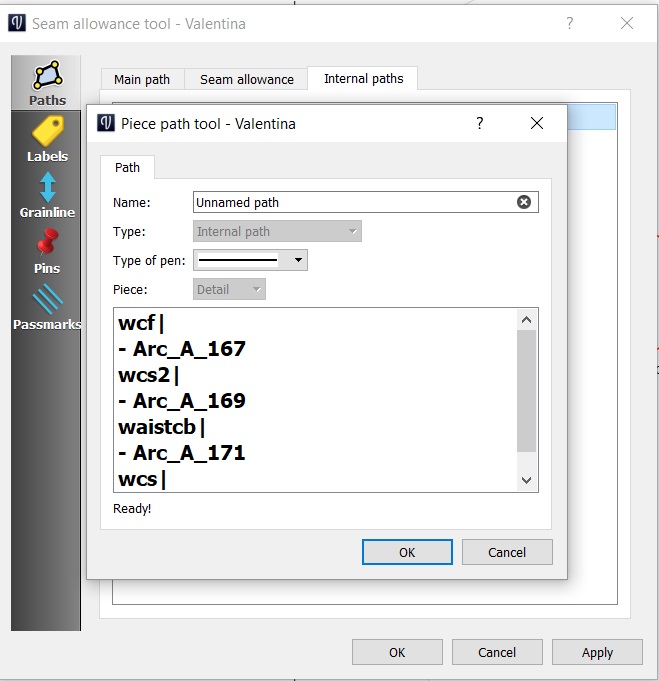
And from wcs2 to waistcb, the line was not in perfect curve because I continued with selecting cb point after fully traced the first arc. Here is my path:
Can you post your *.val & *.vit files, so I can troubleshoot this issue?
You can’t draft a full circle skirt this way.
It’s possible to make a detail piece for the hem line, then use an internal path to describe the waist.
Here’s simple example.
CircleSkirt.val (1.9 KB)
Also… if one uses splines to draw the waist & hem… take a look at this thread: Circle Skirt pattern
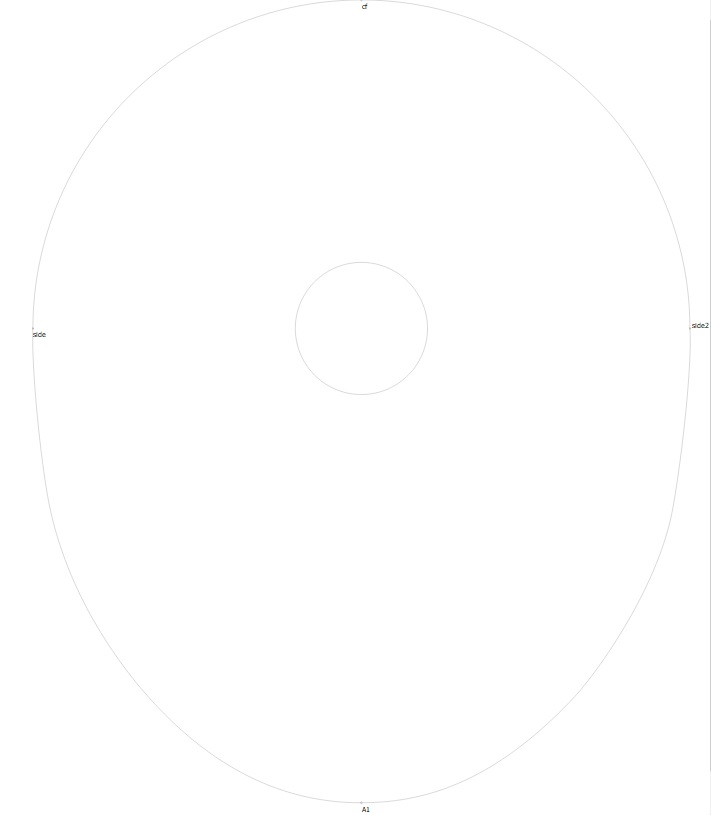
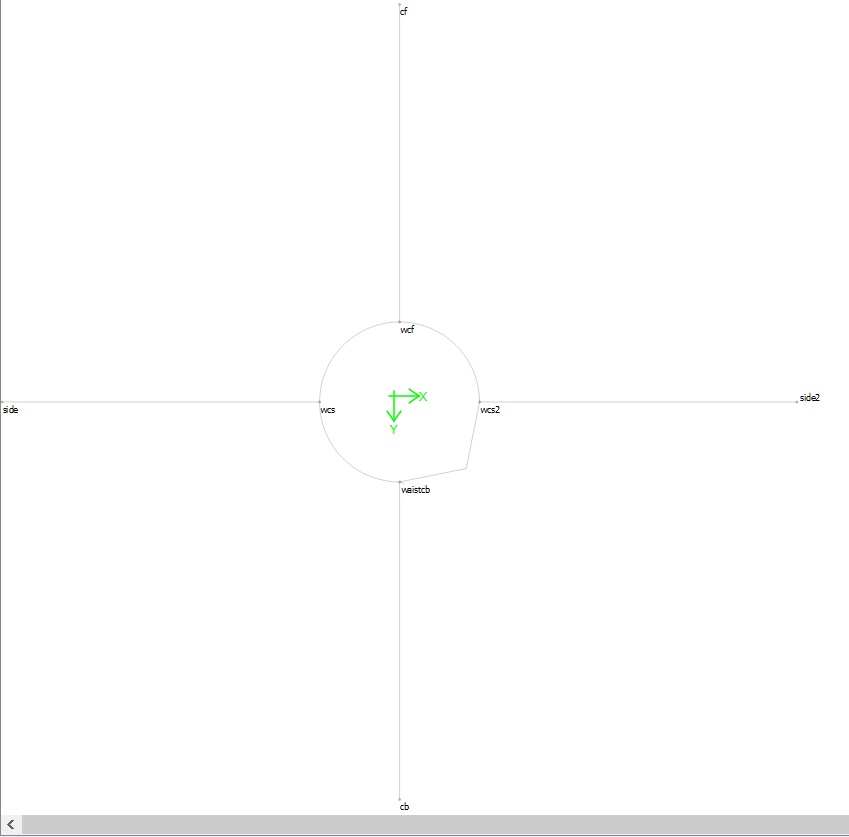
Ahh, yes I can trace the waistline by using internal path, but it doesn’t trace the point (wcf, wcs, etc).
Here is the skirt and internal path: