Hello everyone. First of all thank you for this great software  . I have to calculate the armhole depth but my two sides are not aligned. Is there a formula to find it without drawing? Excuse my english, it’s a Google translation. In advance, thank you for your ideas.
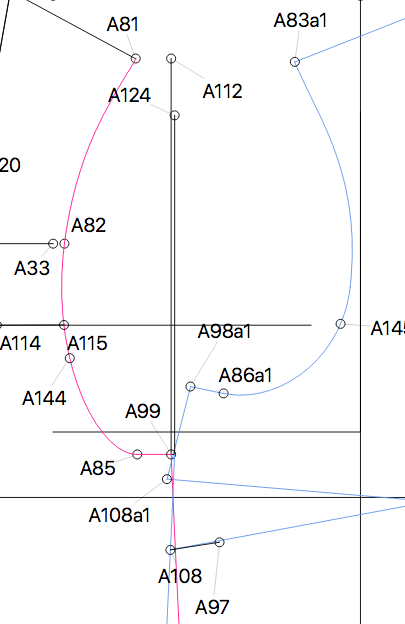
1 Like
Hi and welcome @MumuLcy
That’s a very good question that I, as a learner, would also like to know the answer.  Up until now, I always thought that the armhole (or armskye) depth was a measurement taken from the back, neck side straight down to a line that is under the arm.
For the purpose of creating the shoulder cap on the sleeve, some pattern making methods ask that a line be drawn from A81 to A99 and this measurement is used in a formula. And others require that you take the length of the curve (A81 to A99) less an amount and use that measurement as the formula. I guess one could do the same for the front.
Perhaps you can let us know the purpose of the measurement, please. So that someone can give you a better answer
2 Likes
Thank you for your reply @Grace !
I use the Esmod method for sewing patterns. Here are the instructions of the method:
- sleeve crown length = armhole depth - its 1/8th
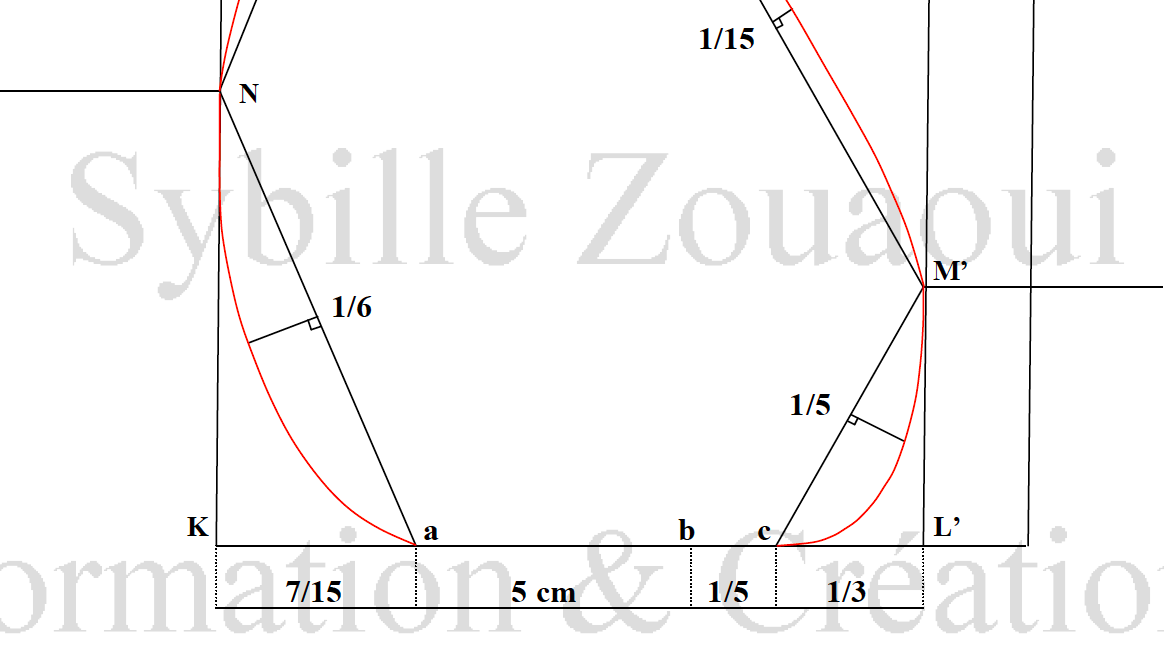
To find the depth, Esmod request to join the front and the back and drawing lines :
I also found this formula: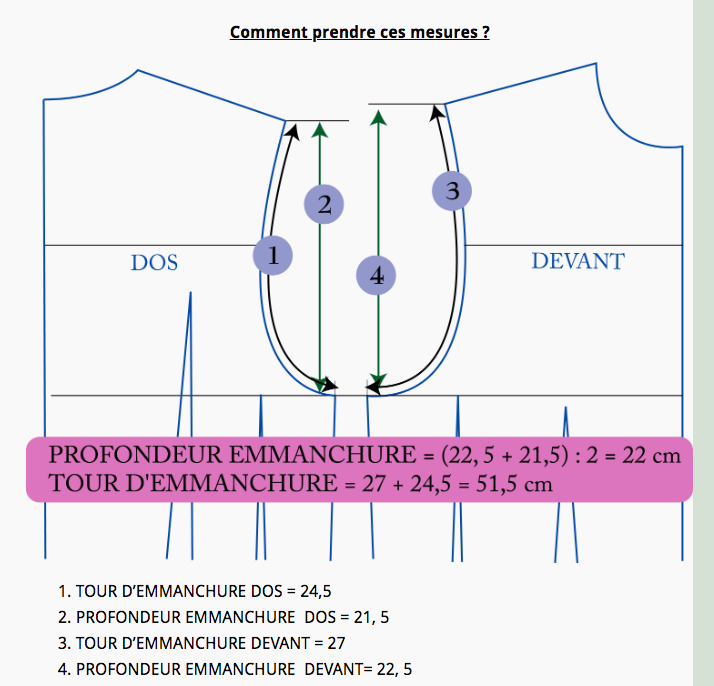 armhole depth = (“2” + “4” ) /2
I tested it on a hand-drawn pattern: I do not have the same result as with the traditional method. I will continue my research. If I find a reliable formula, I will share it with you. ![]()
1 Like
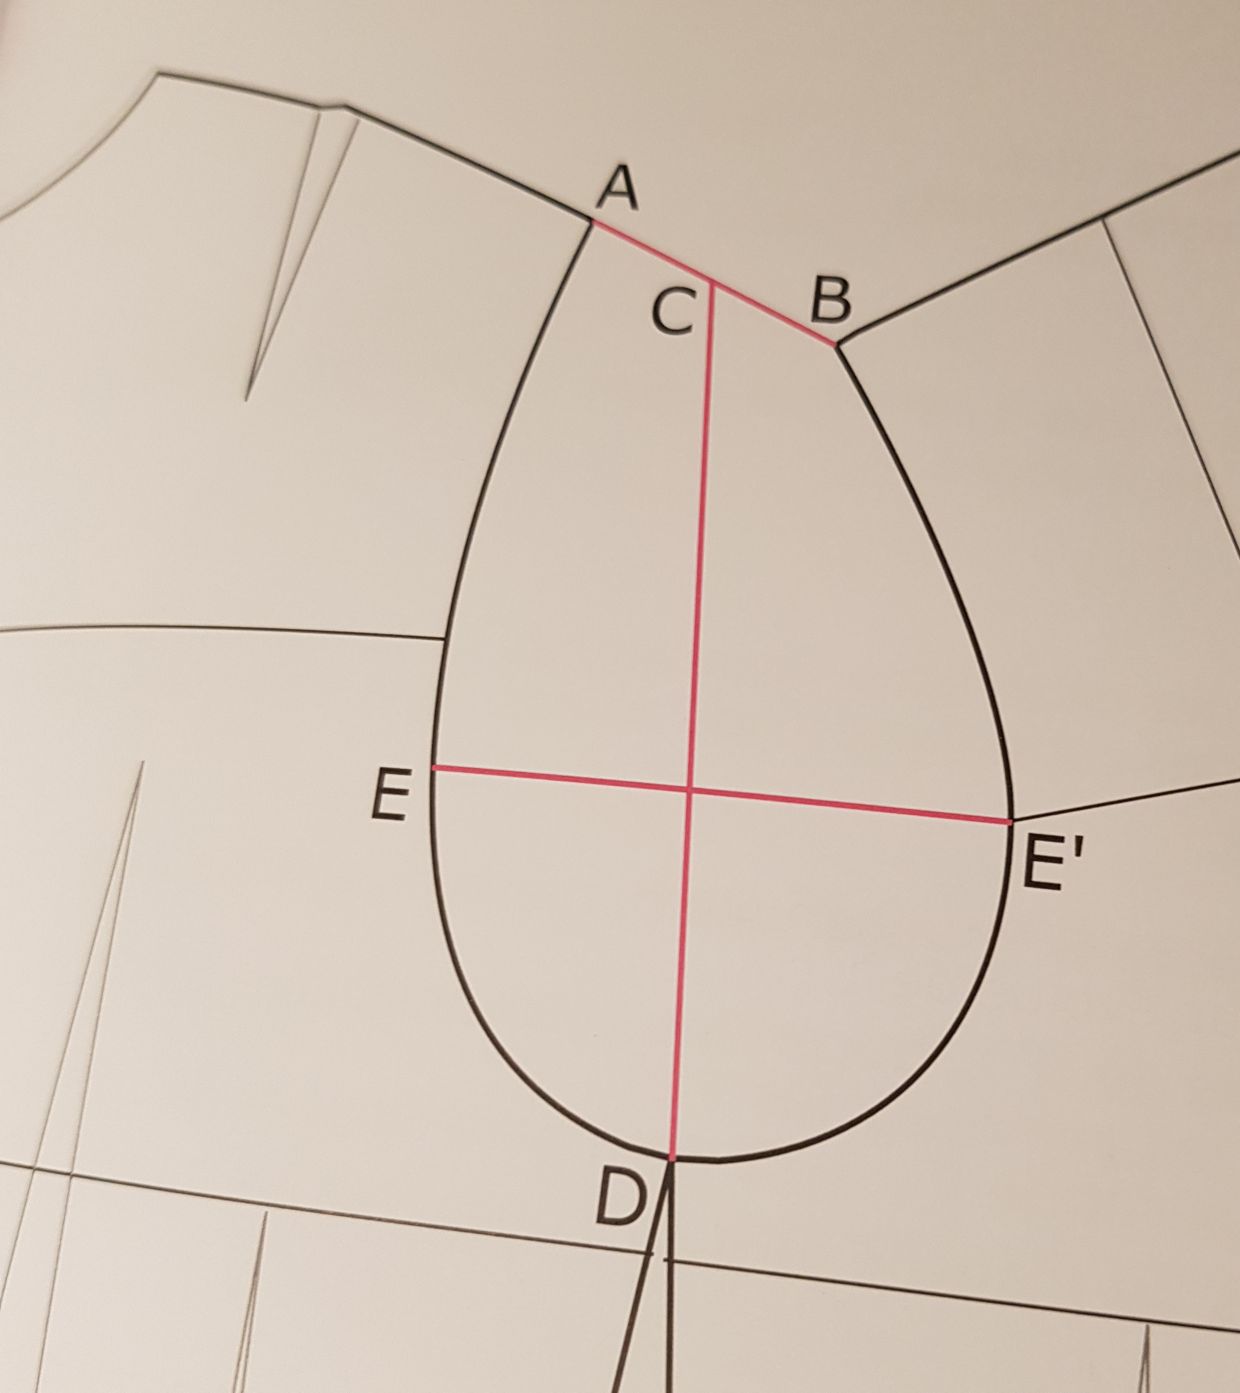
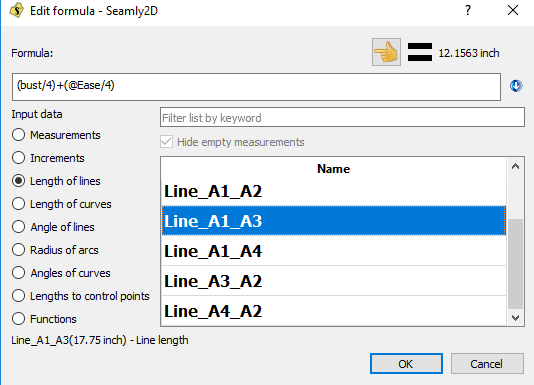
I haven’t really tried the Esmod method, but looking at your image and the instructions, you could easily place the nodes in Seamly2D, draw in the lines and then use the lines in the formula.
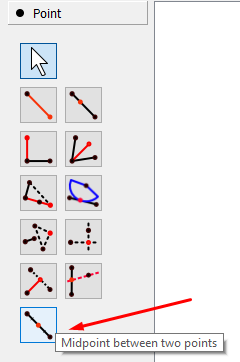
The line A-B the centre is C. I’d use the tool Mid Point Between 2 Points:
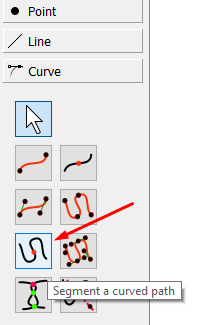
I’m not too sure what the distance is along the curve A-D which will give you E and the curve B-D which gives you E1. Here I’d use the tool Segment a Curved Path:
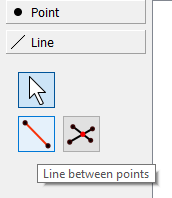
Or perhaps points E and E1 are already there for the purpose of drawing the curves. Then it would be a simple matter of using the Line Between Points tool to draw the line (the same tool would be used for the line between C & D):
Once you have the lines drawn, you will be able to use them in the formula for the sleeve cap and Seamly2D will automatically change the values when you use the same pattern with different measurements.
1 Like
You’re very welcome. I only hope they helped.
Thank you @Scholli  That’s exactly what I want to do but I have a problem: the sides of my model are not juxtaposed:
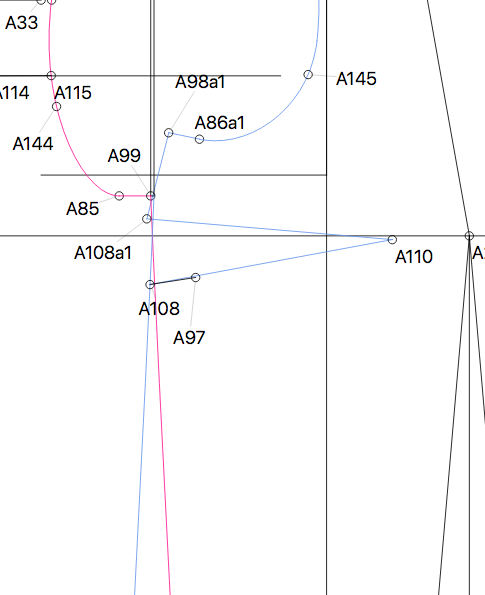
But in the Esmod method, before drawing the line (A27-A28 in your example), it is necessary to maintain the centre front and the back lines parallel, pin together at underarm (in my example A99-A98a1 are not superimposed).
So I’m looking for a formula using lengths to find the armhole depth without having to move everything  The formula I found and shared in the previous message does not give the right depth. I tested by printing the pattern and doing the drawing method. I do not find the same length
1 Like
@MumuLcy ich habe gemerkt, dass es im Vorfeld sehr wichtig ist zu überlegen, welche Schritte noch folgen. Der Punkt 98a1 lag doch vorher wo anders. Lag er nicht auf Höhe des Punktes 99? Dann gibt es vielleicht die Möglichkeit die Armlochhöhe in einem voherigen Schritt zu bestimmen. Wenn das nicht geht würde ich eine neue Gruppe anlegen. Darin dann den Abnäher mit nur den nötigsten Punkten zulegen und die Armlochhöhe bestimmen. Dann kannst du die Gruppe unsichtbar machen und weiter arbeiten.
1 Like
Ich glaube nicht, dass es eine andere Möglichkeit gibt. Wie würdest du den die Armlochhöhe bestimmen, wenn du auf Papier gezeichnet hättest? Ich denke du müsstest auch die Seitennaht von beiden Teilen aneinander legen, oder?
1 Like
Wie sieht denn dein Grundgerüst aus? Vielleicht kannst du das mal zeigen.
1 Like
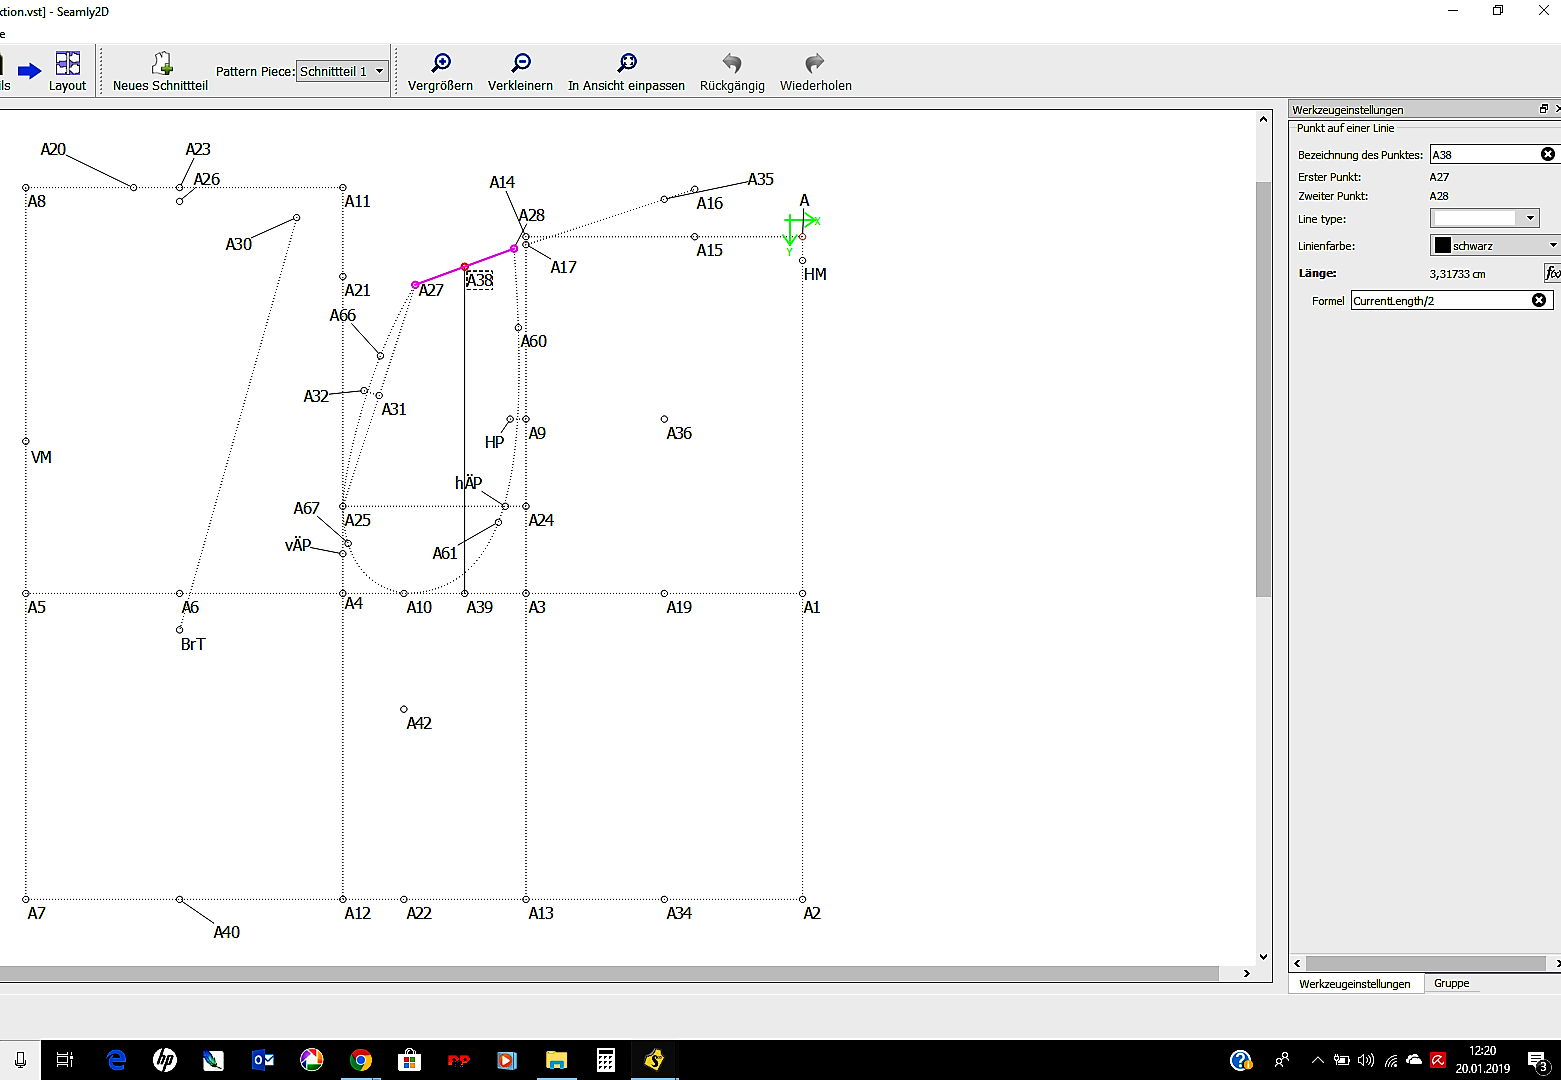
I think I’ll have to actually do a process integrating Valentina from conception. Here is the pattern before the creation of the clip and with the enlargement.
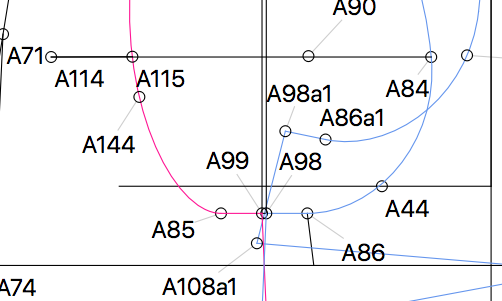
The points are not exactly one on the other. You’re right, I’m going to calculate the armhole in advance next time. Here the offset is not very large but for the next it may be larger because this is due to the margin of construction of the method (5 cm).
1 Like
@MumuLcy, I think you can draw in the line from shouldertip to shouldertip with a node halfway using the points before you did the rotation for the dart and then draw the line down to A98. And then that distance will be available to you afterwards for the next part of the draft.
Ich kenne diese Methode leider nicht. Ich arbeite mit Müller und Sohn. Jedoch habe ich mir angewöhnt bei dem Punkt für die Seitennaht einen Zwischenraum zu setzen von 5-10 cm. Daraus ergeben sich dann zwei Punkte. (A1 und ArdH)


Wenn ich an meinem Armloch arbeite - Armlochdurchmesser und auch Armlochhöhe - kann ich die Strecke zwischen den beiden Punkten auf 0 setzen und die Punkte der Seitennaht von vorne und hinten liegen genau aufeinander.
4 Likes
I wish I could follow what you guys are all saying lol
I’m gonna need to know this before too long 
You may or may not have answered the question / issue I was gonna ask at some point.
Like how to make sure your armsyce curves are the right length for sleeves when the only thing you can use to adjust them is angles and bar lengths.
I will come back to this
1 Like
@ladysinaz this does not answer your question, but in my non-linear thought pattern it is related. If you do not even get caught up trying to follow the math, just look at the animations. It helped me to figure out where to start with placing control points,
2 Likes
I came across this video on calculating the armscye depth which would use the nape of the neck to three fingers (2-3 inches/50-75mm) below the armpit to determine the bottom of the curve. Would y’all say that that is accurate?
1 Like
@KeithFromCanada. Ich denke, dass du das so nicht sagen kannst. Es kommt immer auf dein Modell an,was du arbeiten möchtest. Es gibt eine Einteilung in Passformklassen bei Oberteilkonstruktionen. Den einzelnen Passformklassen werden Zugaben zugeordnet. Dabei liegt die Zugabe des Armausschnittes zwischen 0 und 5,5 cm. Finden kannst du die Tabellen unter: www.europalehrmittel.de
1 Like