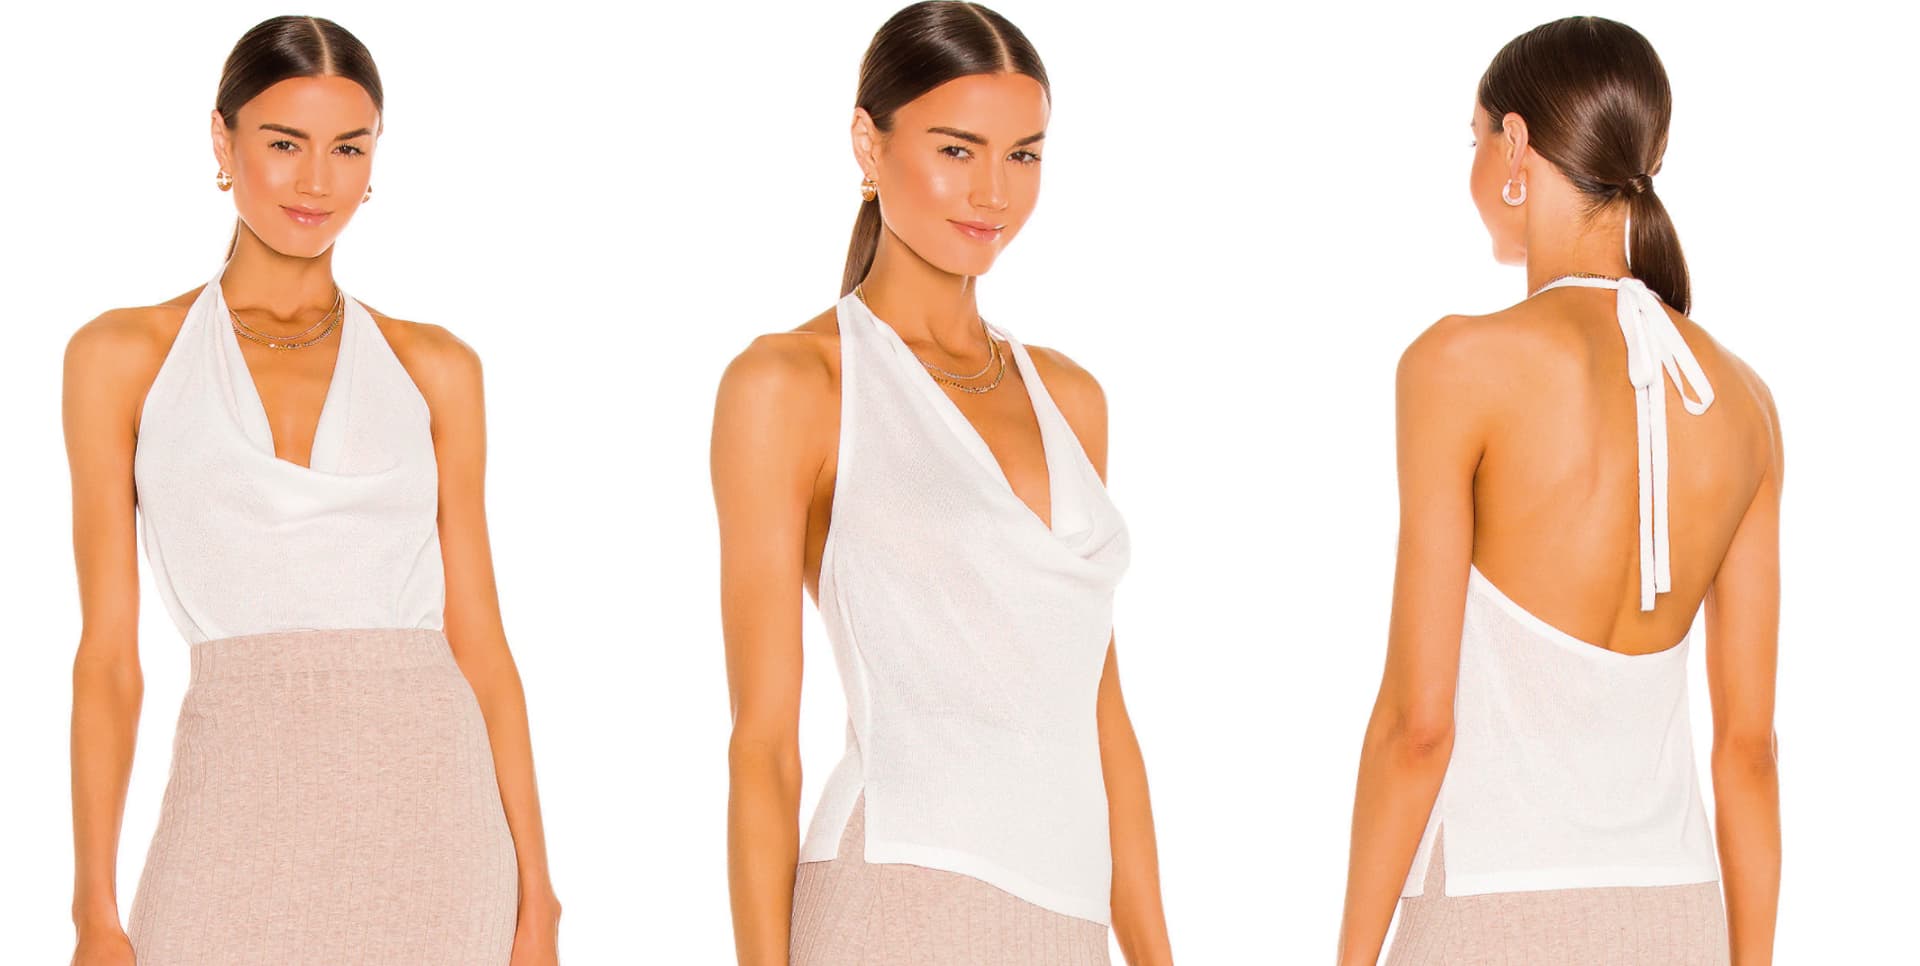
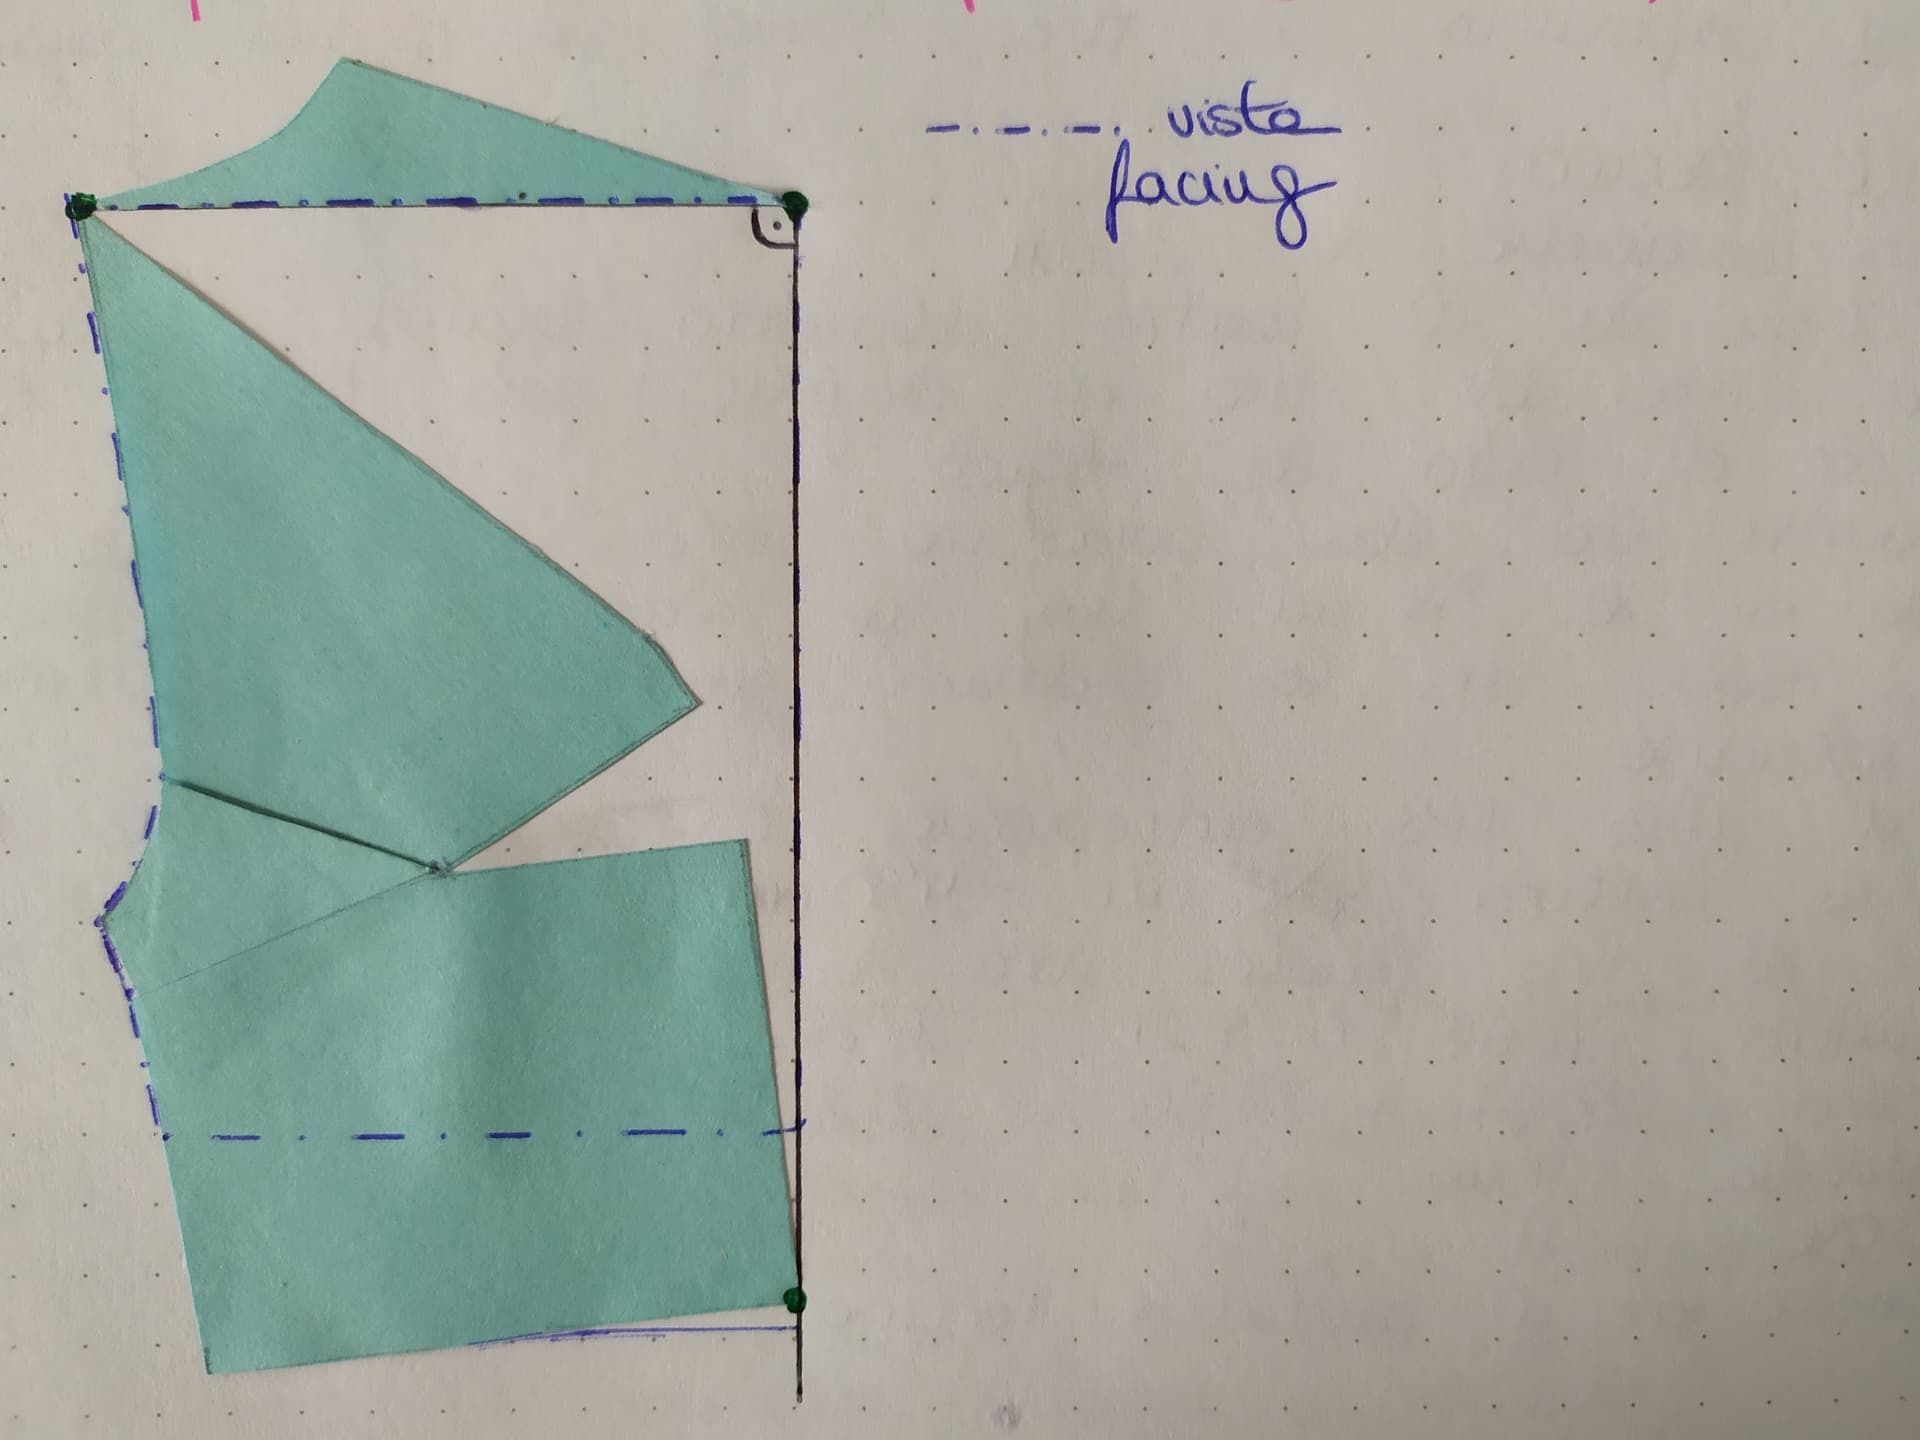
My question is how do I get to make the cowl neck transformation for multisize How do I get the pattern positioned to touch on the green dots in the above photo?
Is it something about the angle and the rotation tool? If so what angle should I use? I understand that it should be a measurement that can vary with the size and not be a fixed value because as the size increases, the rest of the measurements increase, the dart of the chest…
I don’t quite know how to start
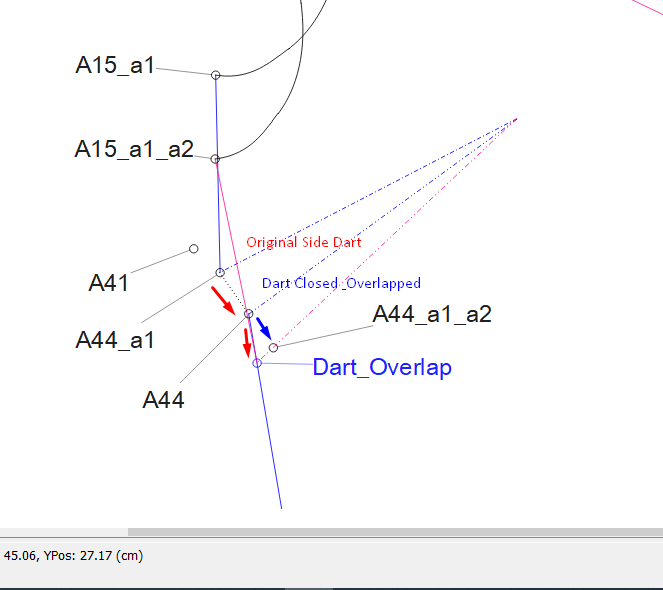
What is actually happening is, you’re closing the side dart AND taking it past the bottom dart leg by the same amount as the width of the opening of the dat. This opens up the dart at the center line of the pattern.
So what you need to do is to place a point on the line from at the dart opening going down towards the waist at the same distance between the top and bottom leg. Then make a line from the bustpoint to the node at the top leg and another from the bustpoint to the new point.
You will also need to place a node at the front edge that goes through the bustpoint from the top dart leg node (straight line from top leg node, through BP to the new node).
Then using the Rotate tool, rotate all the nodes and curves from the new point on the front edge, upwards and all around to the top dart leg. Your angle will be a formula of the difference between the new node and the top dart leg node.
As you can see in the image, the whole pattern has also been rotated from the center of the waist to create a bit of a dart effect at the center front but I guess you will know what that’s all about
Hello @Esther, welcome to this forum, at first, I didn’t understand what you had drawn, but after analyzing it, I realized that you drew the pattern in the wrong way.
Take a good look at this, the Center of the front, before any transformation, will always be a straight line and on the side will logically be the curve of the armhole and the waist.
Also, the lowest point of the shoulder will be on the side, ok.
I suggest you see the DIY several times. And note that there is a measurement from the Center front to the shoulder of about 6 or 7 cm, that correspond to the width of the back neck, and from that point the shoulder measurement begins.
This style is very simple, but very beautiful and it does not use darts, if you use the right fabric and cut it on the bias, so that it has a very good drape in the center front.
With seamly2D, it’s very easy to draw this style, but when you do the transformation, you have to draw a dotted helper line in another color in the front center, then cut the neck line, then lift it using the rotate tool,
And after drawing the first size including the transformation you print it, and then take the measurements again to make your size chart
Any questions at +502 58447281 What’s App.
Greetings
Rafael O.
@Grace I didn’t know how to do your method but I got the result @DroPeRoro maybe you didn’t perceive the armhole because it’s a halter neckline (first transformation I did) so the pattern looked a bit different.


 Once you practise with the rotation, you’ll get the idea of slash & spread that one would do if you were drafting by hand.